


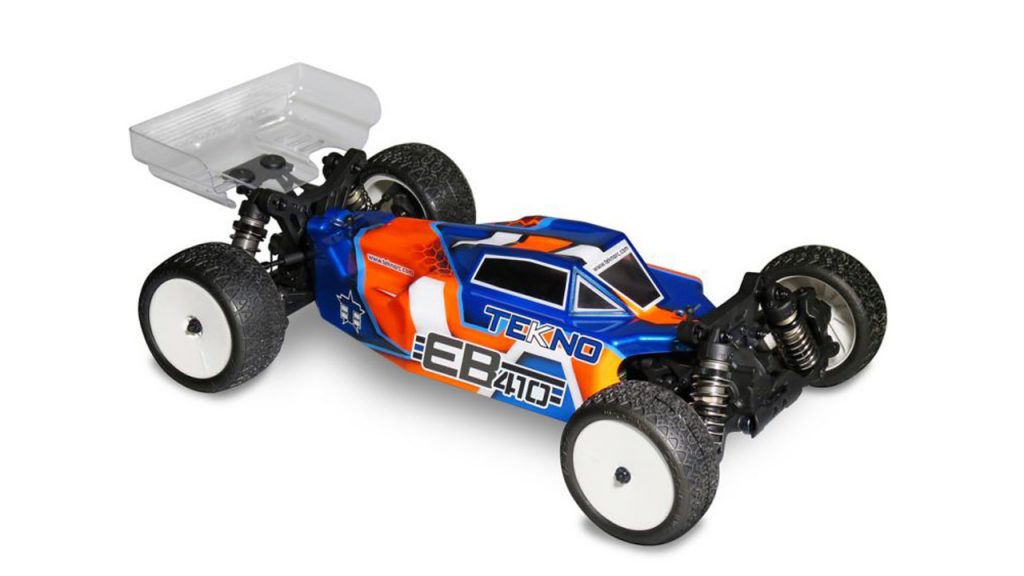
Tekno is well known for making professional 1/8 scale competition cars. The EB410 is the brand’s first 1/10 scale buggy, and it’s about to be my next race car. I’ve built many Tekno kits and thanks to their excellent instruction manuals and good fit and finish, it makes it easy to build even for a first timer. I’ll be building the EB410 over several posts. Follow along and let’s get this build started.
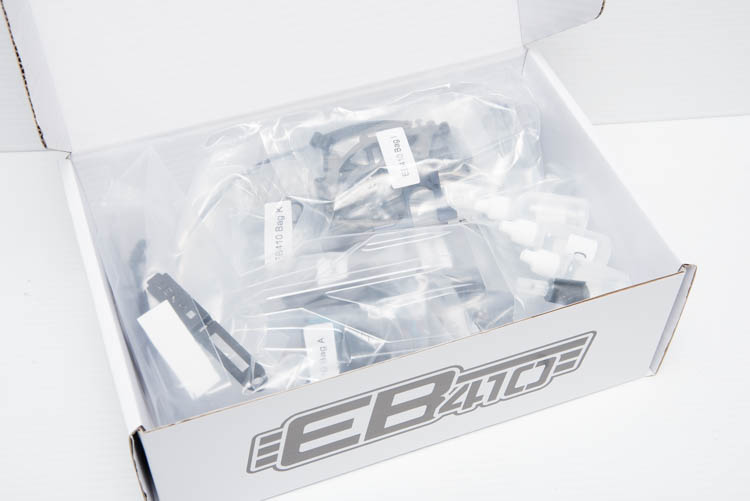
There are two big bags that contain all the smaller bags that are labeled with a letter that corresponds to a specific step in the instruction manual.

The instruction manual itself is full color and clearly illustrated with helpful tips to help you build. The manual also gives you the initial stock setup suspension positions.
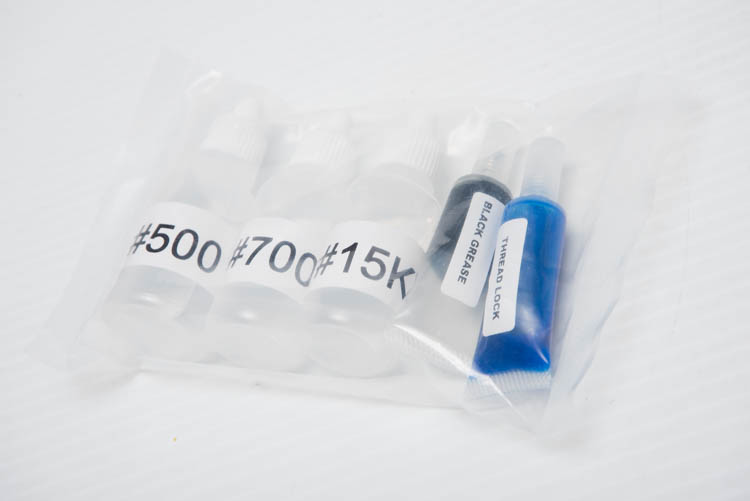
Don’t worry if forgot to buy fluids for the EB410. Tekno includes all the shock/diff oils you will need along with black grease and even thread lock.
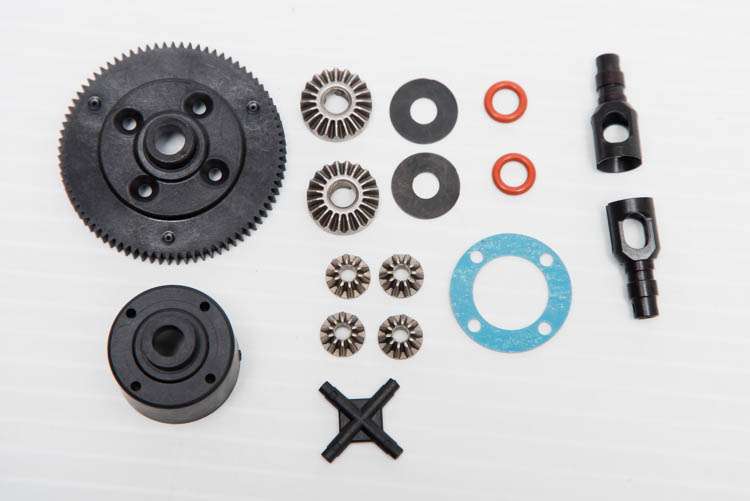
The manual starts off with building the center diff. If you’ve seen a 1/8 scale diff, all these parts should look familiar. The all-metal gears and steel outdrives look solid and should withstand the power of a 13.5 motor on up to the hottest modified motors.
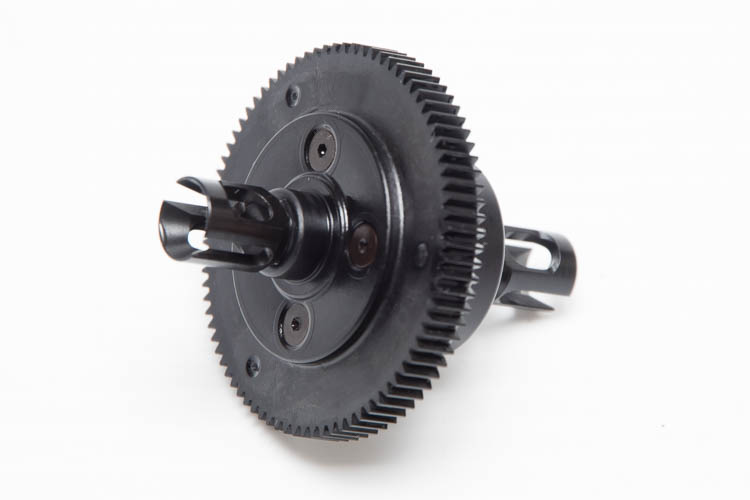
Once you apply some grease to the outdrive o-rings and fill it up with oil, four countersunk screws thread through the 81-tooth spur gear to hold the center diff together.
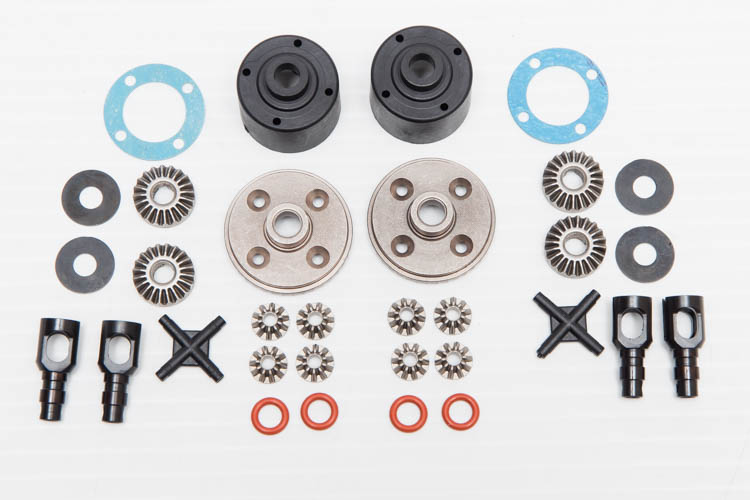
The front and rear diffs use the same parts with the exception being they use a steel ring gear instead of a spur. They assemble in the same fashion, greasing up the outdrive o-rings and filling them up with 7,000 wt diff oil.
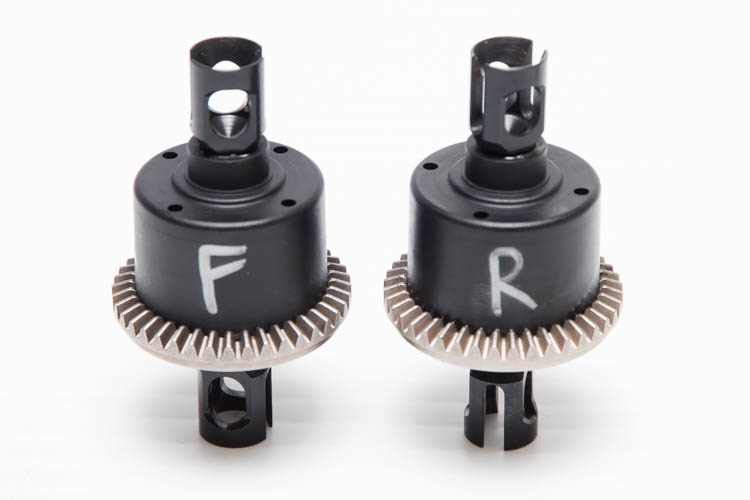
Once assembled, the units fit together nice and neat. When it’s time to put them in the car, a set of ball bearings will be thrown on to allow them to spin nice and free. If you’re planning on filling the front and rear diffs with a different oil, it’s a good idea to label them so you don’t put them into the wrong ends of the car.
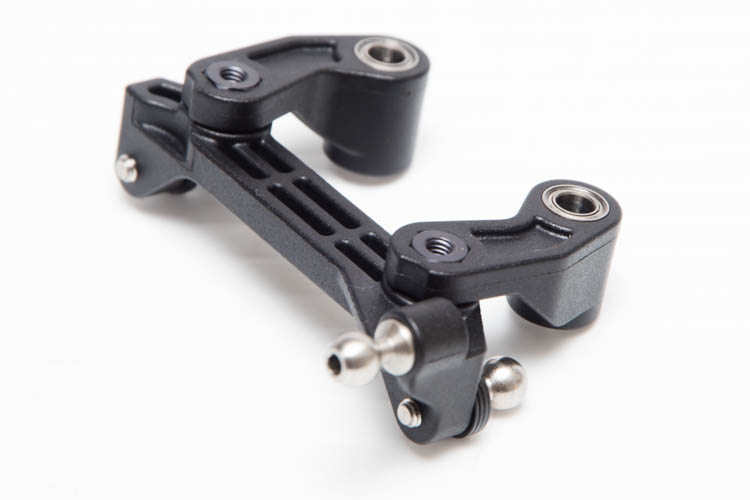
Before the diffs go into their cases, You’ll need to put together the dual-bellcrank steering assembly. The action is smoothed out with a full set of ball bearings.
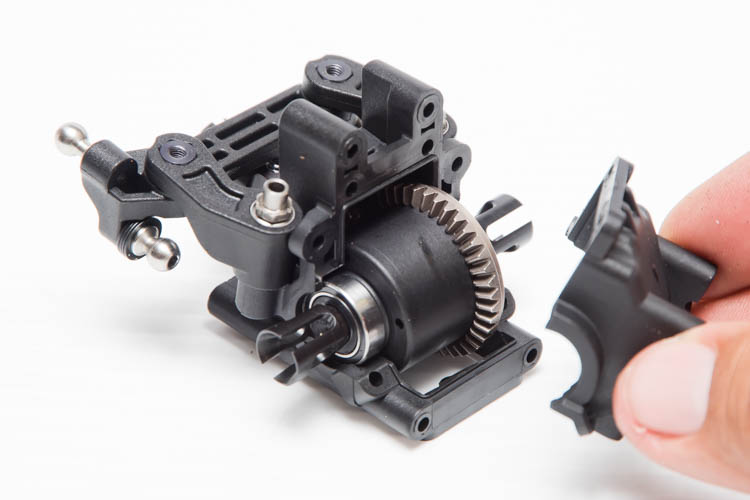
Once the bearings are installed on the front diff, it easily falls into place in the case. Make sure the ring gear is offset to the right so it will spin in the correct direction.
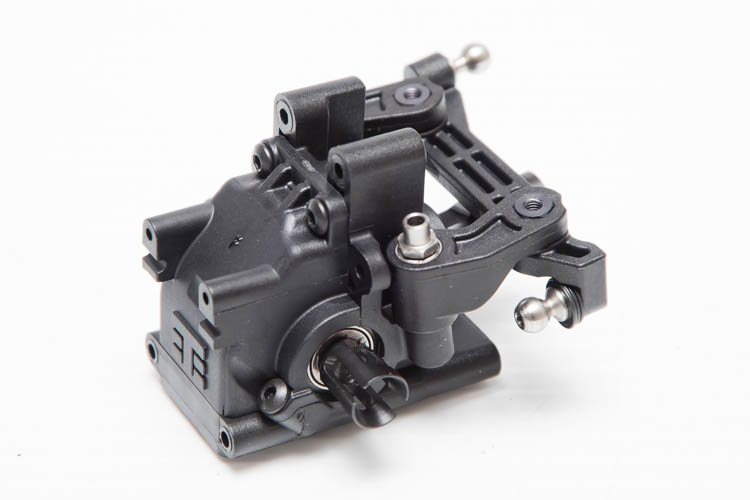
The front gearbox and steering system is now complete and ready to be installed on to the chassis.
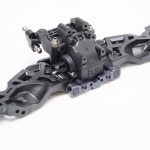
The rear gearbox is assembled the same way as the front one, but instead of attaching the steering system to it, you attach the rear shock tower that also mounts the wing mounts and the rear body mount. Notice the gunmetal aluminum mount for the inner camber link ball studs.

The rear suspension arms are next to mount to the rear gearbox. They are held in place with aluminum hinge pin mounts that use a plastic pill system that allows an infinite amount of toe and kick-up settings. The arms themselves are a monocoque design that minimized flex with droop screws used to dial in the down travel of the arm.
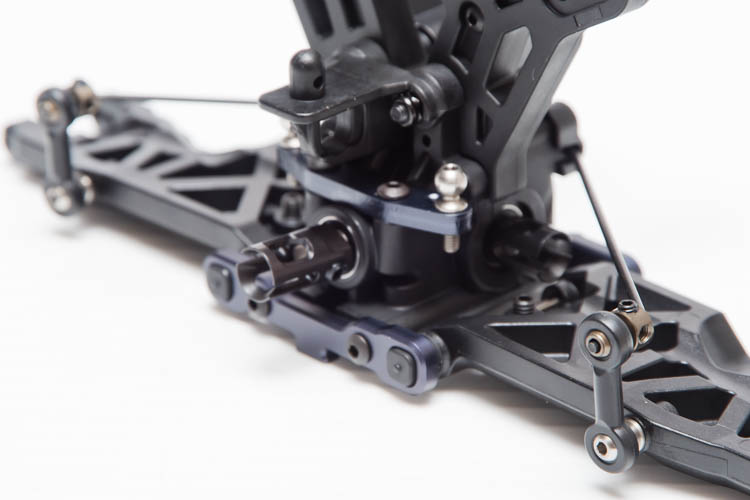
Rear anti-roll bars come standard mount to the rear of the gearbox with a quick change system. A fixed length plastic link is used to connect them to the suspension arms, which eliminates the need to assemble links and measure them for equal length.
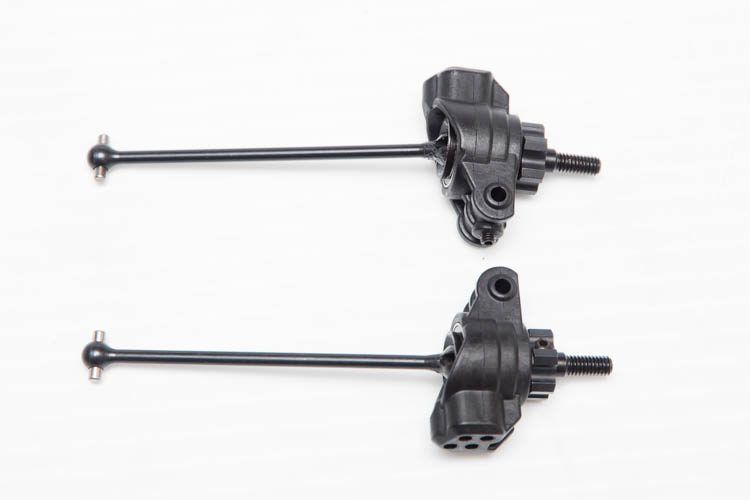
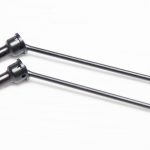
The rear hub system is pretty standard simple to put together. You’ll first need to assemble the steel CV driveshafts that use the inner hub bearing to capture the pin, preventing it from falling out. The 6mm steel stub axles hold the milled, lightweight industry standard 12mm hexes that are ready to accept many wheels available today.
The rear hubs mount to the arm via a stainless steel hinge pin held in place with a 3mm button head screw. Once the drive shaft is inserted into the differential’s steel outdrive, the upper camber link is mounted to hold your camber settings in place.
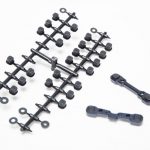
These are all the plastic pills you get with the EB410 that allow you endless suspension arm settings. The front arms also mount to the gearbox using aluminum mounts with plastic pill system. No swaybar is included for the front, but the front end is swaybar ready. The front arms use droop screws to control the down travel.
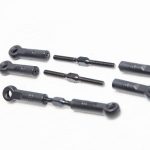
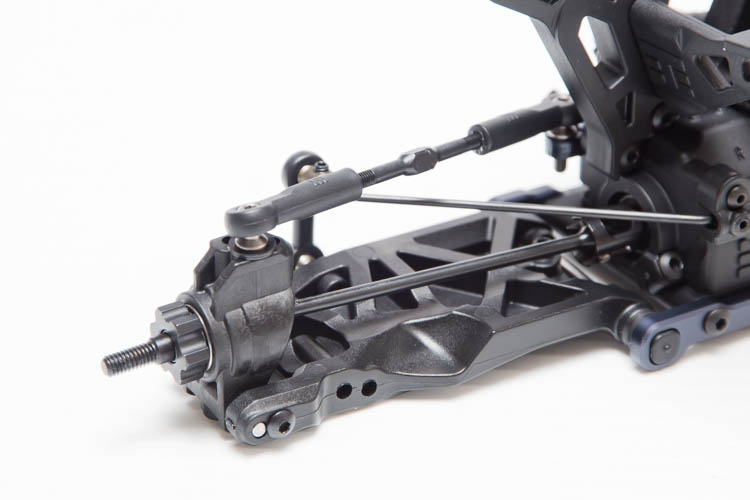
Just like the rear end, we need to assemble the front end’s drive shafts, camber links. Using the included black grease is key here. First to lubricate the CV driveshafts, then to ease the assembly of camber and steering links. Inserting a small amount of grease into the plastic ball cups makes it a lot easier to thread the steel camber links in.
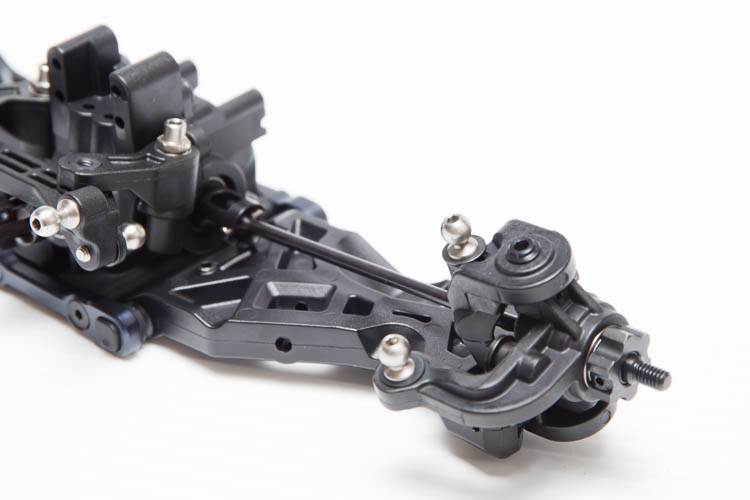
The steering knuckles are attached to the C-hub with kingpin screws that are reinforced with set screws to prevent them from threading out of place. A steel hinge pin holds the C-hub on the front arm.
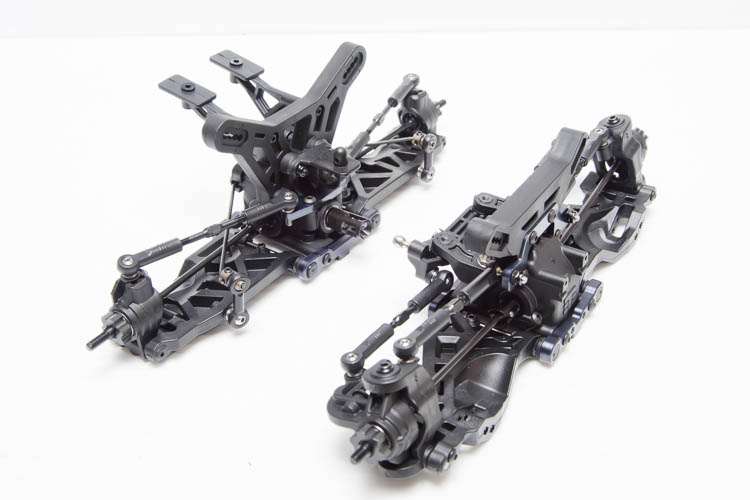 Once you mount the front camber and steering linkages, both the front and rear ends of the EB410 will be completely finished and ready to mount onto the chassis.
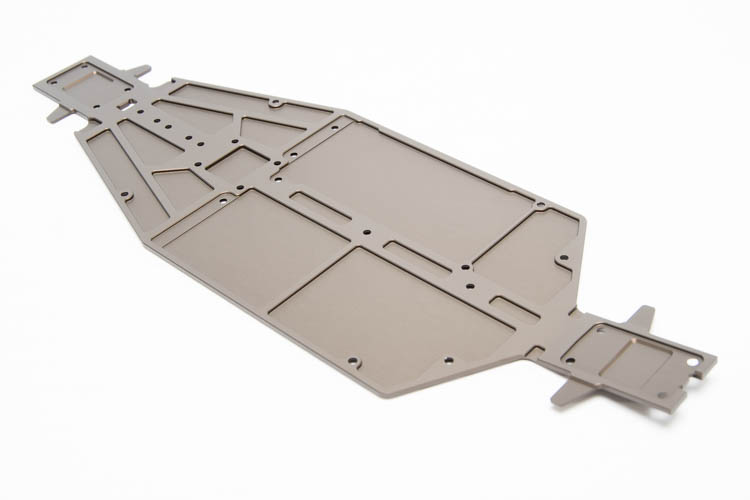
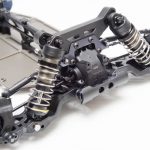
It was time to start mounting components to the chassis. The chassis itself is a 3mm aluminum plate that is extremely milled out to dramatically reduce weight.
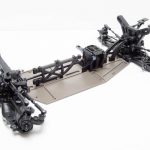
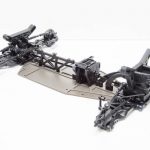
The front and the rear gearboxes attach to the chassis via four 3mm screws. Note installed the front and rear chassis braces. Both braces allow you to use all or some of the bottom chassis screws to tune chassis flex. You can use one or both of the rear chassis braces to further tune rear chassis flex.
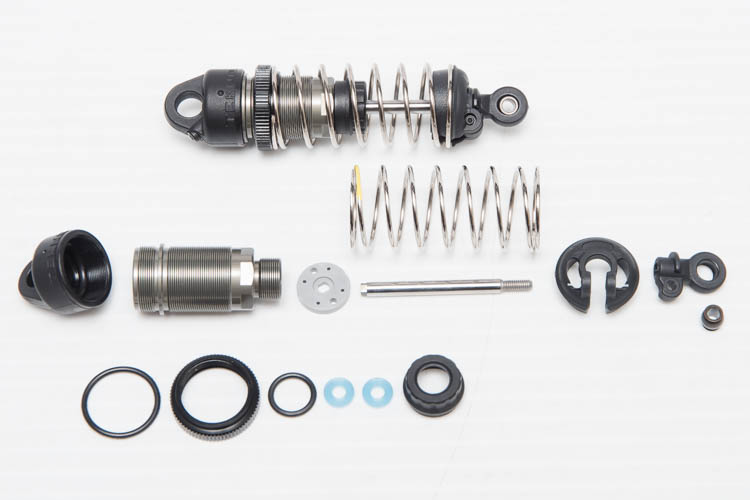
Next up was assembling the shocks. Tekno decided to use larger 13mm big bore higher volume shocks for the EB410. The spring perch locks into place to the ball cup via a set screw to prevent it from being lost.
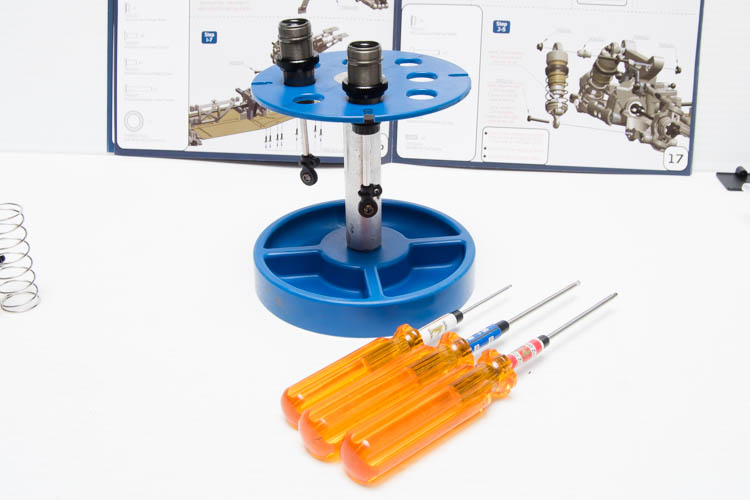
I recommend using a shock stand to help you assemble or work on your shocks. They do an excellent job holding the shocks while the air bubbles work themselves out of the oil.
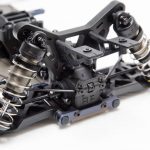
Once assembled, the shocks easily install onto the suspension arms and shock towers in the holes recommended by the instruction manual. Note the black and silver screws used to hold the shock onto the arm. The silver one is reverse threaded to prevent it from working its way out during normal driving.
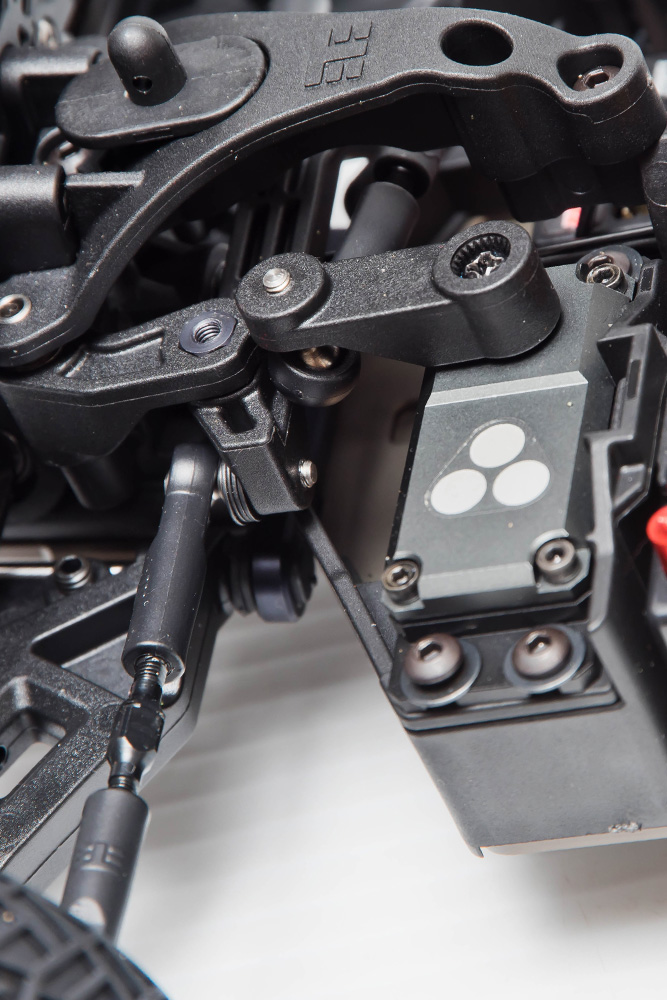
The EB410 comes with a servo tray for a standard height servo and a shorty. I used the shorty tray for tester Tekin T-180 high torque servo. The plastic servo horn and steering link had n clearance problems and all worked smoothly.
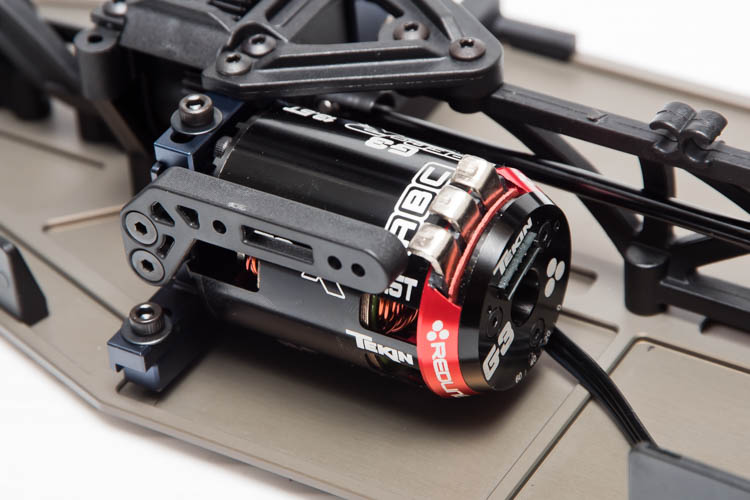
Before I installed the speed control and receiver, I mounted the Tekin G3 Spec-R 13.5-turn motor so I would know exactly how much room I had to work with. The motor mount integrates a fan mount that allows you to easily install a fan to keep your motor cool during racing.
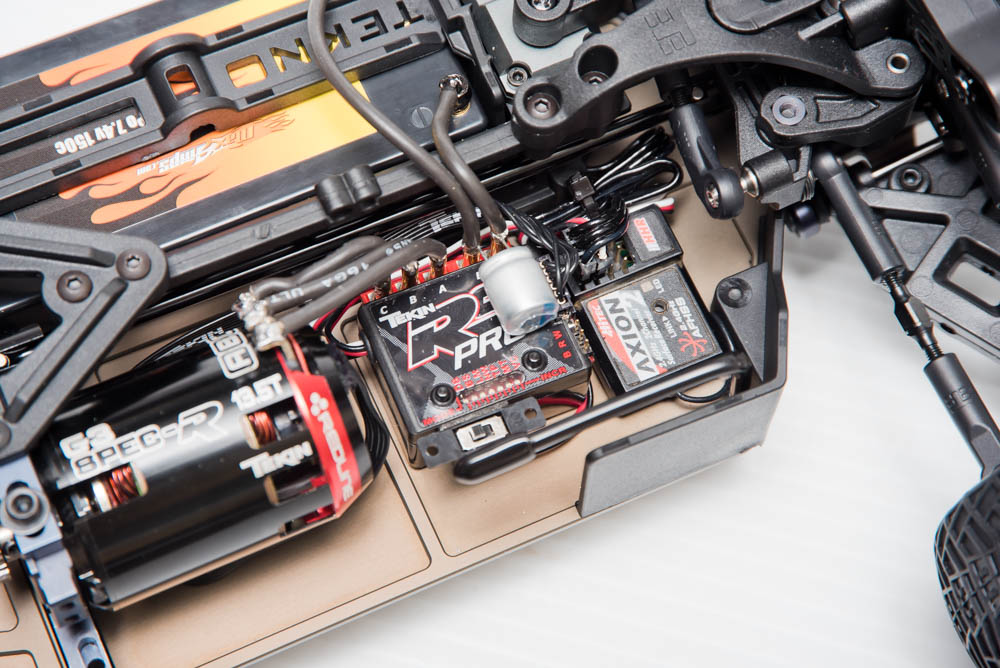
There is more than enough room to install any of the speed controls on the market today. I used a Tekin RS Pro speed control and a Hitec Axion 2-channel reciever coupled to my trusty Hitec Lynx 4 radio.
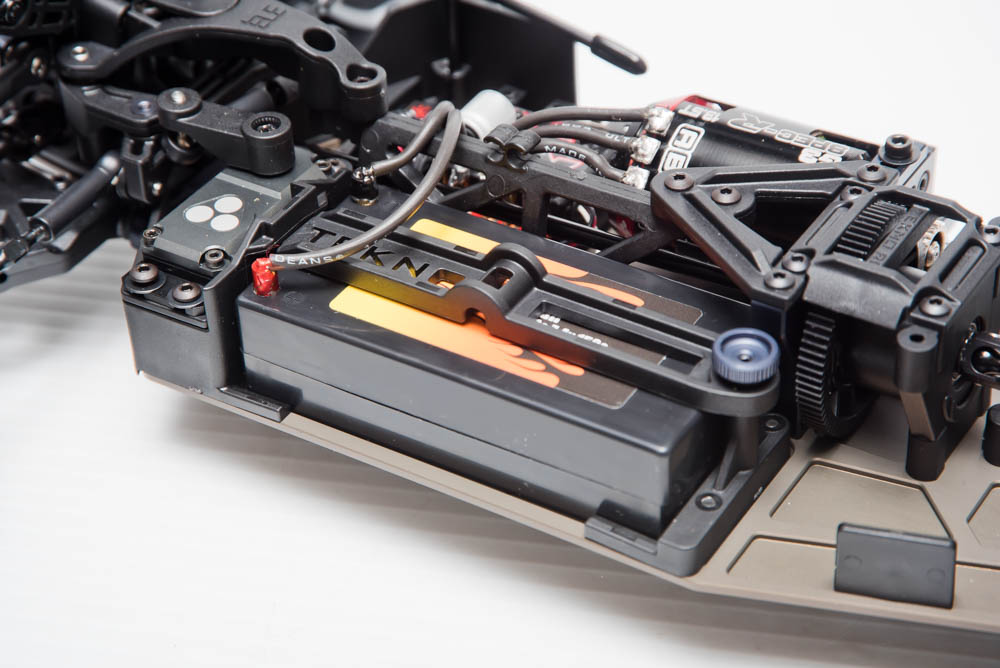
The battery bay only accepts shorty type LiPo batteries, which puts the weight bias forward and is held in place with a plastic battery strap and thumb screw. I opted to use MaxAmps 4250mAh 2S 7.4-volt LiPo shorty pack.
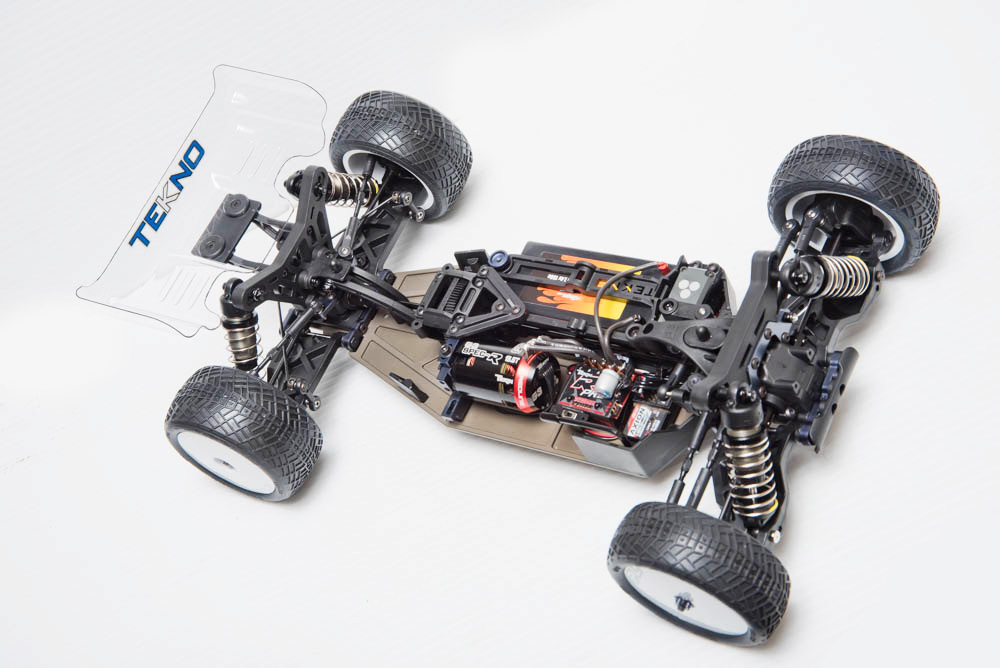
Once I threw on the Pro-Line clay compound Positron tires and installed the wing, this hot buggy was ready for some racing action!


![RC Car Action - RC Cars & Trucks | This 1/3 scale 125cc V10 Buggy is CRAZY [VIDEO]](https://www.rccaraction.com/wp-content/uploads/2018/05/V10-HP.jpg)


 Stay up to date with the latest information, sign up for our FREE newsletter today.
