

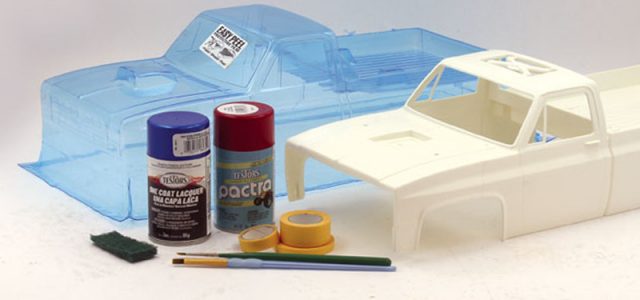
Whether you’re painting a clear polycarbonate shell or an ABS or styrene “hard” body, odds are you’re going to reach for a can of spray paint to get the job done. Spray painting, however, isn’t as easy as aiming the can and pushing the button—technique matters, as does proper masking. But no worries: With a few easy tips, anyone can lay down smooth color on any type of RC body. Here are 10 tips to help you spray-paint like a pro.
TIP 1 CHOOSE THE RIGHT PAINT FOR YOUR PLASTIC
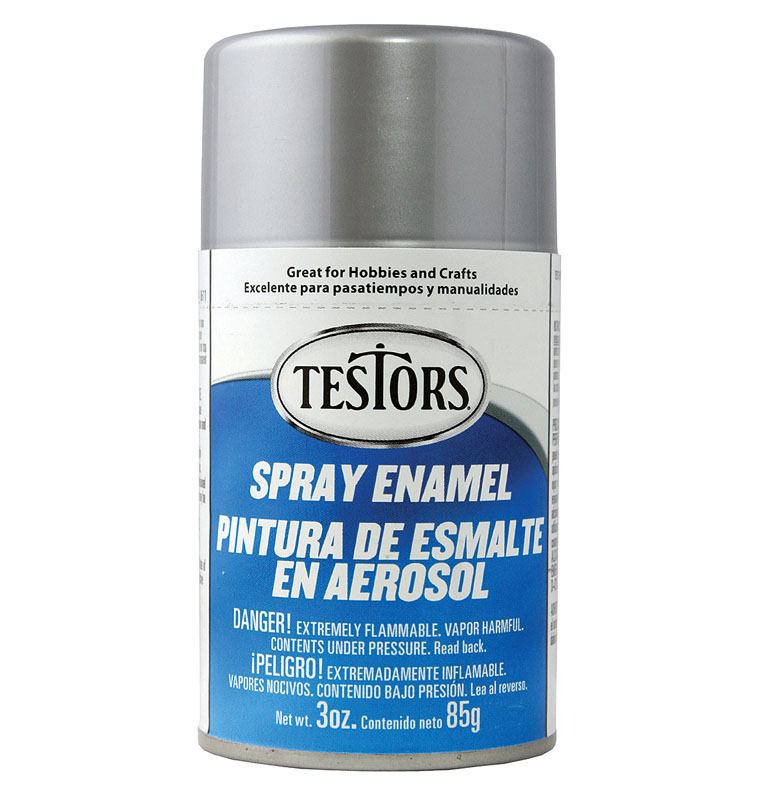
Most RC bodies are made out of clear polycarbonate (also known as “Lexan,” which is actually a brand of polycarbonate plastic). “Regular” spray paints don’t adhere well to polycarbonate, especially when subjected to the flexing and impact of RC use. Paint formulated specifically for polycarbonate plastic is essential, and Pactra is the classic brand just about every hobby store carries. If you’re painting an ABS or styrene “hard” body (like a plastic model kit), “regular” spray enamels are fine—but it’s still best to use a hobby paint, such as Testors, because it will cover in finer coats to maintain sharp detailing and is simply higher-quality paint than a cheap can of hardware-store paint.
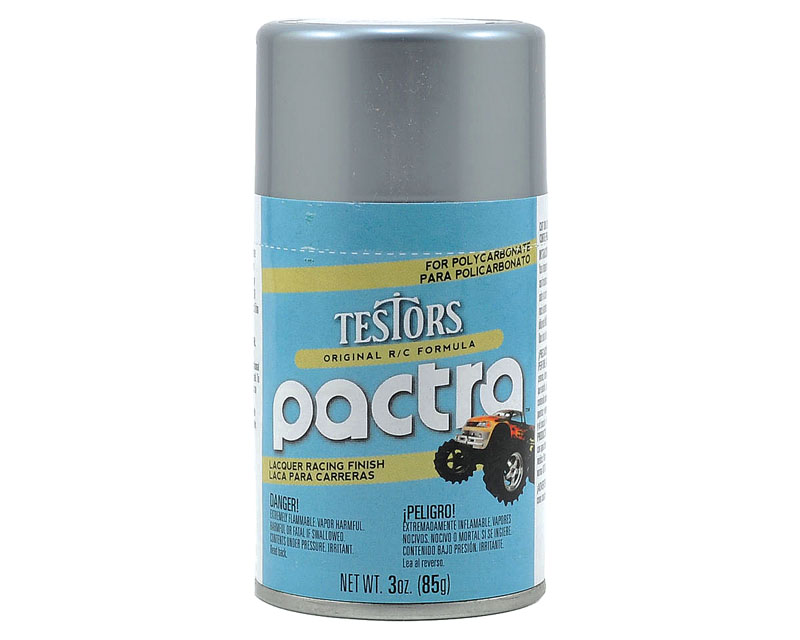
Testors’ Pactra paints are exclusively for polycarbonate (clear) bodies. For ABS and styrene (“hard”) bodies, use the spray enamel paints.
TIP 2 SCUFF FOR BETTER PAINT ADHESION
You can apply paint directly to smooth plastic, but scuffing the gloss off will allow the best adhesion. The peaks and valleys that the scuffing provides give the surface some “tooth” for the paint to grab onto. When scuffing a Lexan body, use a Scotch-Brite pad to do the job because it’s flexible and easily conforms to the various surfaces inside the body. You can also use a Scotch-Brite pad on an injection-molded body, or it can be scuffed up with 1,000-grit wet/dry sandpaper. When scuffing either body, stop when there’s a uniform dull surface.
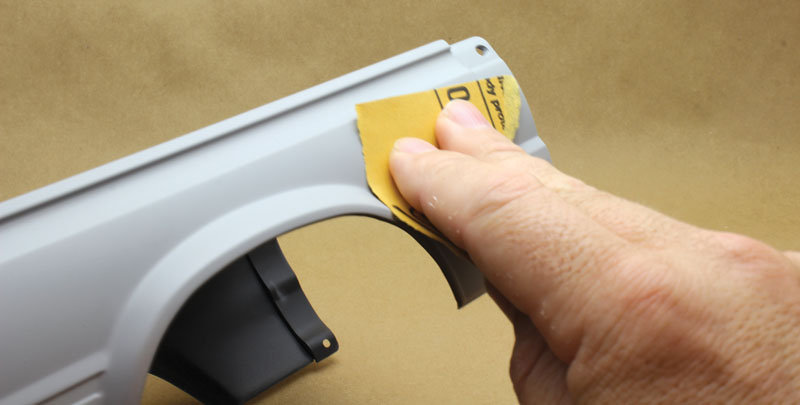
Scuff up the surface to be painted, and stop when a uniform dull finish has been achieved.
TIP 3 IMPROVE PAINT FLOW BY WARMING THE CAN WITH WATER
After shaking the paint thoroughly, fill a plastic container or coffee mug with hot water (from the tap, not boiling) and place the can in it for about 10 minutes. If the water cools quickly, replace it with more hot water to make sure that the heat reaches the paint. Warming the paint will increase the pressure in the can, thin out the paint for an improved finish, and speed up the drying time.
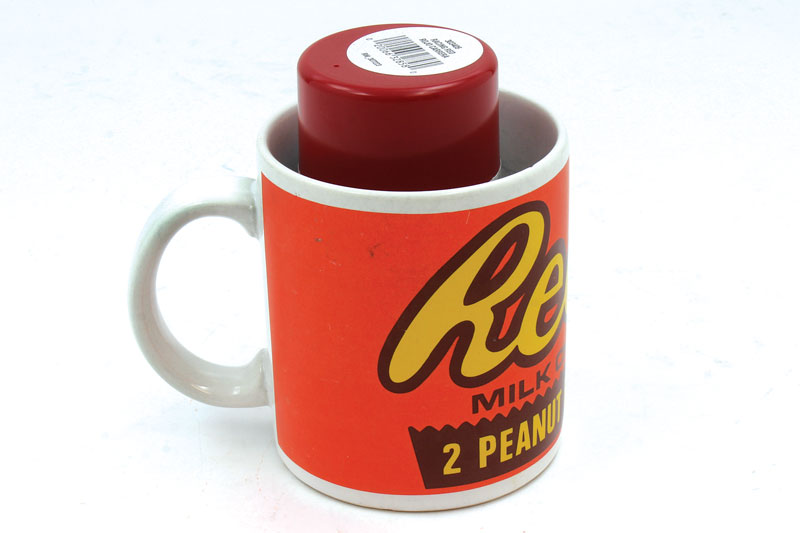
Warm paint sprays better than cool paint
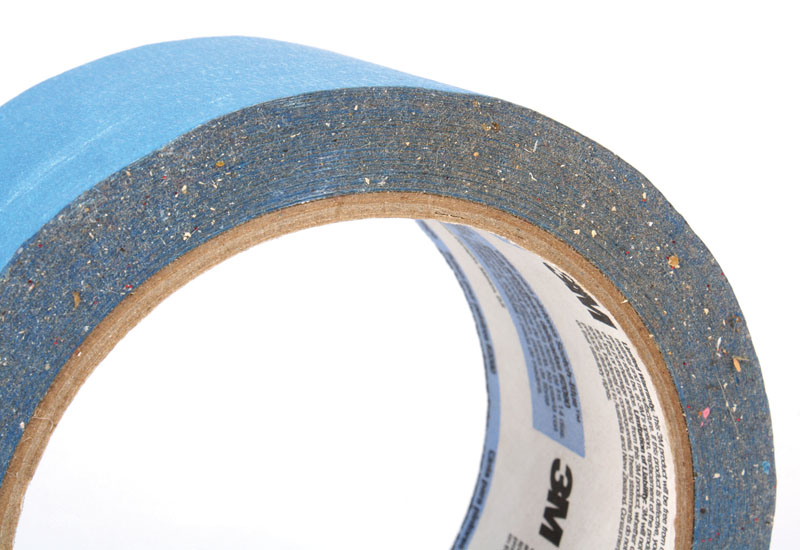
TIP 4 DON’T SKIMP ON THE TAPES YOU USE FOR MASKING
Despite its name, traditional beige “masking tape” isn’t very good for masking RC bodies as it tends to leave adhesive residue behind and the tape edges aren’t very sharp. Tapes manufactured specifically for masking won’t leave residue behind and have crisp, sharp edges for a clean paint line. High-quality 3M/ScotchBlue and FrogTape (green) painter’s tapes are both good choices and easy to find in stores, but they aren’t sold in widths narrower than 1 inch. For fine masking, hit the hobby store, where you’ll find premium tapes as narrow as
1/16 inch for masking super-precise stripes and graphics.
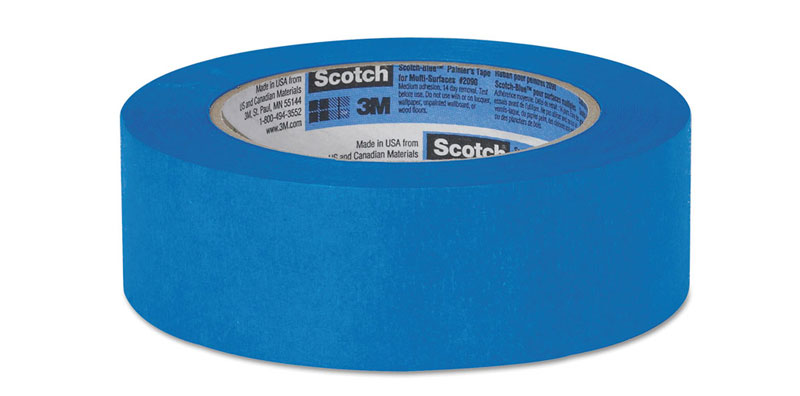
Blue or green painter’s tape from the home-improvement store is useful for masking large areas.
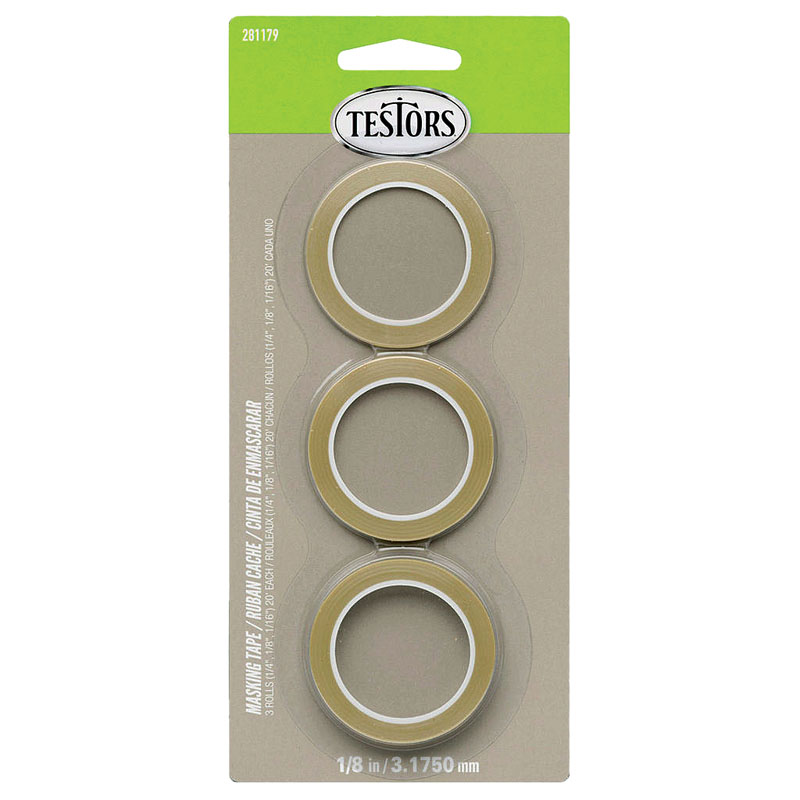
Testors’ tape three-pack includes 1/4-, 1/8-, and 1/16-inch rolls.
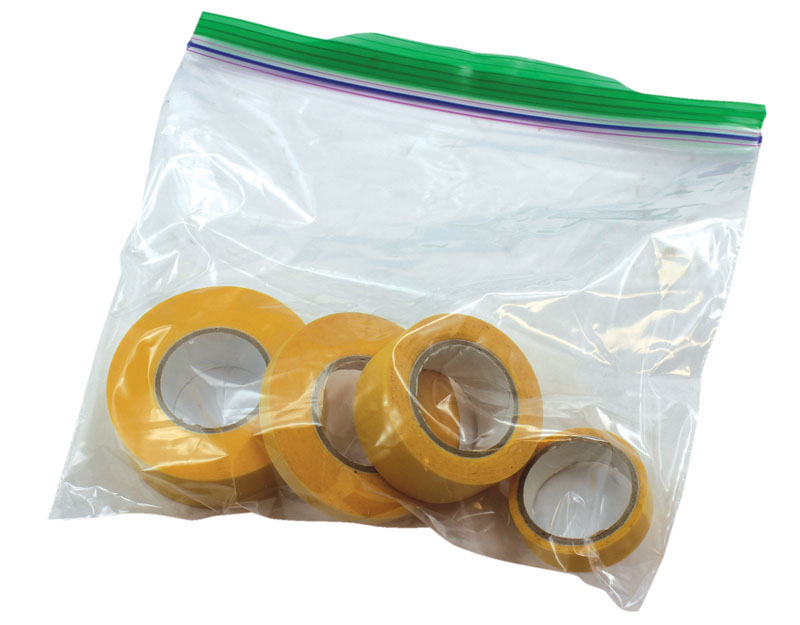
TIP 5 KEEP YOUR TAPES CLEAN
Premium tapes are worth the extra cost because of the sharp edges they provide. To ensure that you always get a crisp edge, you must keep the edges of the tape clean. When you put the tape down, make sure that it lies on a clean surface free of dust, lint, or grit. If you don’t, that junk will stick to the side of the tape and that can make your paint lines fuzzy or allow paint to bleed underneath. A good practice is to keep your tape in a ziplock bag. It will protect the tape in storage, and it also serves as a clean surface to place the roll onto as you use it.
Yuck. All that junk on the tape is going to prevent a crisp paint line.
TIP 6 BURNISH MASKS TO SEAL THEIR EDGES
It’s hard to photograph, but if you look at the edges of your vinyl or paper masks through the clear body, you can see a difference in tone where the adhesive is firmly sealed and where it’s less well adhered. Use a fingernail or a plastic card to rub the edges of the masks down before painting to ensure a good seal. It’s wise to recheck the edges with each coat of paint as the masks can lift due to curves in the body’s surface or tension on the tape. Give the masks a quick rubdown before any paint flies.
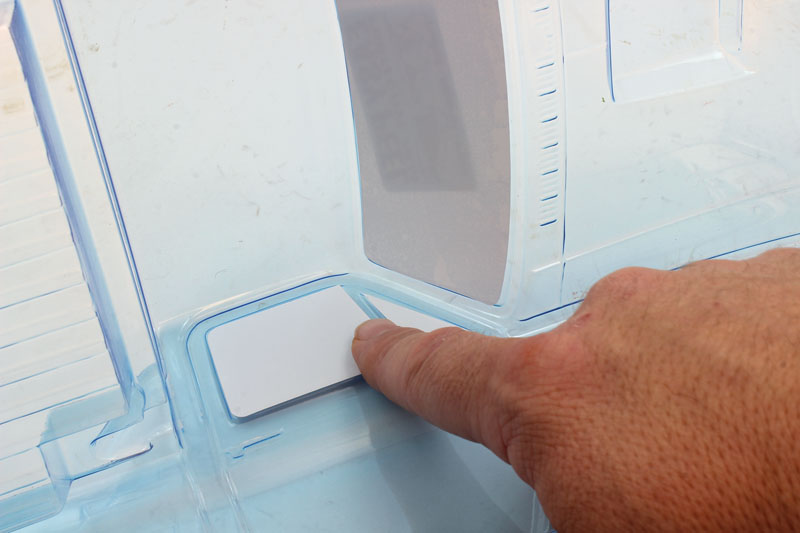
Rub down the edges of the masks before painting.
TIP 7 SEAL MASKS WITH A LIGHT COAT OF PAINT
No matter what type of body you’re working on, it pays to apply two light mist coats before you go for full coverage. These coats will ensure the edges of the masks are well sealed (and if they aren’t, any bleed-under will be minimal). Let the mist coats dry, and inspect all the masked edges for full sealing before applying your full-coverage coats.
The first coats should be mist coats, which will seal the tape and help prevent bleeding.
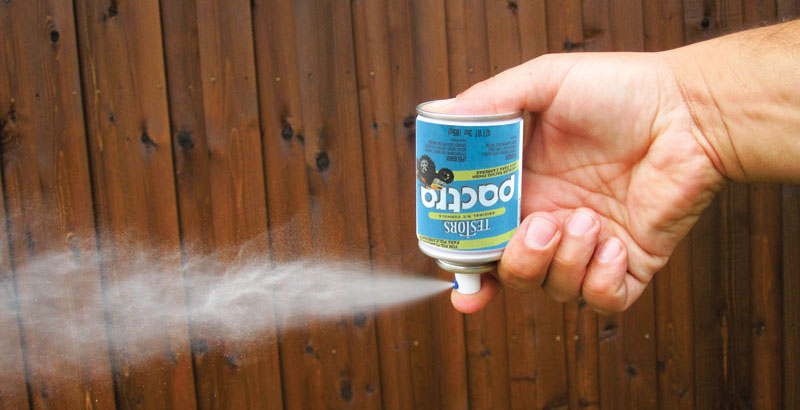
TIP 8 SPRAY USING SMOOTH STROKES
Shake the can thoroughly, and hold it eight to 10 inches from the body. Spray in smooth strokes across the body. For the most even coverage, start spraying ahead of the area you’re painting, and stop spraying after you’ve past it. Don’t just hold the nozzle down and “scribble” the body—you’ll waste paint and get uneven coverage.
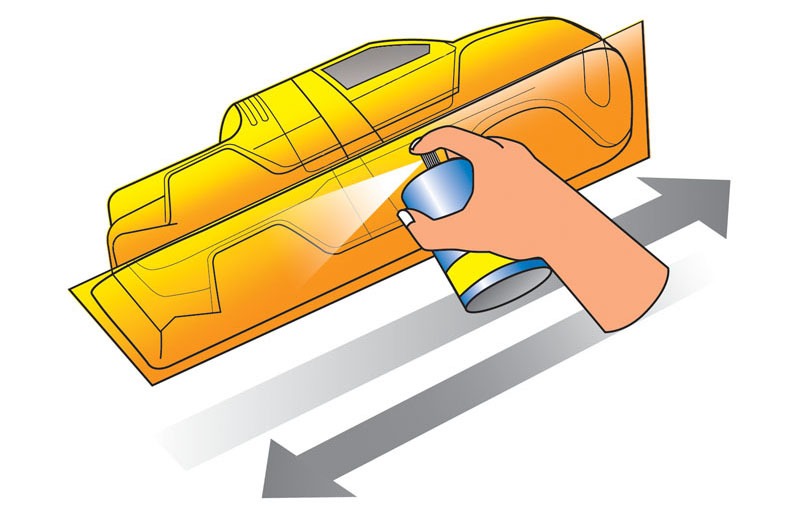
Smooth strokes are the key to even coverage.

Don’t “scribble” the body. You’ll waste paint and get uneven coverage.
TIP 9 USE A BRUSH FOR HARD-TO-REACH SPOTS AND TOUCH-UPS
Many bodies have deep recesses into which spray paint doesn’t reach easily. To get full coverage on those areas, spray a bit of paint into the can’s cap so that you can dip a paintbrush into it and apply the paint directly. This is also useful for touching up hard bodies that have been spray-painted—there’s no worry that a bottled color won’t match the spray color.
Even if a can of paint is just about empty, it’s worth keeping for brush touch-ups.
TIP 10 CLEAN THE NOZZLE TO PREVENT CLOGGING
When you’re done spraying a color, wipe the tip of the nozzle so that the paint doesn’t dry and clog the tip or alter its spray pattern. To completely clear the nozzle, turn the can over and spray until the paint stops flowing and only clean propellant comes out. Note: This should only take two to three seconds; if the paint flow is still strong after a few seconds, stop to avoid wasting paint.
Turn the can upside down and press the tip down until only clean propellant sprays out.
NOW GO PAINT SOMETHING!
Now that you have the tools you need to achieve the perfect paint job, grab some paint and make some magic happen. The nice thing is that the tips and tricks in this article can be applied to all paint projects that you work on. Don’t forget to show off what you end up with, and send photos of your project to readersrides@airage.com.
Text & Photos bY Kevin Hetmanski


![RC Car Action - RC Cars & Trucks | This 1/3 scale 125cc V10 Buggy is CRAZY [VIDEO]](https://www.rccaraction.com/wp-content/uploads/2018/05/V10-HP.jpg)


 Stay up to date with the latest information, sign up for our FREE newsletter today.
