

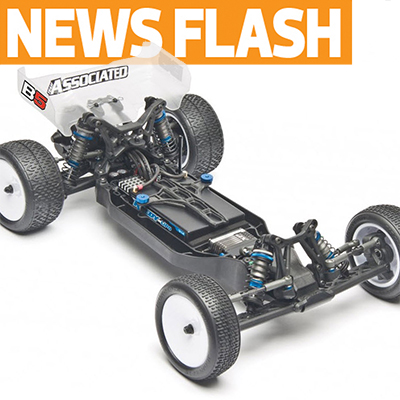
After a wild holiday week of speculating over a few teaser images, Team Associated has finally released full details on the new B5 and B5M 2WD buggies. No need to keep you waiting lets dive in and get one on one with both cars.
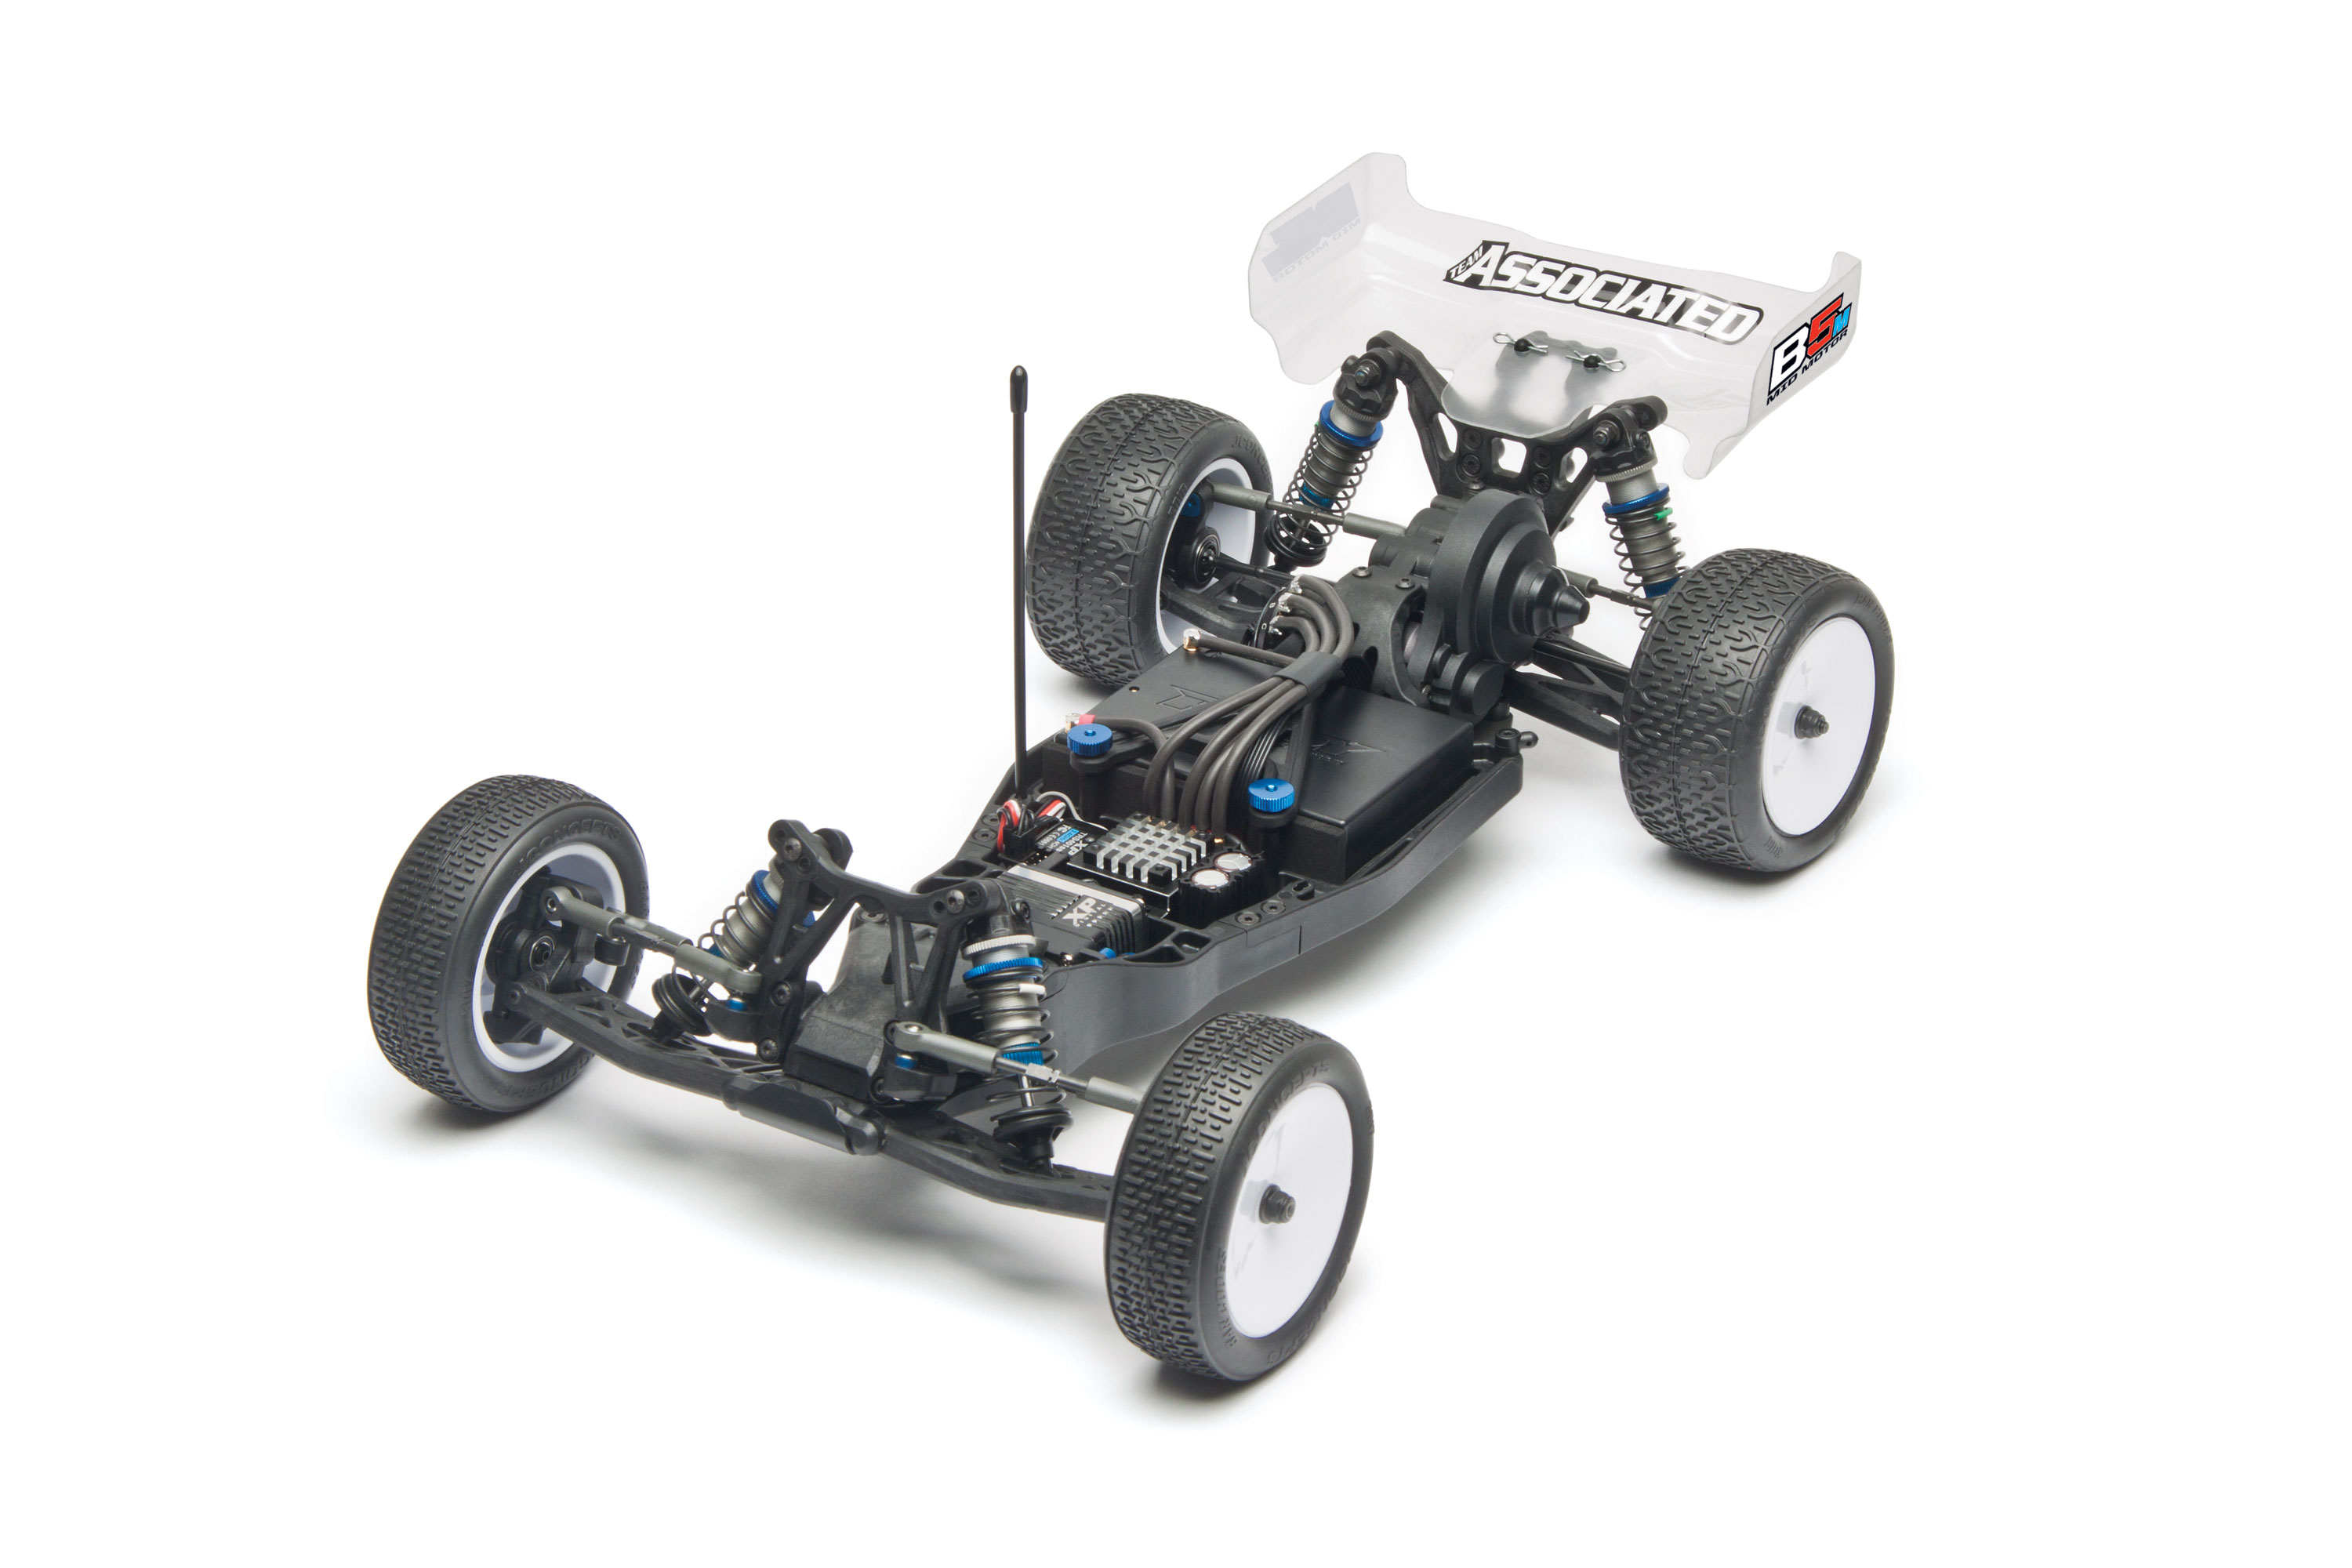
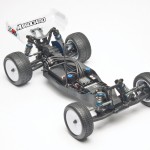
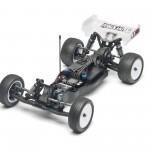
 The B5 (rear motor setup) is the next generation in a long line of World Championship winning buggies; eleven to be exact. As Team Associated’s flagship class, releasing an all new 2WD buggy was a project that had more hanging the balance than anything they could possibly produce, so when they returned to the drawing board and released the B5 platform nearly 12 years after their last buggy, they did so in a big way. The complete redesign gets its foundation from an all new narrowed composite tub chassis that moves all components of the vehicle to center for improved balance and performance on rougher tracks.

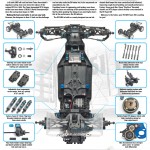
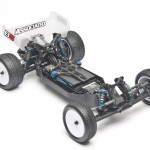
An overall look at the chassis reveals a completely new design with much higher sidewalls. All electronic components are moved to the center of the buggy or optimum performance and handling. The B5 uses either saddle packs or Associated’s new square packs for power.
The complete redesign gets its foundation from an all new narrowed composite tub chassis that moves all components of the vehicle to center for improved balance and performance on rougher tracks. The chassis is formed to fit either saddle packs or Team Associated’s new square format packs (shown) and places the receiver and speed control toward the rear. Up front a solid looking front brace section houses the all new steering rack and mounts the front shock tower from the back allowing the camber links to be mounted far lower than on the B4 series. The tower itself features bracing and gussets that improve its rigidity and the upper shock mounts are located on “arms” that give the shock plenty of clearance from the tower itself. Out back the rear shock tower is more in the spirit of its predecessor but no stretches up higher off the chassis and moves the center bracing up to better support the shocks. Behind the tower the inner camber links are mounted vertically for roll center adjustments but like the front appear to have a much lower initial mounting position to increase grip. Rather than having a body mount that is molded into the tower, the B5 features a bolt on mount that spans off the front and has a large base to support the body and keep it from getting damaged. To the rear and on either side of the body mount’s screw, an all new wing mount reaches back and is connected across the end for a solid mount design that reduces flexing and makes for a more durable wing mount overall.
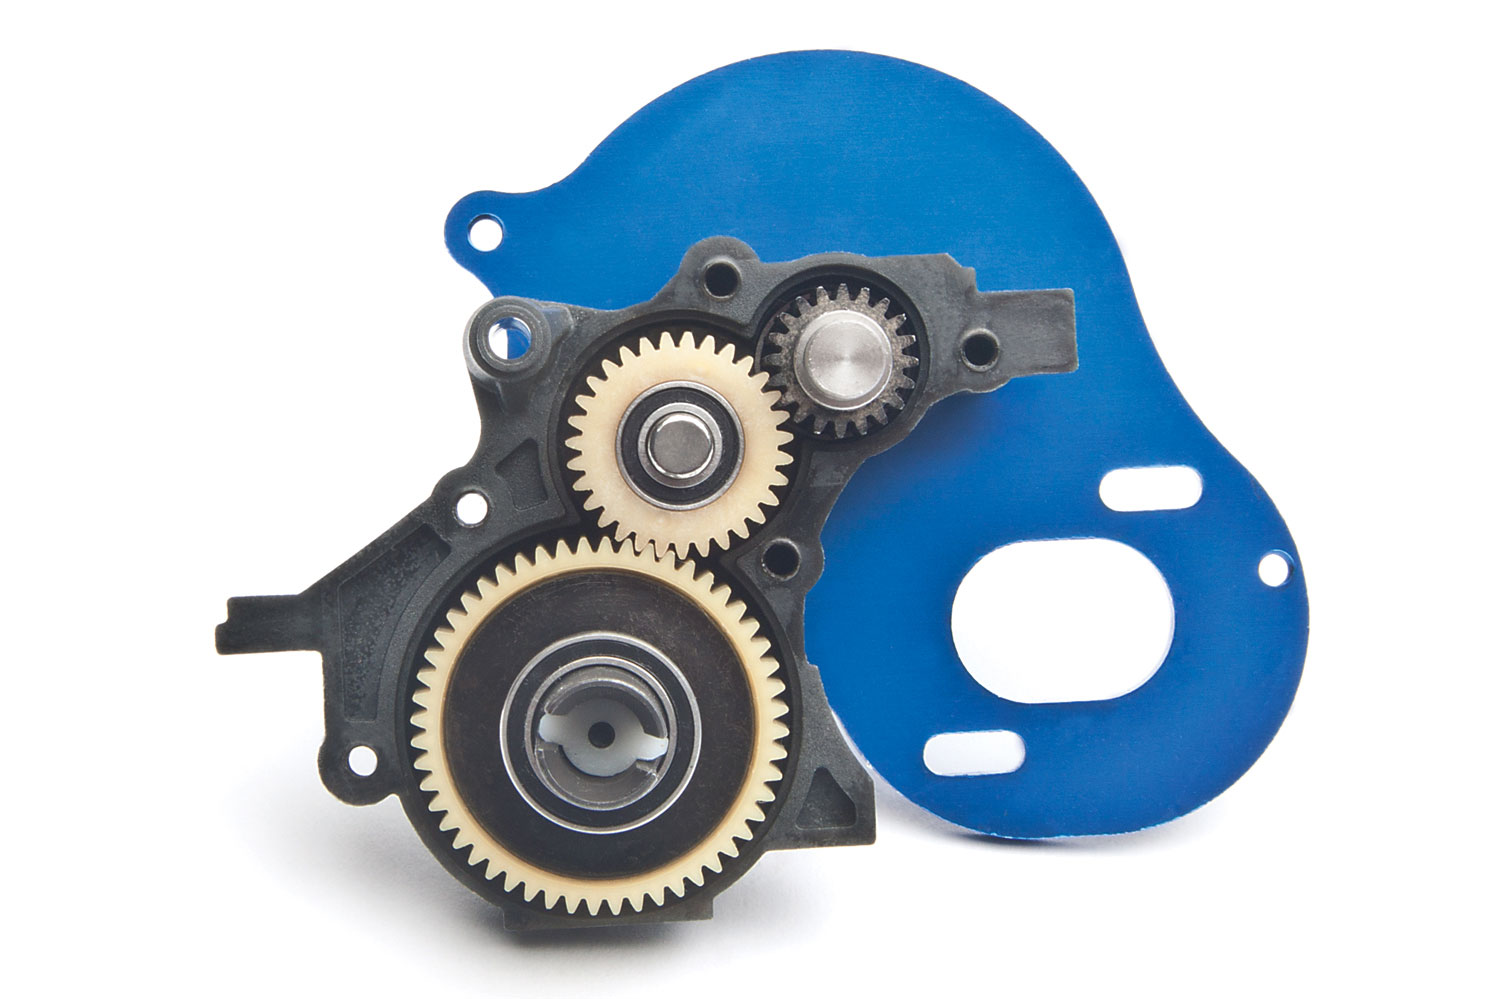
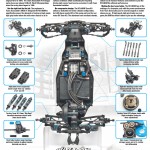
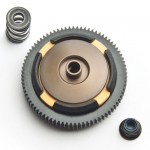
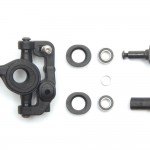
An all new transmission keeps the same 2.6:1 ratio but now includes gears made of stronger material along with a 14 carbide ball differential
The transmission will maintain the same 2.6:1 ratio from the B4 series but all internal gears are now made out of a much stronger material. The buggy will also come with a ball differential complete with carbide diff ball and an all new gear case and motor plate finish off the transmission. On the outside, Associated has bolted on their famous VTS slipper clutch and high resolution spring that enables the racer to make finer tuning adjustments.
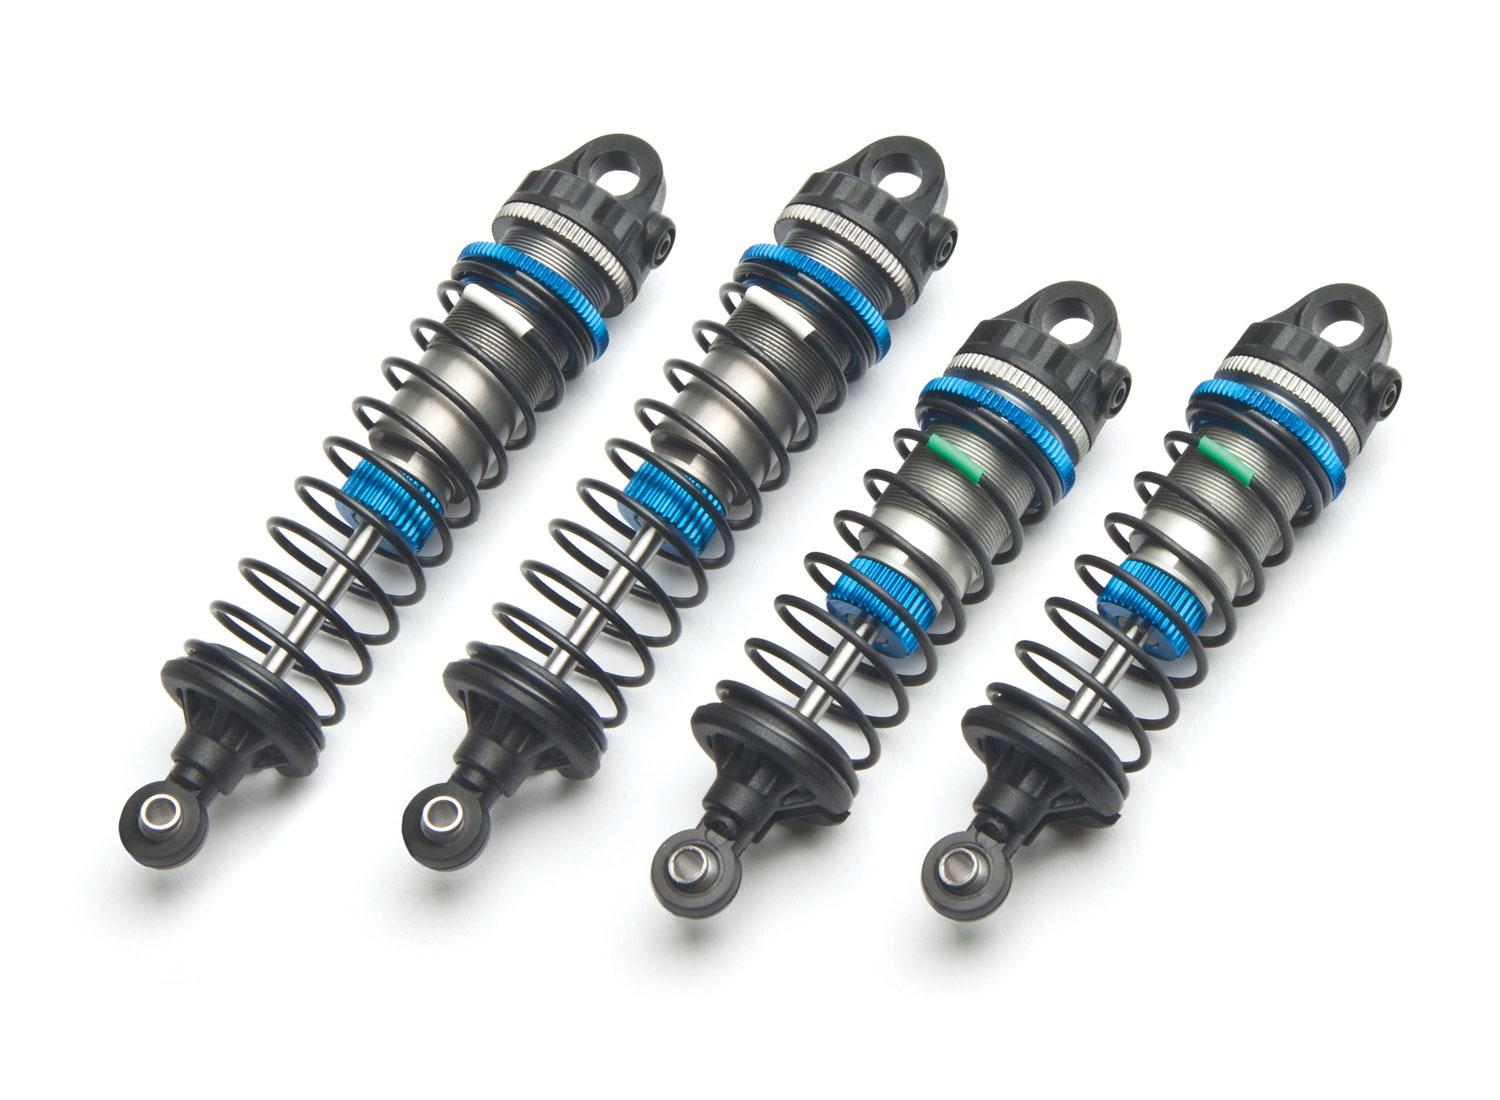
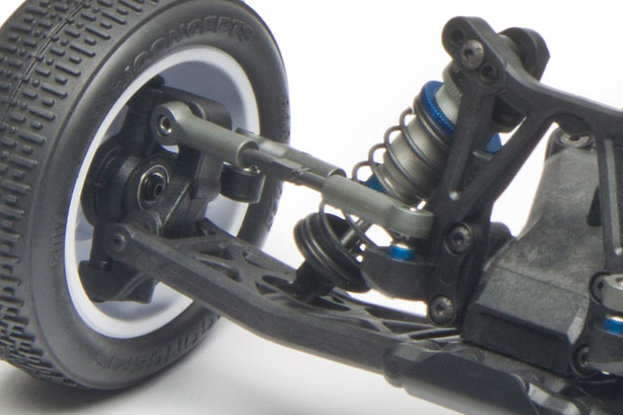
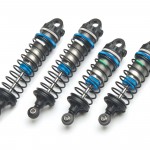
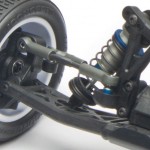
Team Associated’s 12mm Big Bore shocks get a V2 badging now thanks to new cap design and 3mm shock shafts.
If you spotted new shocks in the chassis shot, good eye! The A Team has revised their 12mm Big Bore shock design slightly and the V2 rendition will feature an all new cap and bleeder screw design along with 3mm shock shafts. These shocks are bolted to an all new suspension that, while reminiscent of the previous car, is completely new for the B5 and features new rear arms along with a set of straight arms for the front end.
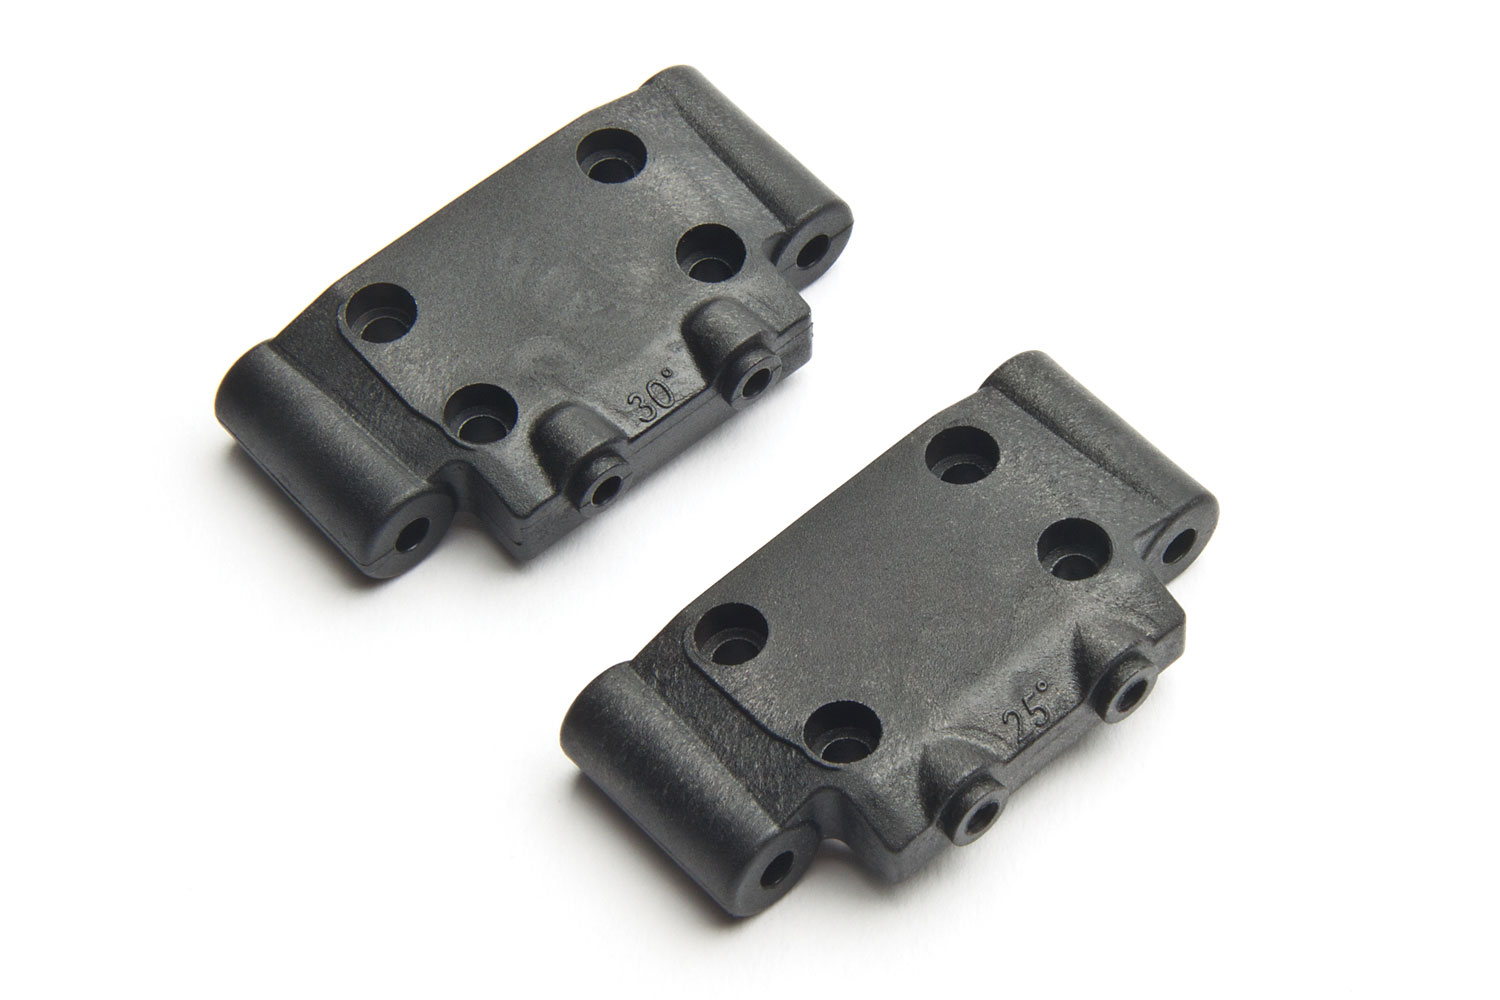
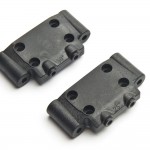
The B5 and B5M will give you the option of installing a 25° or 30° front bulkhead depending on your specific track conditions.
Up front the arms mount to the chassis via a bulkhead that is now available in 25° and 30° kickup angles. From the shots released, it’s still too hard to tell if the hinge pins are captured from the end via a small screw or the middle with a set screw but what we can see is that the area around the pin openings on the arms is substantially beefier that before.
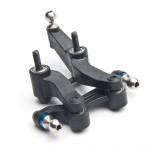
Gone are the days of different blocks for caster and trailing link steering. Associated has developed a new block insert system that lets you make changes without extra parts.
Where the front end of the new buggy really gets exciting is on the ends of the arms where a new caster block design hangs low off the arm to drop the axle down to just about the suspensions pivot point. An all new block insert system allow you to adjust caster and steering block style by replacing the insert to make changes. By changing out the steering block insert, you can have either an inline or trailing style steering system for further tenability. The outer steering system is finished off with a new narrower one-piece hex axle that does away with the clamp on style hexes and provides a more solid contact to the wheel.

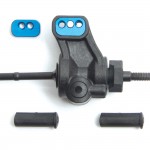
A new steering rack does away with the servo saver and gives you more Ackerman options.
A look at the steering rack reveals an all new system that scraps the servo saver and mounts the steering ball studs horizontally. The new rack is supported by a set of bearings to provide silky smooth movement and uses spacers to provide Ackerman adjustments and the system as a whole looks much stronger than anything that came before it.
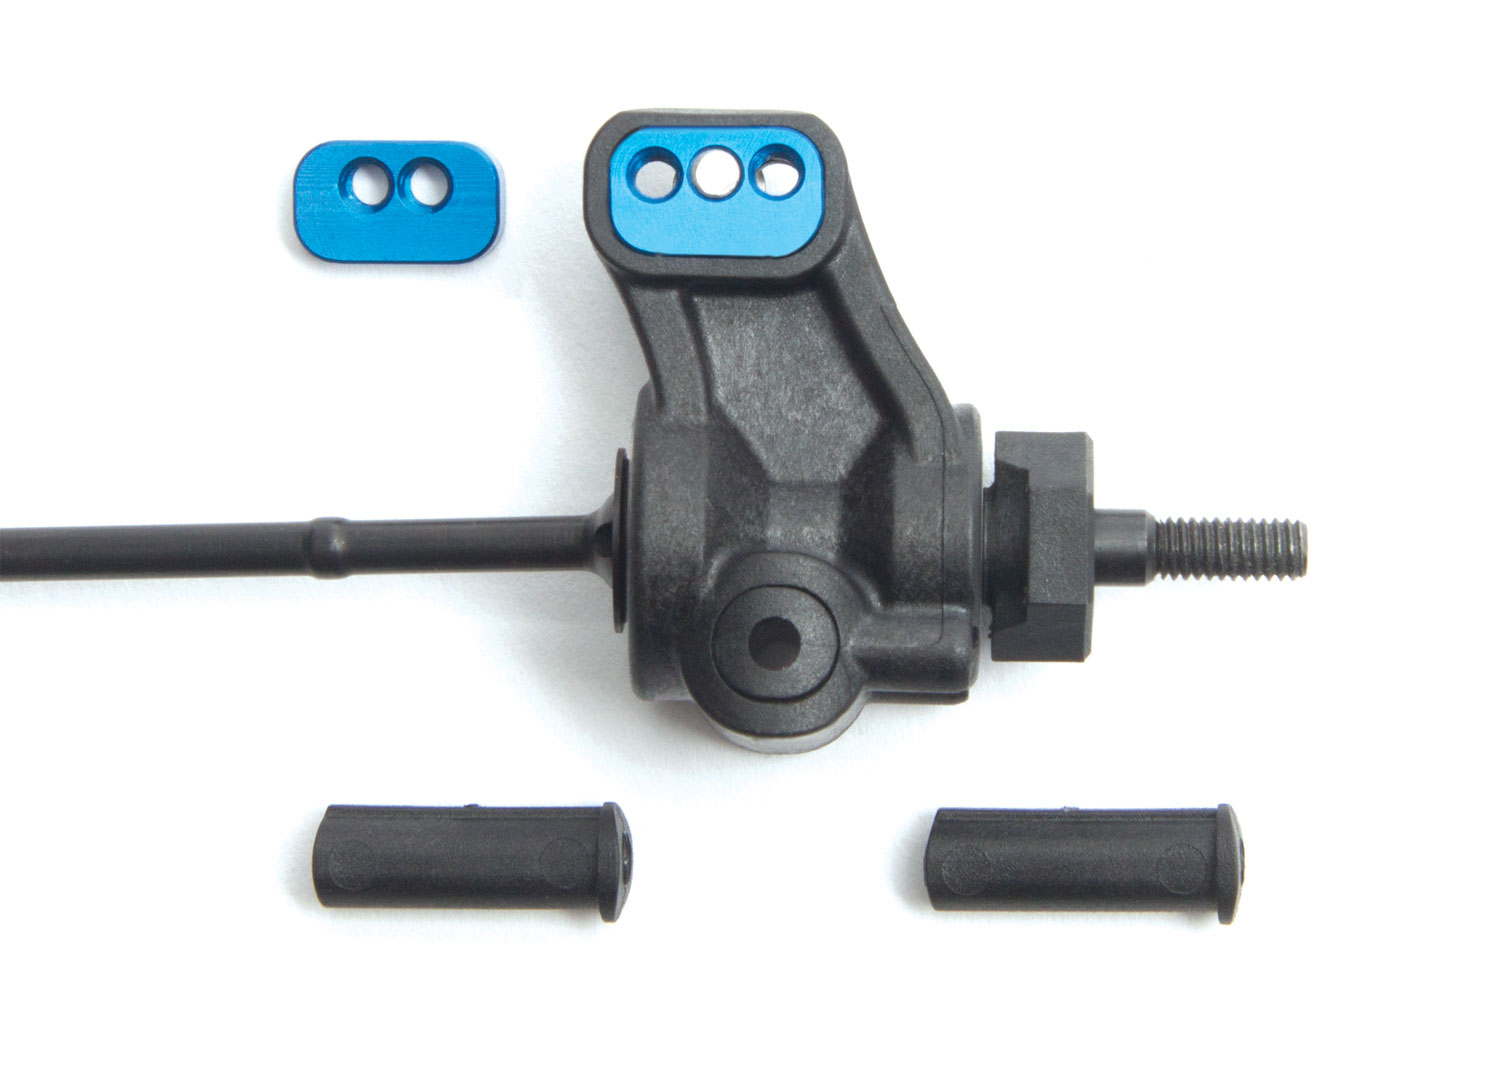
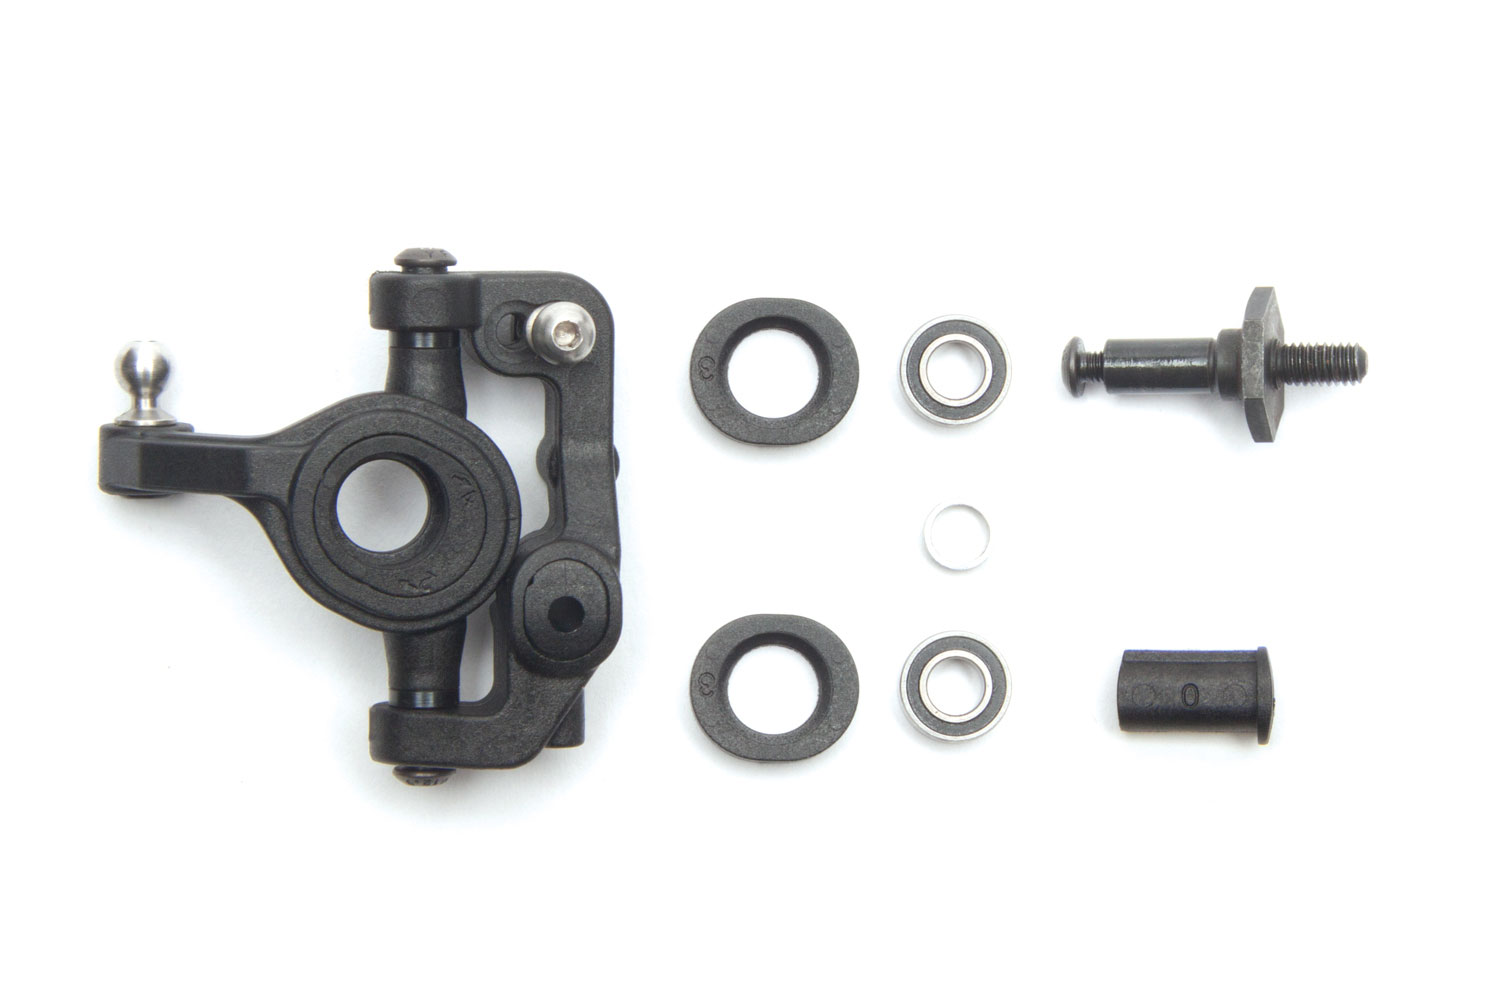
Out back the rear hubs feature a larger inner bearing to help support the CV style axles while an insert system allows for rear toe adjustments to be made to the hub rather than swapping out inner mounts. Up on the arm of the hub, an all new aluminum block insert can be swapped out as well to provide more camber link settings.
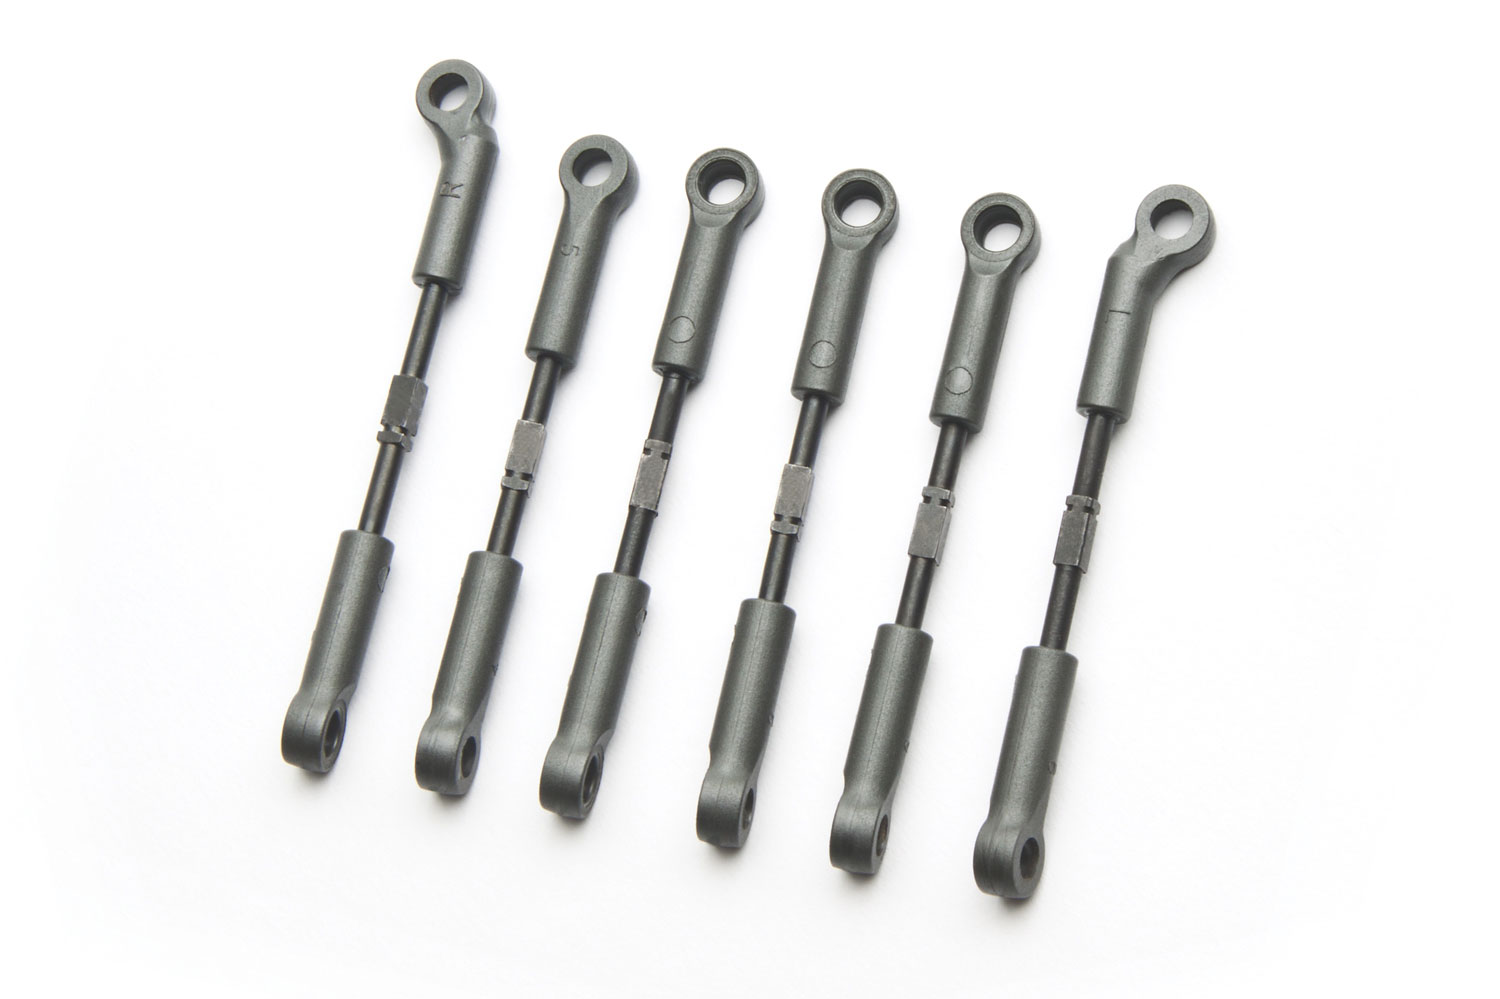
The linkages for the B5 feature an all new cup design that allows easy access to the ball stud’s hex without removing the cup.
All new ball cups were designed for the B5 and now features a much lower profile that provides more contact to the ball itself while allowing easier access to the studs hex to remove it without popping the cup off. The cups for the steering blocks are angled to rear around the large caster block and provide full steering throughout the racks travel.

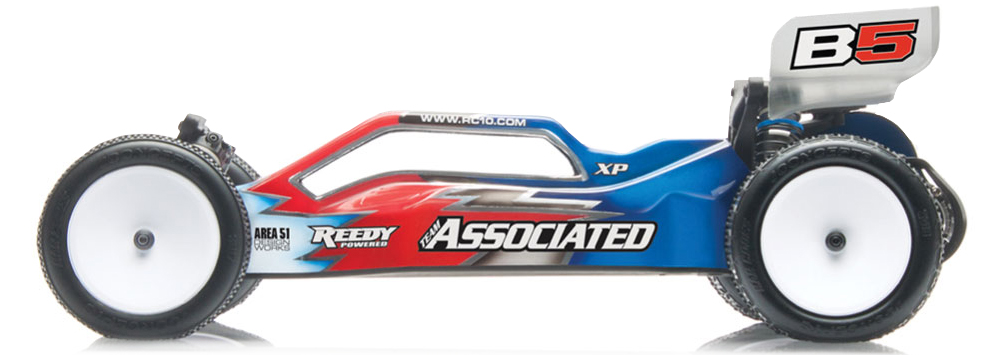
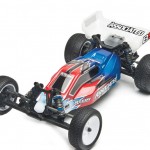
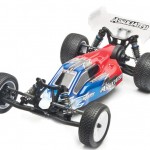
The styling of Associated’s new 2WD body is more aggressive than their past buggies and from the looks of the fin over the roofline and the step angle of the rear section, it looks like this body will produce a lot of downforce.

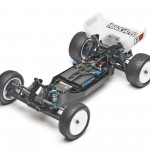
As we’re sure you already knew, the B5 is also available as a stand along mid-motor version titled the B5M. While many companies have build buggies that allow the transmission to be moved into either position using a small group of extra parts, Team Associated felt it was important to design a second, purpose built buggy made specifically for mid-motor configuration rather than compromise. While the majority of the features from the B5 are carried over to the B5M, some very special changes were made to give it the best handling possible.
The B5M features an aluminum chassis thats much stiffer than the composite tub on the rear motored B5. It uses composite braces on either side to finish off the chassis and increase its rigidity and moves the speed control and receiver just behind the steering servo to allow room for the motor. While the majority of the rear suspension remains the same from B5 to B5M, a new rear shock tower was a must as it was relocated to the back of the buggy. The most substantial changes to the suspension were done up front where the entire geometry was changed to tune it for mid-motor.
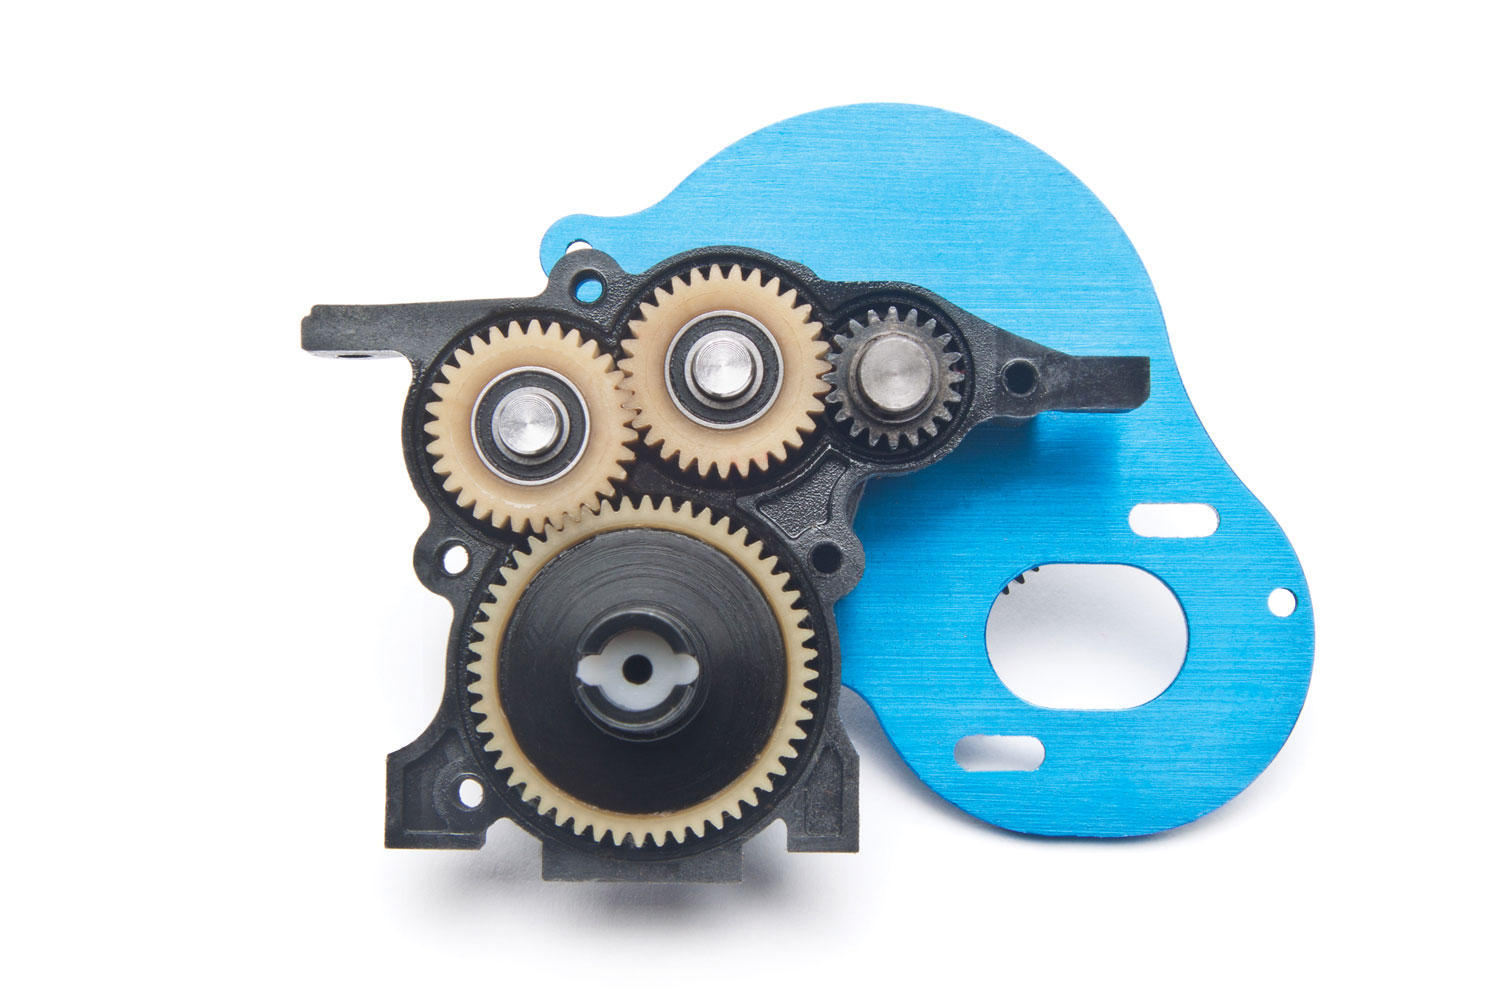
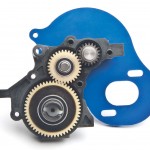
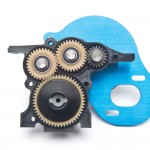
In order to flip the motor around the other way, a second idler gear is added to the transmission and requires another new tranny case.
The most substantial difference between the 5 and 5M is the transmission and motor configuration. In order to move the motor to the middle of the buggy, a specific tranny case was produced that houses a second idler gear to reverse the transmissions rotation without changing the ratio. Aside from the extra gear, motor plate and new case, the tranny is essentially the same as the B5 and included the better material gears and carbide ball diff.
The mid-motor car also gets gull wing front arms and a revised suspension that is tuned for a mid-motor weight bias.
The other most noticeable detail to the B5M is its gull wing style front arms. As a matter of fact the M has a wider front geometry overall thanks to a mid-motor specific front shock tower that moves the upper mounts out further. In combination with the new arms, the front of the B5M increases the steering response and make it more aggressive for high grip tracks.

Along with the rest of the new parts, the B5M gets its own body as well. While maintaining the same aggressive roofline as the B5, the rear of the M body makes room for the slipper clutch and gear cover and spans further back to reach the rear shock tower.


![RC Car Action - RC Cars & Trucks | This 1/3 scale 125cc V10 Buggy is CRAZY [VIDEO]](https://www.rccaraction.com/wp-content/uploads/2018/05/V10-HP.jpg)


 Stay up to date with the latest information, sign up for our FREE newsletter today.
