

Final Build Photos


Please rate this ride   (1 votes, average: 4.00 out of 5) (1 votes, average: 4.00 out of 5) |
| Submitted By | |
| Shane McManus |
|
| Poplar Grove, Illinois, United States of America | |
| Build Information | |
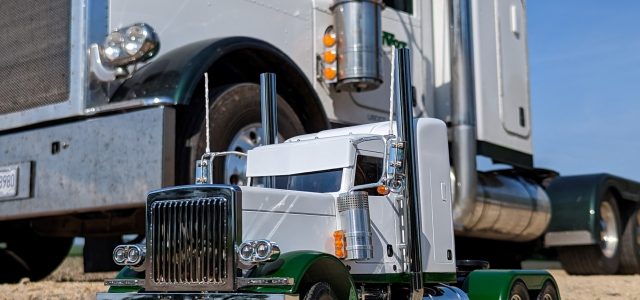
| Readers Ride Title | Tamiya Grand Hauler 389 |
| Vehicle Class | Scale |
| Chassis Brand | Tamiya |
| Chassis Model | Grand Hauler |
| Body Brand | Other |
| Body Model | Shapeways |
| Other Body Brand and Model | Shapeways 3d printed 389 Peterbilt with a 48 inch stand up sleeper. |
| Power System | Electric |
| Electric Motor Brand and Model | Tamiya Brushed Motor |
| Speed Control Brand and Model | Hobbywing 1080 Brushed ESC |
| Battery Brand and Model | 2200 mAh 2 cell lipo |
| Wheels and Tires Brand and Model | Stock Tamiya Grand Hauler |
| Paint Brand and Model | Tamiya Paint; Racing Green, and Pure White Rustoleum Primer/filler Tamiya Primer |
| Other Options Brand and Model | Parts supplied from various locations
Hobbytown USA Rockford, IL |
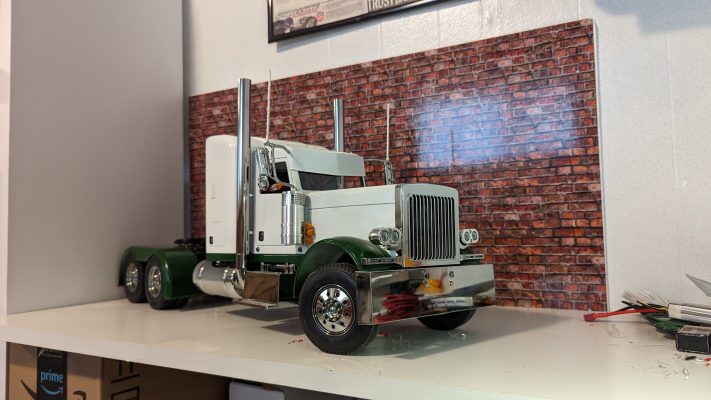
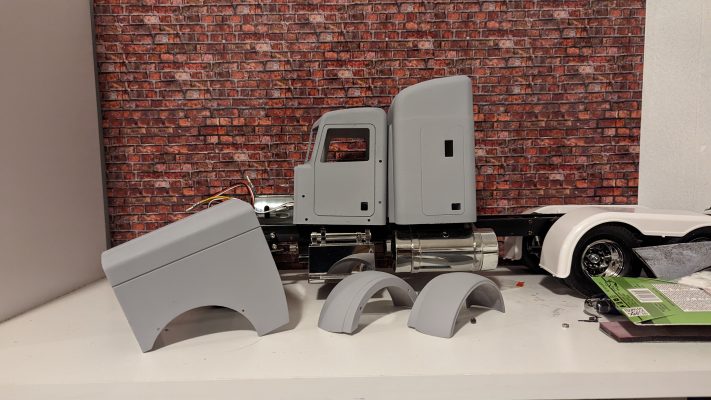
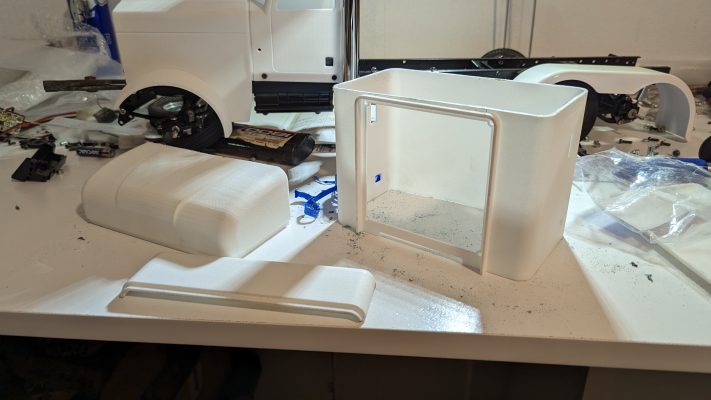
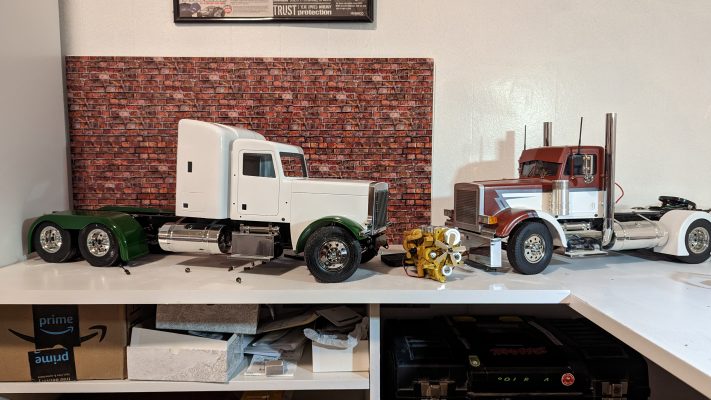
| Further Description/Back Story | Its been a since Ive built a semi, or just done an RC build in general. So I started to get parts together to build a replica of the 1:1 I currently drive, a 389 Peterbilt with a 48 inch stand up sleeper.
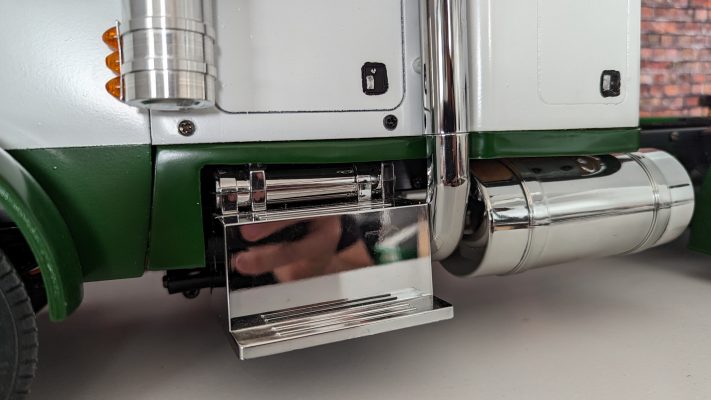
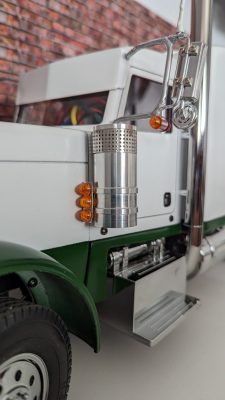
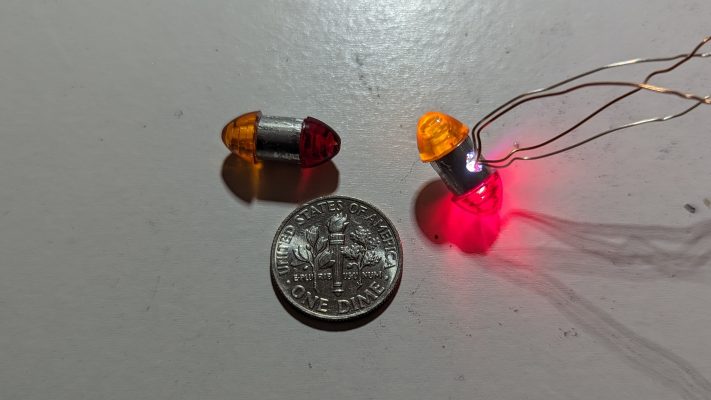
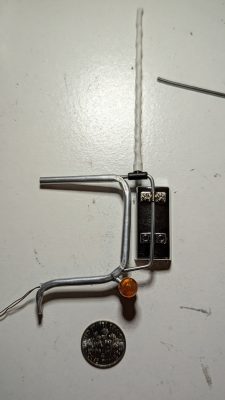
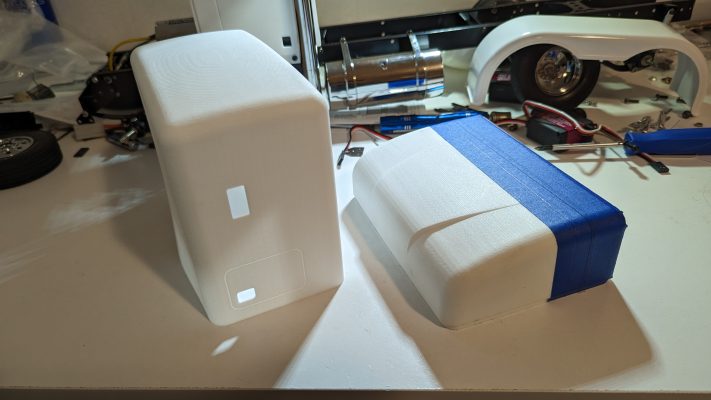
The chassis is a Tamiya Grand Hauler, I ended up shortening the frame by a couple inches to match the full scale truck. For a body I went to Shapeways, I ended up getting the hood, front fenders, cab and sleeper all from them. It took a lot of sanding and prep work to make the body perfectly smooth for paint since it was all 3d printed. The sleeper was the most time consuming to make. Its actually made from a 48 inch flat top style sleeper, and a piece that is actually designed to go onto the grand hauler sleeper to make it a stand up version. With some epoxy, body filler, and Rustoleum Primer/Filler, I was able to make it into a 48inch stand up sleeper. The best way I found to smooth out a 3d printed body is by first doing an inital sand with a 220 grit. After cleaning the body, do several light layers of Rustoleum Primer/Filler. After a day of curing, I hit it with a few more coats to help build up the imperfections. The key is to then let it cure for several days before sanding it. I started out at 300, then worked my way up to 5000. If I seen more imperfections, I repeated the process again by hitting it with the Primer/Filler agian. Mirror brackets are home made to match a 389. I used aluminum tubing I got off of amazon. It was very tedious to bend them just perfect without them breaking. Since the aluminum tubes came in a varaiety pack, I was able to fabricate the light bracket as well that is mounted under the mirror. Micro led light fits perfect behind the watermellon lights, with the wire running through the mirror bracket. Cowl Pannels were also homemade, initially used roof flashing to make prototypes, After getting the right design down, I then used metal used for duct work to make a final product. Its very ridged, but still easy to work with. However, it was not perfectly smooth, but a few layers of Primer/Filler and then some sanding made it turn out the way I wanted it just like it did with the body. Breather lights are homemade too with the same material that was used for the cowl panels. The hood actuall opens, showing off a scale engine. It fits right over the brushed motor on the stock tamiya 3-speed trans. But, it did take creative work to get the hood to initally close, and yet still have the servos. For the hood to close all the way, the transmission is mounted lower, and then back with-in the frame rails. That was an easy solution, but that still left the servos. The one to shift the 3-speed trans is actually hiden within one of the side boxes. With a dremel, and a drill bit, it was a perfect fit. The steering servo istelf is on a homemade servo plate mounted on the underside of the frame above the front axle. Overall I am happy with how this project has turned out. I will eventually probably get an MFC for it and continue to add little details to the truck. Until then Ill enjoy running it around whenever Im not in the 1:1. |
Build Process Photos


![RC Car Action - RC Cars & Trucks | This 1/3 scale 125cc V10 Buggy is CRAZY [VIDEO]](https://www.rccaraction.com/wp-content/uploads/2018/05/V10-HP.jpg)


 Stay up to date with the latest information, sign up for our FREE newsletter today.
