


It’s been much longer between build sessions than I hoped for, but I’m finally back in the shop and twirling the ol’ number-two Phillips screwdriver on the way to turning a bunch of parts into a TXT-2 Agrios. After completing the transmission in the first build session, it’s time for bumper assembly, which is dispatched with just four screws.
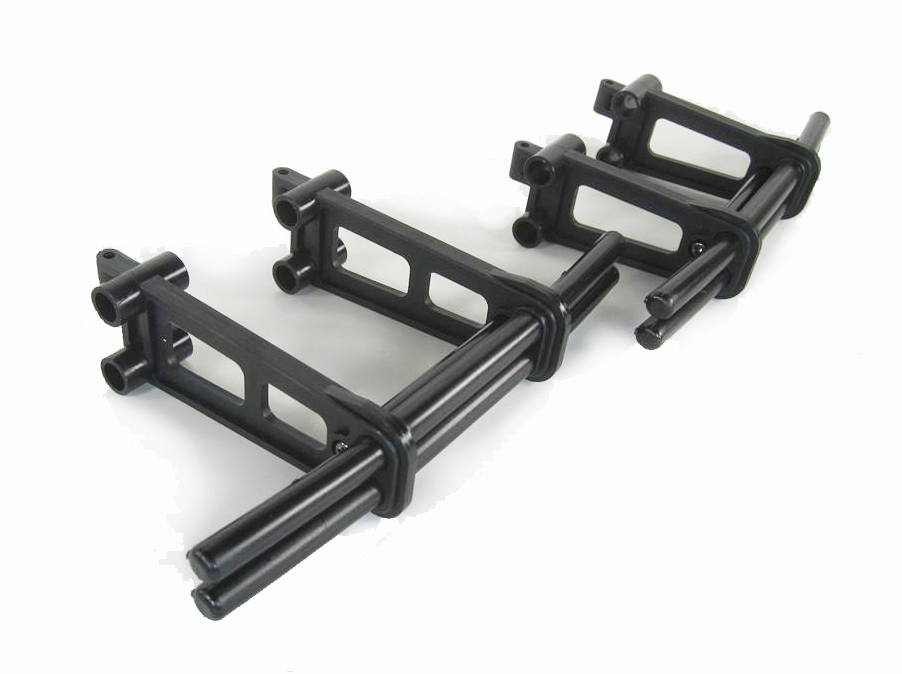
Here are the bumpers (I know, exciting). The bumper with the long supports is the rear, which means I will put it on the front and not notice until after I’ve installed many more screws.
To free the bumper parts from their sprues (or “trees” as they are also known), I unleashed the plastic-severing fury of my new Tamiya side-cutters. Don’t confuse these with diagonal cutters, which pinch off parts leaving a nub of plastic left behind. Side cutters have jaws that are ground flush (see the inset), so when you snip the parts from the sprues, there’s no nub to trim off.
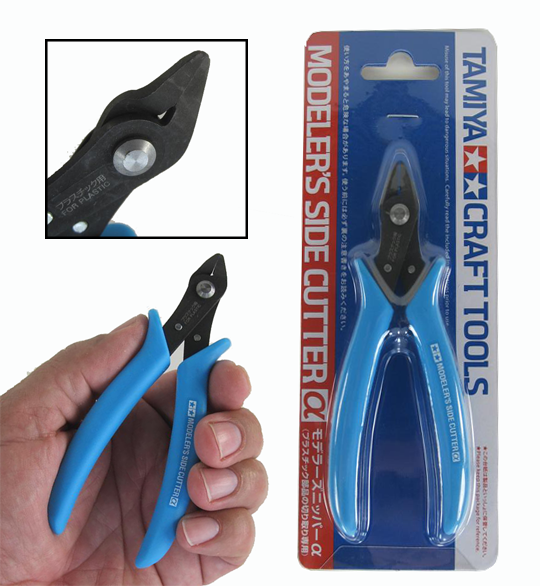
You deserve a nice set of side cutters.
Next, side-frame assembly, which calls for a whole bunch of screws, threadlock, and serrated nuts. Just gotta power through. Apply thread lock. Insert screw. Thread nut. Tighten. Repeat 20 times.
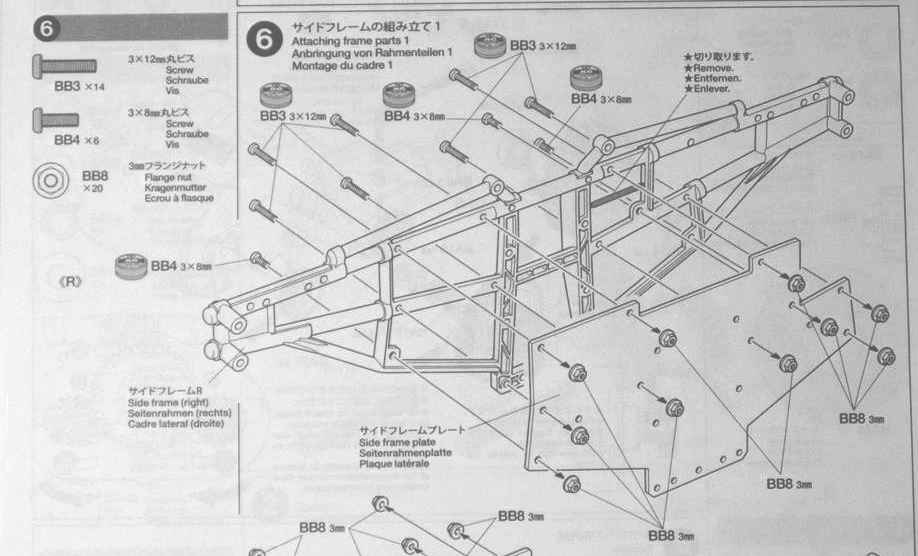
The manual shows the screws’ actual size in the upper left corner of each step. Double check, or hate yourself later when you’re left with one too-long screw because you stuck a short one someplace else.
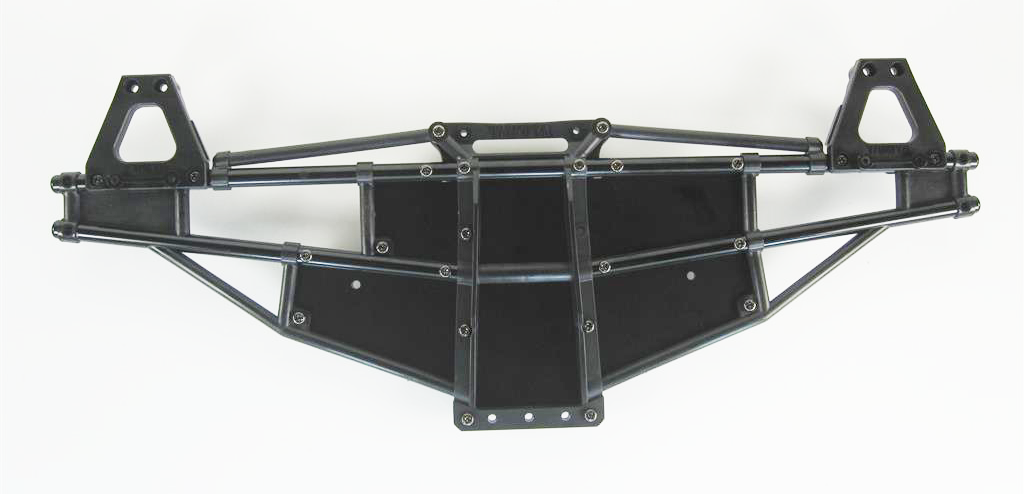
The side frames appear to be all plastic, but they are not–the plastic is actually molded over solid aluminum rails (highlighted in orange). Pretty trick.
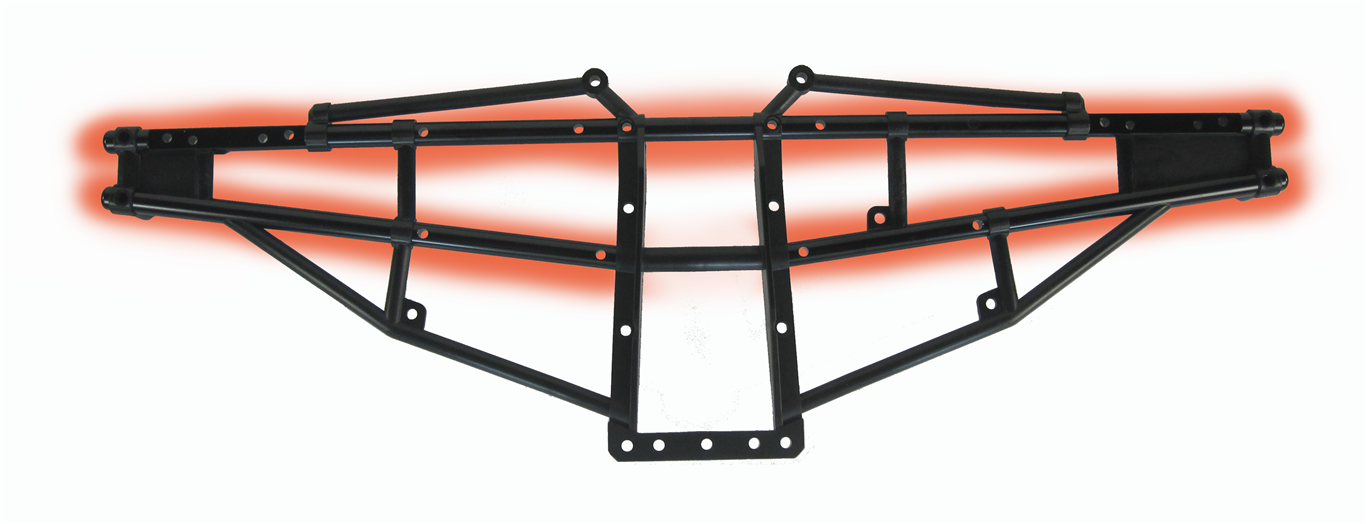
Know who’s great at Photoshop? Somebody else!
Here’s a completed side frame, with the shock towers attached. I’ve got eight shocks to look forward to at Step 26.
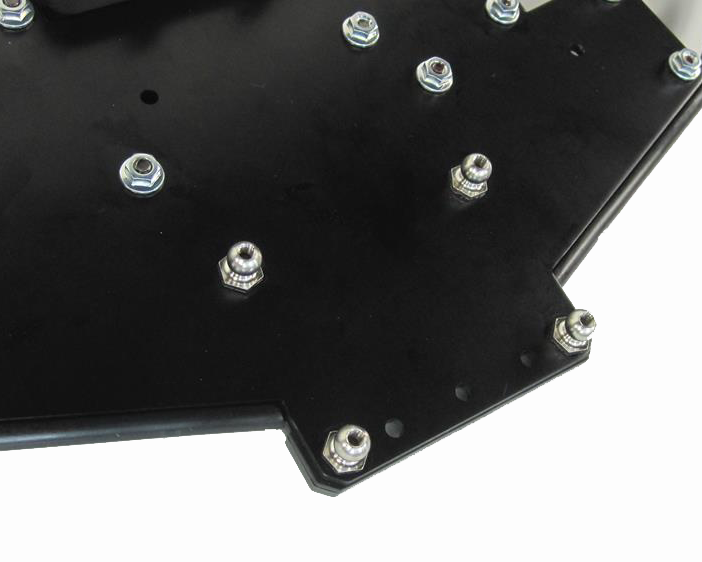
Four 6mm ball nuts are installed on each side frame. The suspension links will snap onto these later in the build.
That’s it for this session! Up next: the transmission gets sandwiched between the side frames, and then it’s time to dig into the axles.


![RC Car Action - RC Cars & Trucks | This 1/3 scale 125cc V10 Buggy is CRAZY [VIDEO]](https://www.rccaraction.com/wp-content/uploads/2018/05/V10-HP.jpg)


 Stay up to date with the latest information, sign up for our FREE newsletter today.
