

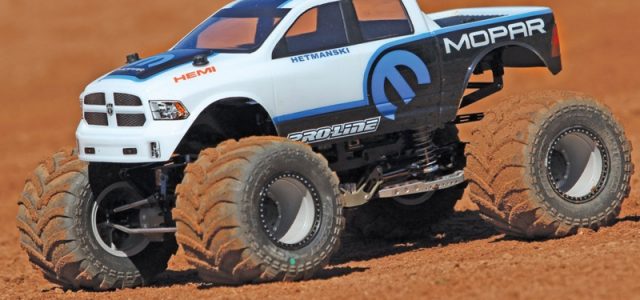
While building my project Yeti solid-axle monster truck, I wanted a paint job that would really make it stand out from other project vehicles that I have build through the years. I decided to take things to another level and design a paint job that would look like something that you might see on a truck in the Monster Jam series. Since I was starting with a Dodge Ram body, I went with a Mopar-sponsored paint job. I used a vinyl cutter to create custom masks, but the masks can also be cut by hand. Or you can use the many precut masks available from Parma to create a similar look. OK, let’s get this Pro-Line Dodge Ram body painted!
- DESIGN IT
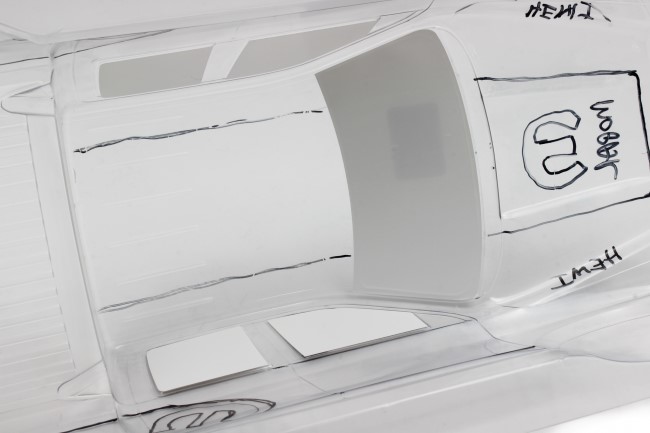
Using a Sharpie or Parma detailing pen, draw lines for the color breaks and logo positions. If you don’t like anything you’ve drawn, use alcohol to “erase” the lines. You don’t need to be perfect here; these markings are just a reference for you when you start to apply tape and masks.
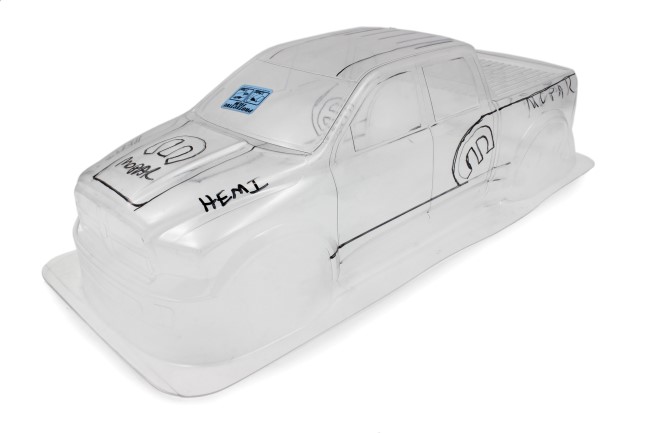
Perfect paint starts with a plan.
- SCUFF AND WASH
Scuff the inside of the body with a Scotch-Brite pad, making sure that you stay away from the windows. You just need to scuff up the areas that are going to see paint. You’re looking for a consistent dull surface that will give the paint something to grab onto. When you are done, wash the body with Dawn dish soap and water to clean up all the debris from the scuffing process and to remove any oils that may be on the surface of the Lexan. Make sure that you dry the body with a lint-free towel when you’re done to eliminate the possibility of water spots, which could result in a bad paint job.
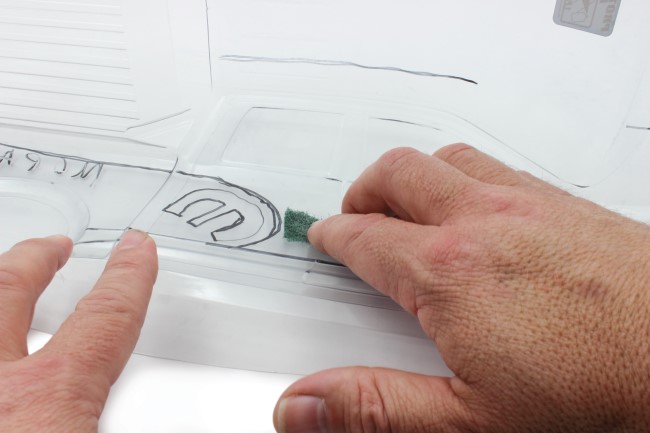
Don’t scuff the windows; they should be crystal clear.
- CUT OUT THE LOGOS
If you are able to design and cut your own masks, this is the time to do it. When laying out the masks, get them as close together as you can to save vinyl. Remember to flip any lettering because the masks are going on the inside of the body and will show the correct way on the outside. To keep the letters in alignment when applying them to the body, don’t stick them on one by one. Instead, use a piece of tape to transfer the letters to the body. Here, I’m using Parma Fastape. Apply the tape to the mask, rub it down, and use it to pick up the vinyl.
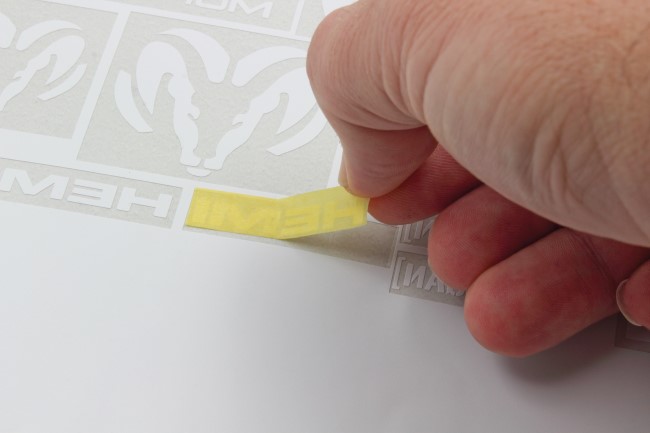
Use tape to transfer the lettering to the body.
- APPLY THE WINDOW MASKS
You can now apply the window masks. Make sure that you align them with the edges of the molded-in window when applying. Hold one side up while you start rubbing it in place with your finger. As you make your way across the mask, you can lower the other end. If there are bubbles in the center of the mask, you don’t have to worry—you just need to check that the edges are all properly pressed into place.
Make sure that the edges of the masks are completely sealed.
- APPLY THE MASKS AND MASKING TAPE
When painting bodies like this, it usually doesn’t matter if you start with your masking tape or custom-cut masks, but in this case, I’ll be starting with my masks because the tape on the sides has to be run around the Mopar “M.” When you apply your masks, make sure that they are exactly where you want them. If you aren’t happy with the position, you may be able to pull the mask and reapply, but chances are that you’ll not only mess up the vinyl itself but also alter the spacing on the letters or other details on the mask. Once the masks are applied, rub the masks down to ensure that they are completely stuck to the body, just like you would do with tape. With that done, you can apply the masking tape for the separating stripe.
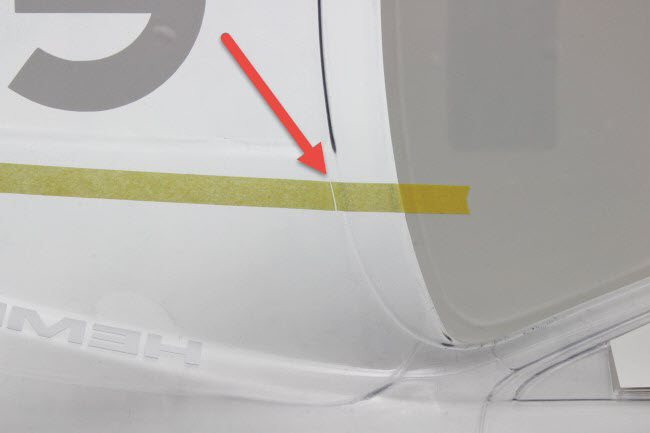
If any of the masking lifts, slice the tape and stick it down. Then apply tape over the break.
- CHECK FOR LIFTS
Before applying the rest of the masking to cover the large areas, let the masks and masking tape sit for about an hour. During this time, you’ll see if the masks and tape are going to lift, and if so, you’ll see where. Don’t waste your time rubbing it back down because it will lift again when you’re applying paint and ruin your paint job. I find all these areas and cut them in the center with a sharp hobby knife, then rub them down. There will be a small gap in that area, and it can be covered with a small piece of tape.
Careful masking will make or break a paint job.
- MASK THE LARGE AREAS
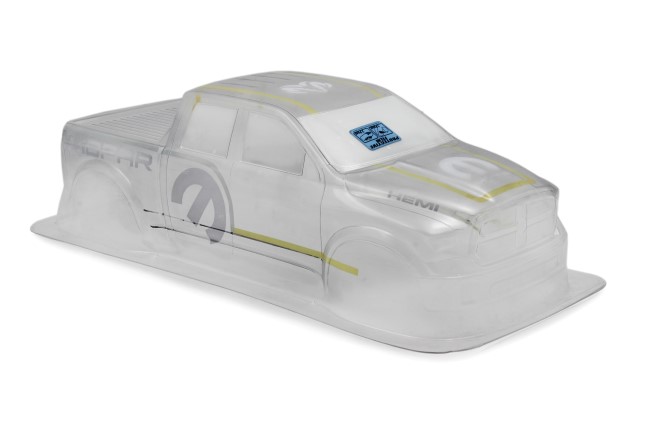
Now, you can mask the larger areas on the body. To save tape, you can use paper to cover large sections. I like to use phone book pages for the job.
Ready for color. Using paper helps save tape.
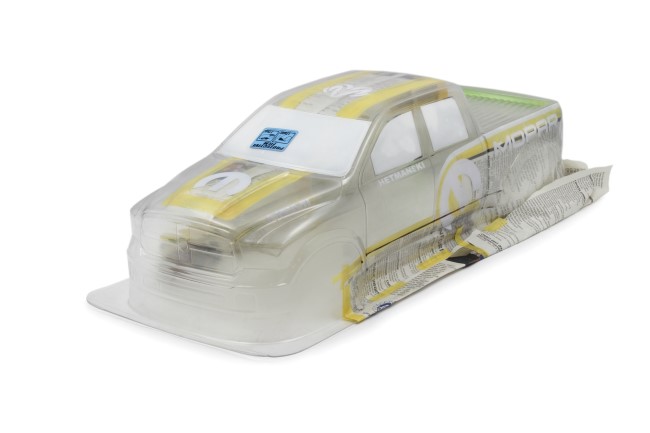
- APPLY THE MAIN COLORS
You can now apply the white paint and follow it up with the black paint. Spray the white paint until you have full coverage, and set it aside to dry for at least half an hour. You can then carefully pull the masking that you used to protect the areas that are going to be painted black. You can use a hair dryer to speed up the process, but make sure that you give the paint enough time to cool and harden. If you don’t let the paint fully cool, you might pull the paint off the body when you remove the masking.
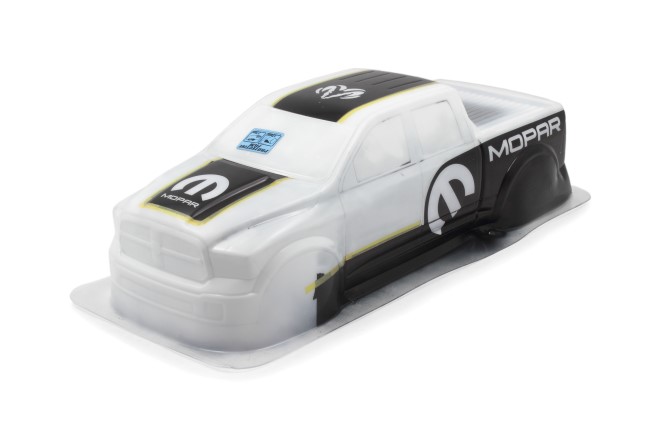
It’s coming together…
- SPRAY THE REST OF THE COLORS
Now, it’s just a matter of removing masks and applying paint to the graphics. When doing this, pay attention to your colors and pull all of the masks that will be that color. This will speed up the process a bit. For example, I wanted my separating stripe to be the same color as the Mopar “M,” so I pulled the masking tape and the “M”s off the body, then applied light blue. Once that was dry, I moved to the next mask and so on. Finish it all off with a few light coats of black all over the inside of the body to give it a uniform look.
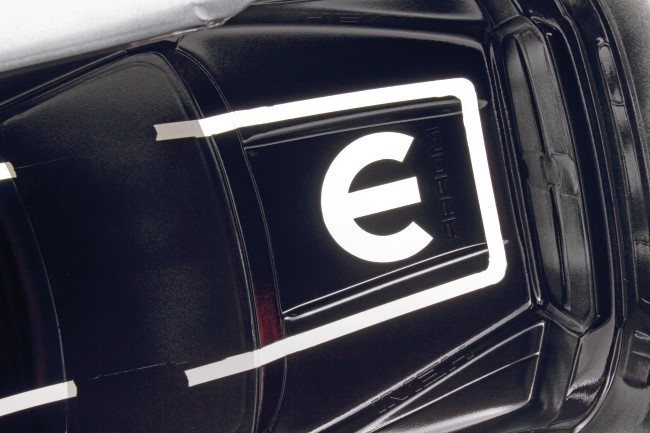
Remove the masks for all details of the same color so that you can spray them together.
- SPRAY THE BED AND WINDOW MOLDINGS
I sprayed the window details and bed on the outside to give it a more realistic semigloss look. This is easy to do thanks to the overspray film on the body. Simply cut out the sections that you want to paint, and peel the overspray film from those areas. Make sure that you don’t touch the exposed Lexan in these areas. You’ll feel as if you’re ruining the body when you spray the outside, but when you remove the rest of the overspray film, it’ll look great.
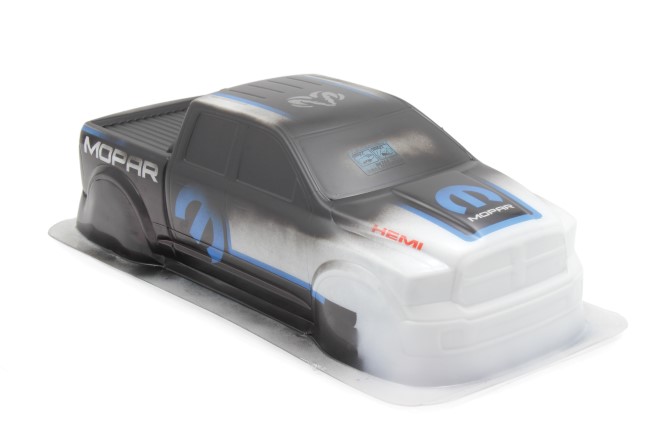
Don’t worry. This will look fine once the overspray film is removed.
REMOVE THE WINDOW MASKS AND MOUNT IT UP
That’s it! Remove the window masks, and you’ll have a great-looking custom body that people are going to love. If you take your time and pay attention to the details, you’ll have a paint job to be proud of that will make your RC car look really great. – Kevin Hetmanski
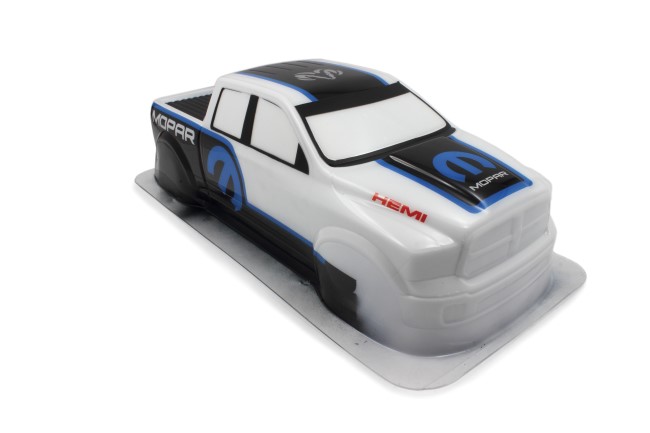
Peeling off the film reveals the painted bed and moldings.
SOURCES
Duratrax duratrax.com
Parma parmapse.com
Pro-Line Racing prolineracing.com


![RC Car Action - RC Cars & Trucks | This 1/3 scale 125cc V10 Buggy is CRAZY [VIDEO]](https://www.rccaraction.com/wp-content/uploads/2018/05/V10-HP.jpg)


 Stay up to date with the latest information, sign up for our FREE newsletter today.
