

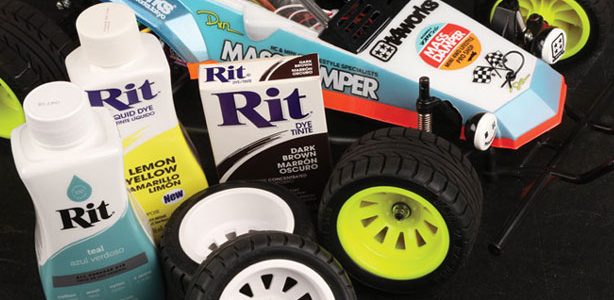
Getting your car or truck to look exactly as you intend on it to depends greatly on what color parts manufacturers offer. If you’re going for a replica of the Bigfoot monster truck, orange suspension parts just won’t do. If you’re trying to recreate a touring car that requires yellow wheels when your wheels are white, that won’t do either. Don’t be a prisoner of the lack of options. Create your own!
Dyeing plastic is a fun and an inexpensive way to give your parts a durable and custom finish. Unlike paint, which can wear off, dye penetrates the surfaced of hard use items such as wheels and suspension parts for a much longer lasting effect.
Dyeing plastic is an art that takes trial and error to get just right. Successful dyeing requires light colored plastics; white is the best to start with. Because manufacturers use different materials when making their parts, dye affects surfaces differently. This is why it is important to practice with plastic scraps that are similar to your parts.
Required Materials:
• A pot big enough to fit what you are dyeing
• A pair of tongs
• Hot water thermometer
• Water
– Rit Dye (liquid or powder)
– Item you wish to dye
– Heat source, such as a stove
– Paper towel
Step 1
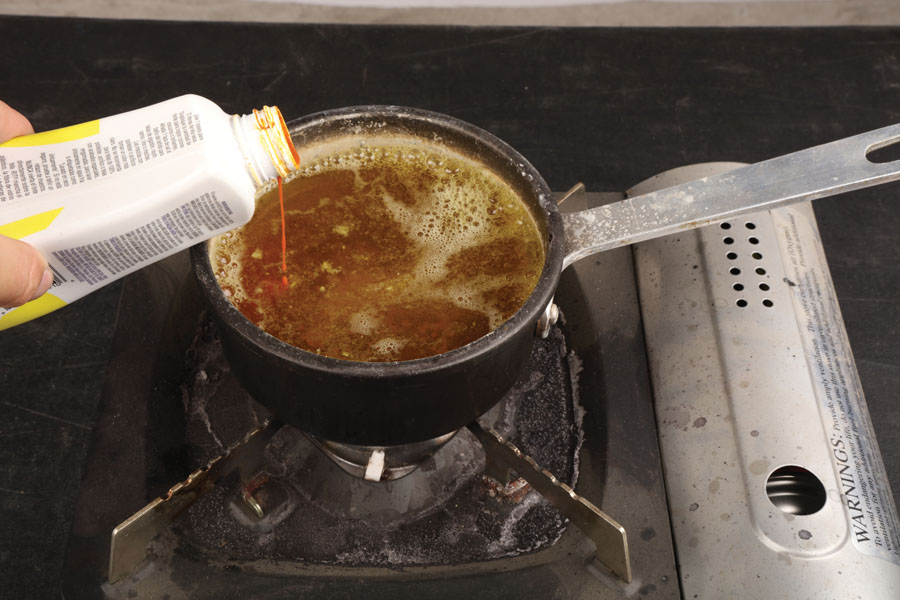
Boil Water/Dye Mixture
Bring a mixture of half a teaspoon of powdered Rit Dye per cup of water to a boil. We also use liquid Rit Dye, which is is about twice as concentrated so mix your water and dye mixture accordingly. Make sure that there is enough mixture to cover the items that you are dyeing.
Step 2
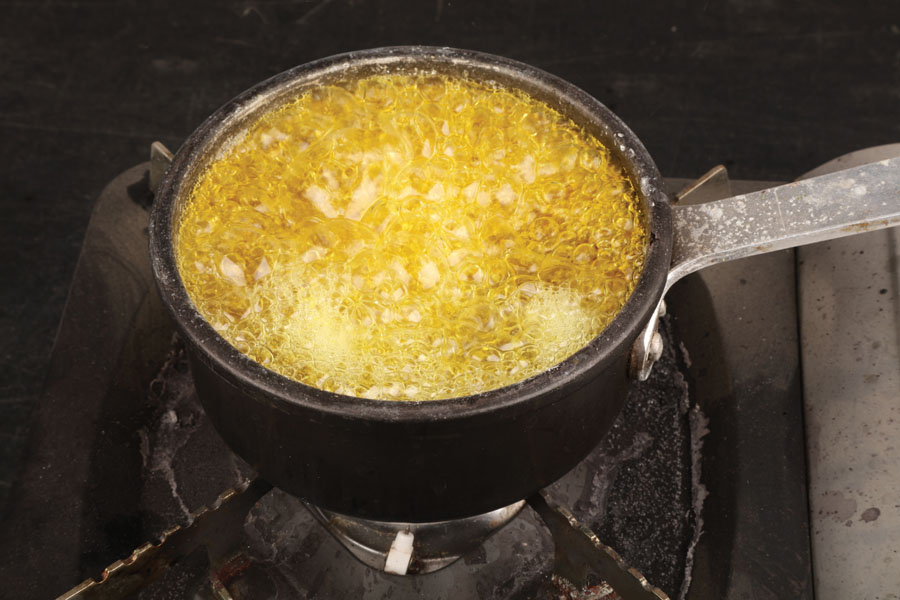
Bring the mixture to a temperature between 150 to 175 degrees Fahrenheit. Any hotter isn’t necessary for the dye to take effect and excess heat can damage the item being dyed.
Step 3
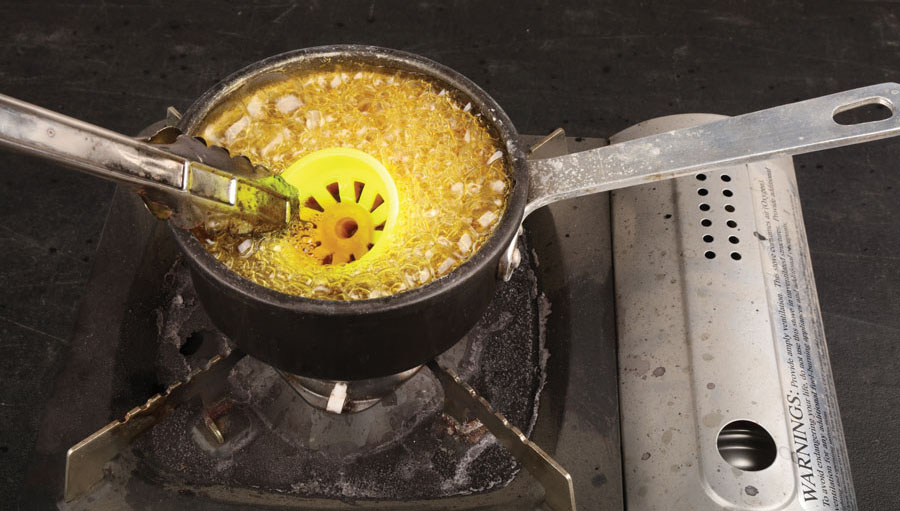
Using a pair of tongs, slowly submerge your item into the heated mixture. Be careful not to splash the mixture as it will burn your skin and stain your cooking surface. Dunk the part in and out of the mixture every minute.
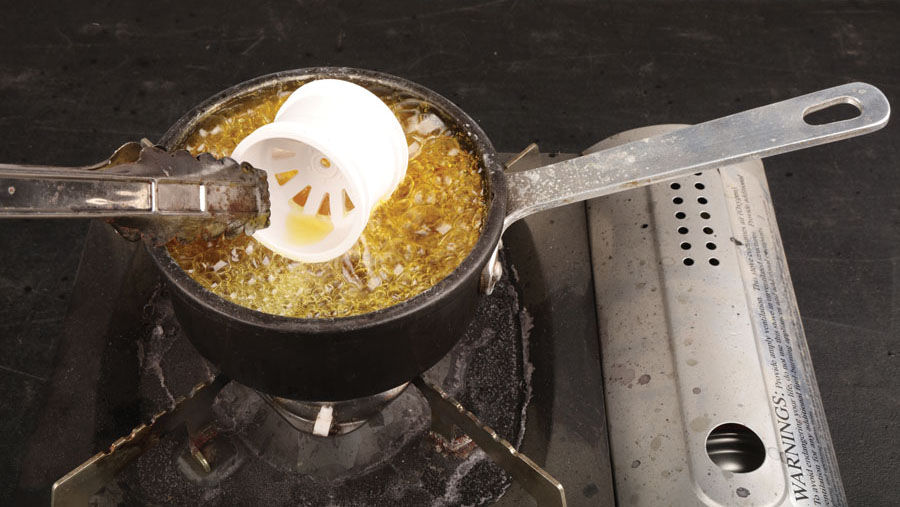
Step 4
Keep a close eye for color changes and watch for the tone that you are looking to achieve. This might take anywhere from one to twenty minutes, depending on the plastic you are dyeing. Be warned, some materials don’t take dye well and may not get the deep or rich color you seek. This is why practicing with a scrap piece is a good idea.
Step 5
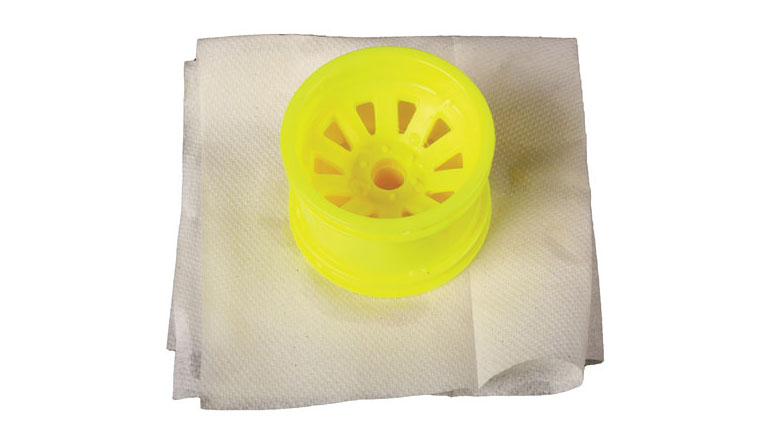
Once the item becomes the color you want, pull it out and pat it dry with a clean paper towel or cloth. Be careful, the plastic surface will be very hot. Do not handle with your bare hands. Also pay attention not to splash, you’re working with very hot water that can injure or permanently stain surfaces and clothing.
Conclusion
Color matching your parts is a quick and fun do it yourself project to do. Armed with this DIY skill, you are no longer dependent on what color parts the manufacturer produces. Now the only question is what color are you going to dye your parts?
by James York


![RC Car Action - RC Cars & Trucks | This 1/3 scale 125cc V10 Buggy is CRAZY [VIDEO]](https://www.rccaraction.com/wp-content/uploads/2018/05/V10-HP.jpg)


 Stay up to date with the latest information, sign up for our FREE newsletter today.
