

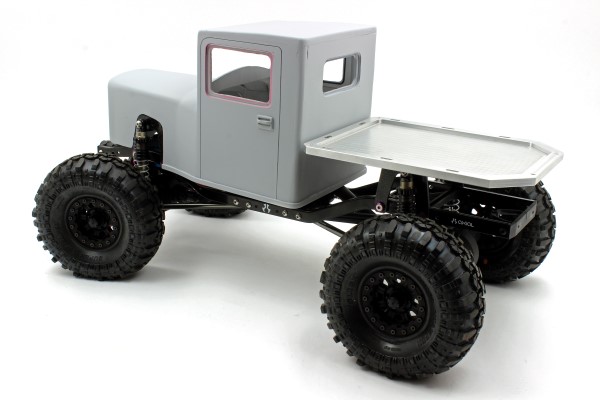

I’ve been spending a lot of time trying to get the body ready for paint on my 32 Ford truck inspired Axial SCX10 build. Filler has been flying, 3D printed parts have been glued on, the windows are ready to be mounted and there’s finally some primer on the plastic. There’s still a long way to go to finish the body so I’m not out of the woods yet. I still have to get some fine tuning in with filler, design and make 3D printed fenders, make the custom windows and figure out how I’m going to mount it all to the chassis. I also need to spend a little time on the bed to give it the look that I’m going for. Let’s take a look at where it sits today.
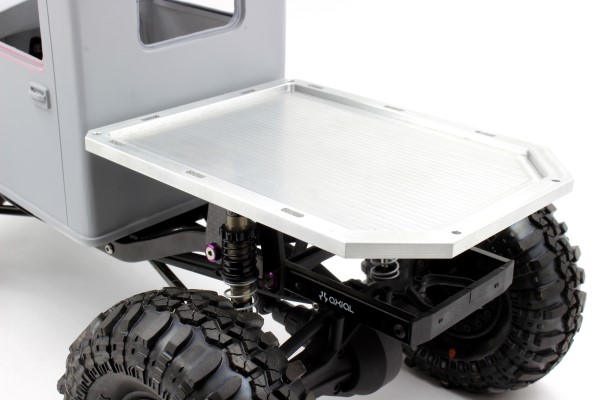
The biggest change is the custom machined aluminum flatbed. I spent a lot of time thinking about what I want to do behind the cab. Custom fenders, a complete tube cage and a few others went through my head before I saw an old truck at a tractor pull that had a flat bed and I knew that was what my truck needed. I designed it and got the file over to my buddy Ed Cable at Demsey Manufacturing to have it made. The bed will be painted black and receive a wood floor, wood stakes on the sides and along the cab and a custom aluminum roll cage.
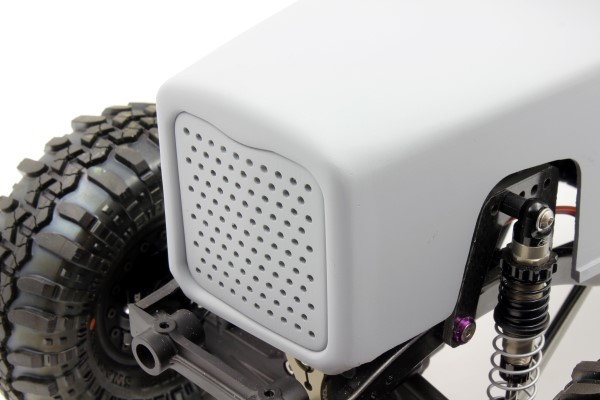
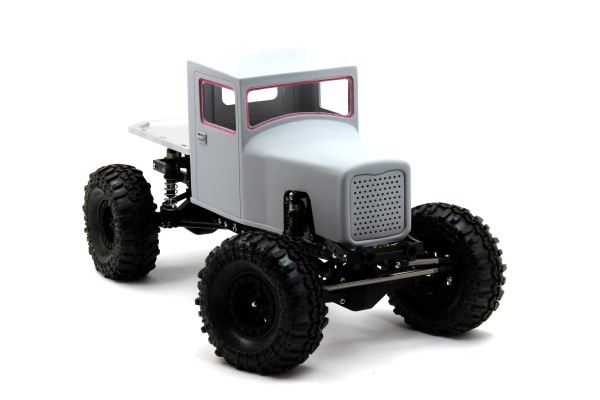
The body has received a lot of Tamiya body filler and a lot of sanding time has been spent getting it flat. My original plan for the nose and grill was to custom make something out of sheet plastic but now that I have my Zeus 3D printer up and running I used it to make a custom 3D printed grill and nose for my truck body. After giving the parts a quick sanding I glued them to the body using Pro-Line CA glue and filled in the gaps. I wanted a door handle on the body and after seeing a modern day Ford pickup I knew what my handle had to look like. Again I used the 3D printer to make it happen.
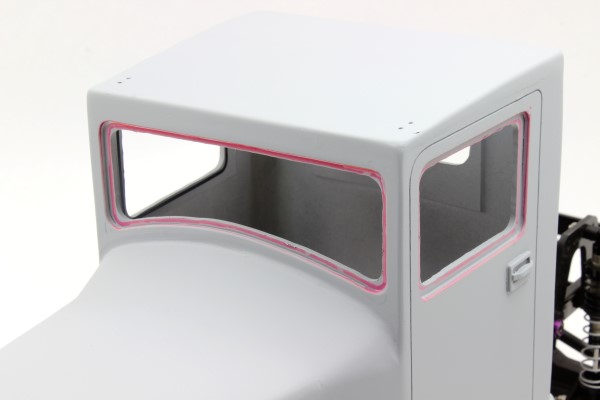
Part of what makes this body so nice to finish are the flat windows that trucks like this have on the cab. To make the windows I simply have to mark up some Parma sheet Lexan, cut them out and glue them in place. I do however have a custom trick up my sleeve and you won’t be able to see it until the windows are mounted. It’s going to give the truck a real trick look.
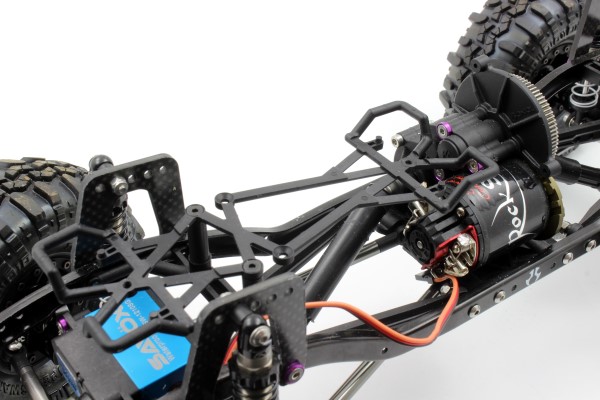
I want to have the battery mounted up front to keep weight on the front tires but because of the shape of my custom body I can’t mount it in the stock SCX10 position. The front of the battery mount has support thanks to the stock spacers and chassis mount but I need to figure out how I’m going to support the rear to finish it off.
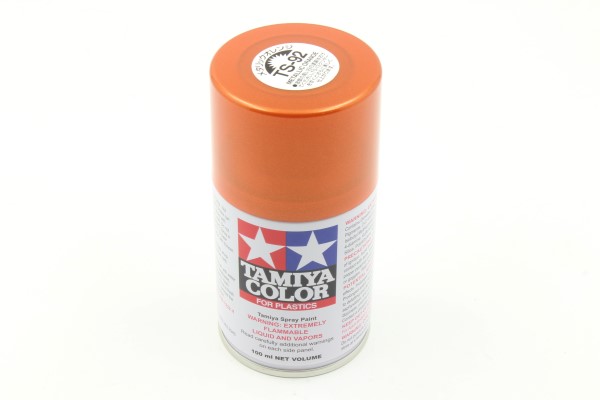
I have wanted to use this Tamiya TS-92 spray for a while; this Metallic Orange is perfect for my build. I can’t wait to start spraying it. Even though this truck body will be banged up on rocks and other debris I’m still going for a perfect finish. It will look awesome with fresh paint and even cooler with a scuffed up finish.


![RC Car Action - RC Cars & Trucks | This 1/3 scale 125cc V10 Buggy is CRAZY [VIDEO]](https://www.rccaraction.com/wp-content/uploads/2018/05/V10-HP.jpg)


 Stay up to date with the latest information, sign up for our FREE newsletter today.
