

We’re in the home stretch on the 1982 Kyosho Scorpion re-release build. If you’re just joining us, follow these links to the Unboxing, Part1, and Part 2 to catch up. Otherwise, it’s back to the bench…
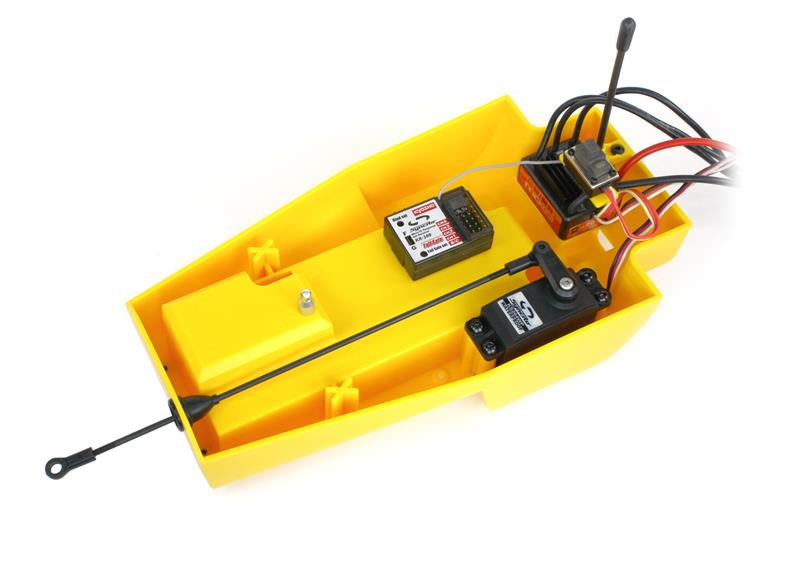
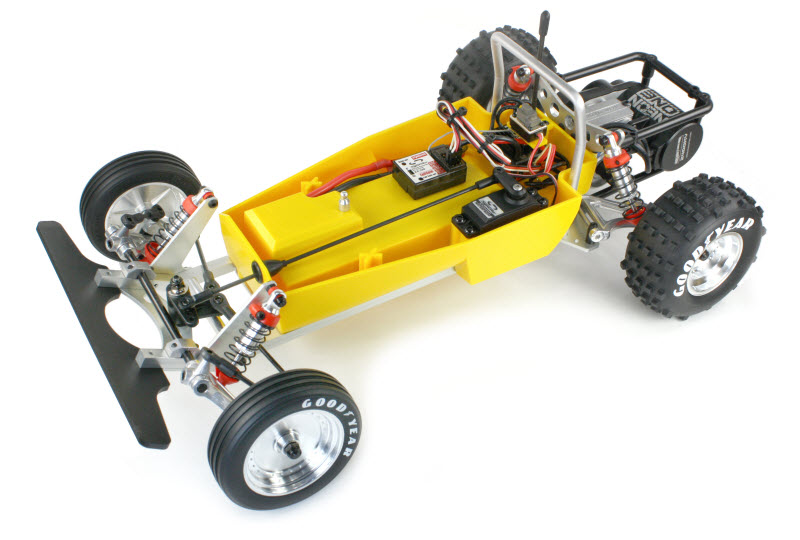
With the rolling chassis completed in the last session, attention turns to the tub and electronics installation. The steering servo is installed in the tub’s “cheek,” and if this were 1982 there’d be another servo installed on the opposite side to operate a mechanical speed control. Thankfully, it’s 2014 and there’s an Orion speed control taped to the tub instead. The switch is installed on a pad that elevates it for access with the body on. I installed the Kyosho Synchro radio system and Orion brushless power system from my Kyosho Rage VE to complete the Scorpion.
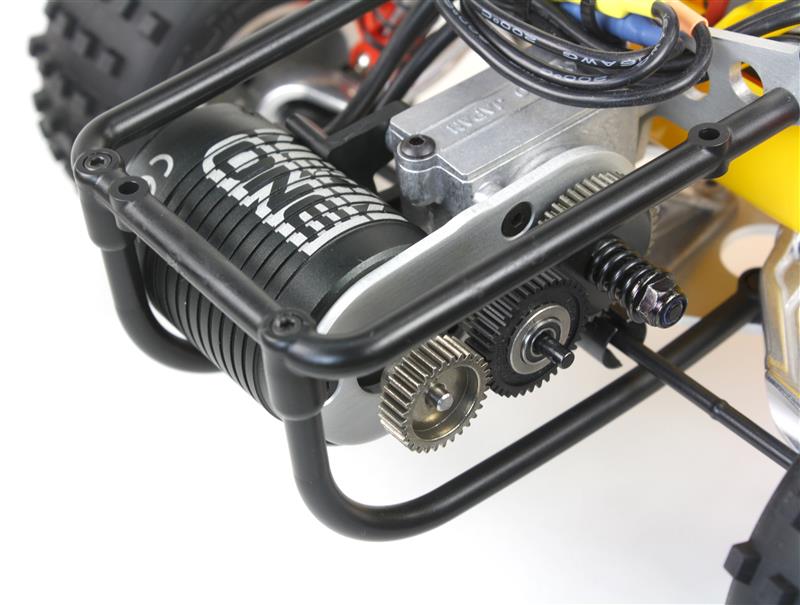
Here’s the motor installation. The motor mounting holes are not slotted, so gear mesh is fixed. To allow gear ratio changes, Kyosho supplies two sets of pinion and counter gears for a 6.9:1 ratio (the stock setup, which I installed) or a 8.3:1 ratio for hot motors.
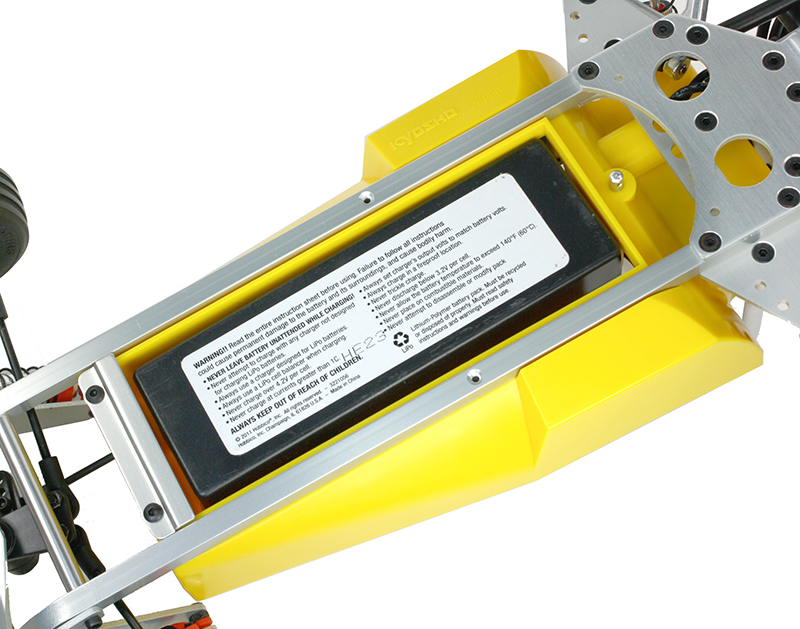
The battery installs from beneath, and is held in place by a body-clipped door (not shown). The battery tray will hold square-edged LiPos as well as sub-C packs.
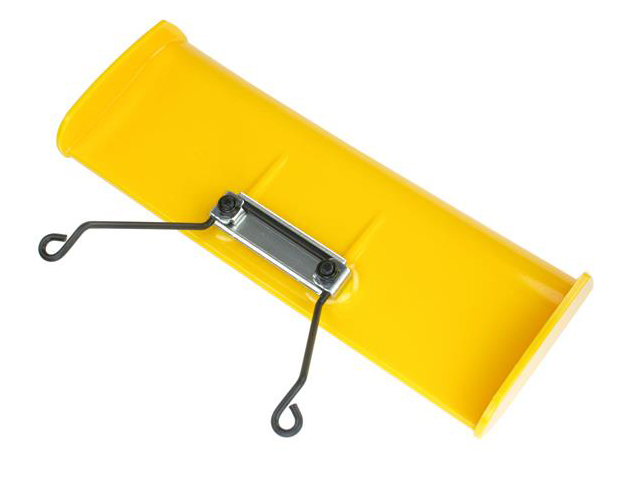
With the tub bolted into place, this build is almost done. Note the large boxed area above the battery compartment, which provides wire clearance for LiPo packs and gives the balance plug a place to go. If you’re using a LiPo with plug-in terminals, you’ll fine cutouts in the opposite end of the tray that will allow the wires to pass through.
Wing installation comes next. The wing wire is pre-bent, and attaches to the wing via a 3-piece bracket.
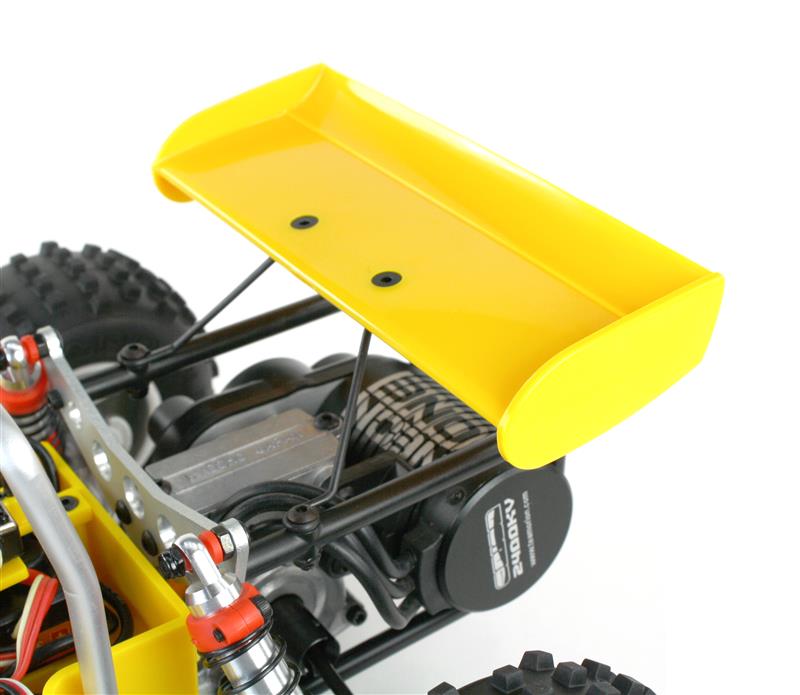
A pair of screws hold the wing onto the chassis via the motor cage.
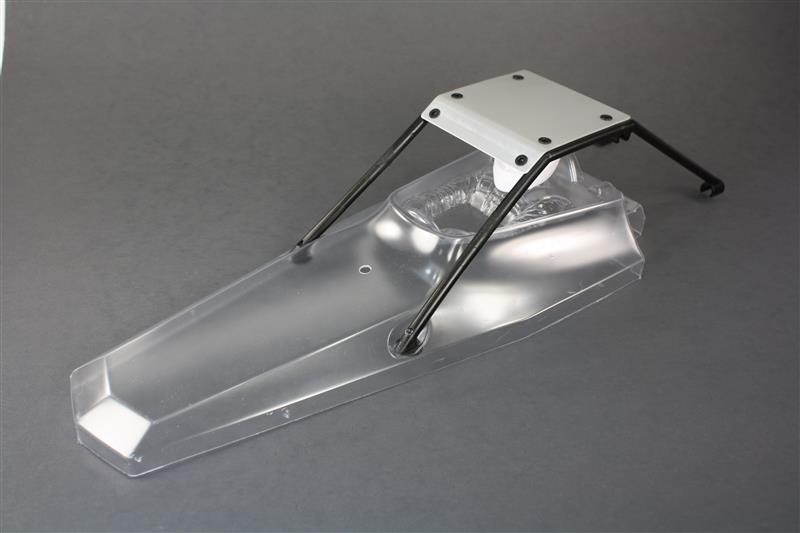
The upper roll cage is comprised of three pieces that plug together and are secured by the aluminum roof plate. The assembly then bolts to the body. I mocked it up here for a photo but took the cage off for the next step: painting.
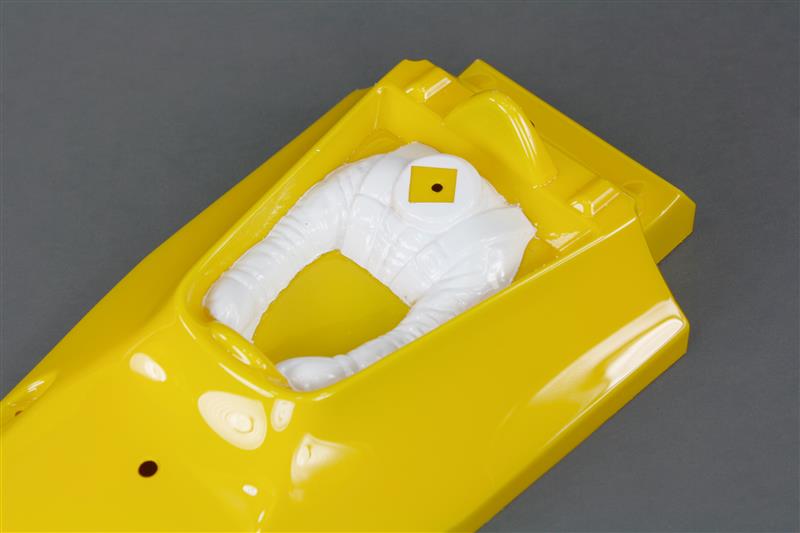
After spraying the shell with Pactra Racing Finish (RIP) Bright Yellow, I removed the overspray film from the driver figure and shot him in white on the outside of the body–much easier than brush-painting, and it leaves a nice, crisp outline.

A blast of red paint wraps up the helmet, and the supplied visor decal allowed me to skip the finicky work of painting the driver’s face. The shoulder straps and black areas are all decals.
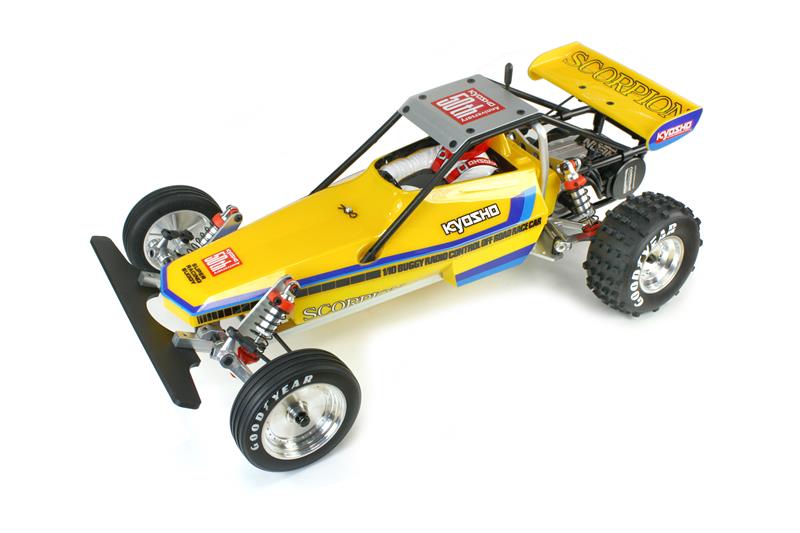
Add a few more decals, and this build is done. Now that’s a sharp-looking car!


![RC Car Action - RC Cars & Trucks | This 1/3 scale 125cc V10 Buggy is CRAZY [VIDEO]](https://www.rccaraction.com/wp-content/uploads/2018/05/V10-HP.jpg)


 Stay up to date with the latest information, sign up for our FREE newsletter today.
