

Tired of boring black? Here’s a look at how to spray your way to a unique look for your transmitter. All it takes is a can of color and a sunny afternoon to put the “rad” in “radio,” and you can count on getting attention at the track when you show up with your tricked-out transmitter. Now let’s get those rattle-cans rattling…
Step 1: Disassemble
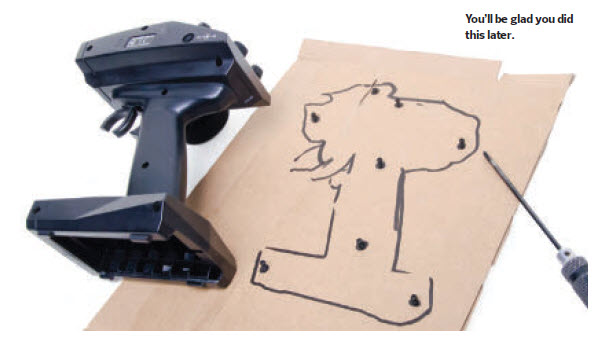
Before you start yanking the screws out of the transmitter, draw its silhouette onto a piece of cardboard and mark the screw locations. As you remove the screws, poke them into their proper places on the drawing so you can put the screws back in properly when it’s time to button up the transmitter.
Step 2: Step 2: Remove the trigger and wheel assemblies and circuit board
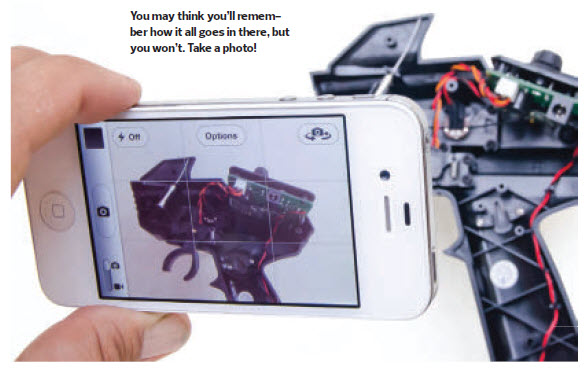
You’ll need to remove a few more screws to release the transmitter’s internal parts. Take a photo or make notes on how the parts are installed before you remove them to make reassembly easier.
Step 3: Prep
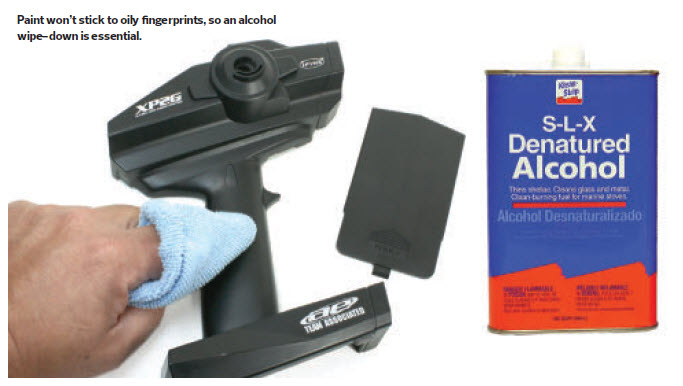
Wash and dry your hands well, then wipe down all the parts using denatured alcohol (Don’t have any? Rubbing alcohol will work fine). The parts must be free of dirt, oil, and fingerprints — anything that will interfere with the paint. Avoid wetting any decals, as they may be made of paper and their edges will wrinkle if you soak them. If your transmitter has a high-gloss finishes, use a kitchen scouring pad or fine-grit sandpaper to knock the shine down.
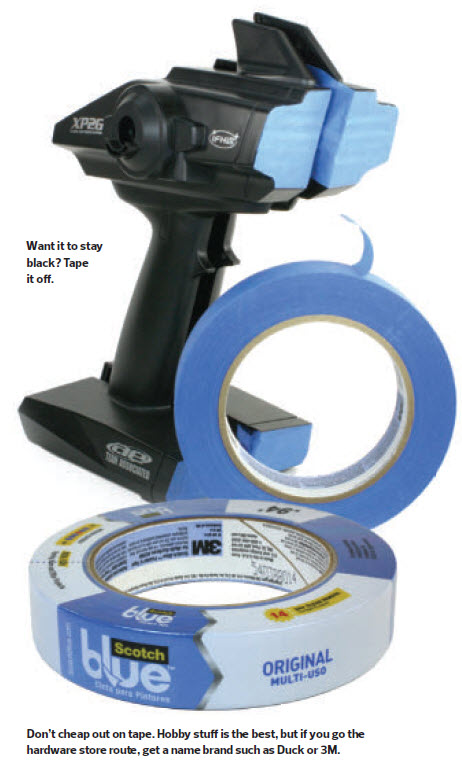
Step 4: Mask
If there are any areas you’d like to go unpainted, now’s the time to mask them off. If you don’t already have high-quality masking tape, invest in a roll of the good stuff. Use painter’s tape or hobby-specific tape, which will peel off cleanly and won’t lift off decals. For best results, extend the tape past the area you’re masking, then trim the excess with a hobby knife to define the masked area. This will give you a sharper paint line than you would get if you just used the edge of the tape as it comes off the roll.
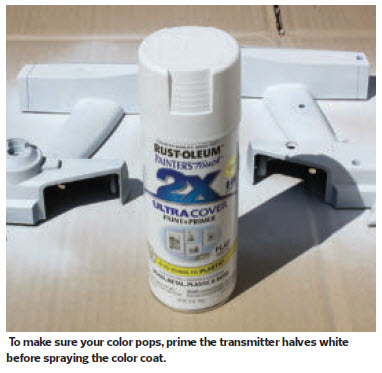
Step 5: Prime
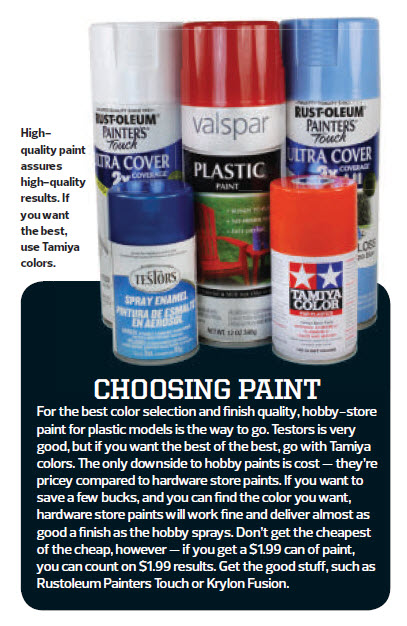
In addition to helping the paint stick, a coat of white primer will make sure the color you apply appears true to the way it looks on the cap, especially if you’re applying a light color. Apply the primer in thin coats to avoid runs and drips as you would with your final color, but don’t sweat any goofs—you can easily sand them out once the primer dries. Don’t forget to prime the battery door.
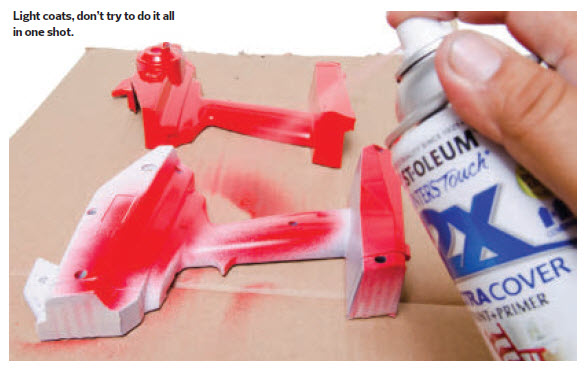
Step 6: Paint
After the primer has dried completely, spray your color. Again, multiple thin coats will give far better results than fewer heavier coats. Resist the temptation to bomb the parts with paint. The results will be worth it.
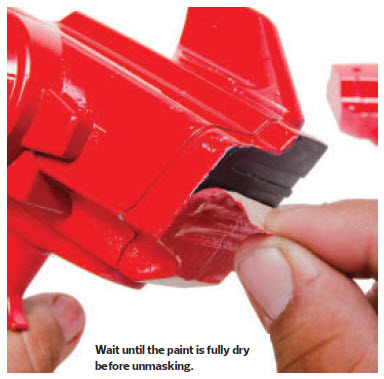
Step 7: Unmask
Peeling off the tape to see the final results is fun, but not if you do it too soon and mess up the paint. Wait until the paint is completely dry before you peel off any tape—give it 24 hours if you can. Be especially careful when pulling tape off of decals. Use a hobby knife to get the tape started if your fingernail is too big for the job.
Step 8: Reassemble
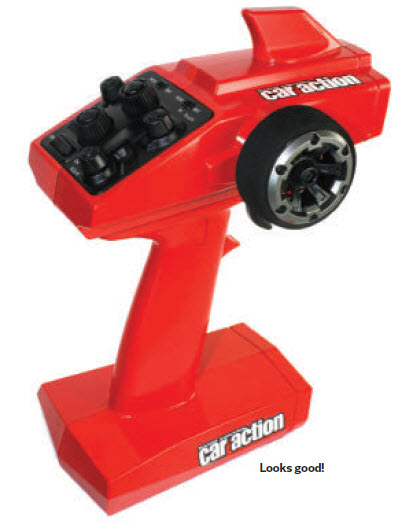
Just reverse the disassembly steps (you used the cardboard trick, right?) to put your customized transmitter into active duty. Looks good, and now you’ve got a transmitter that stands out from the crowd.


![RC Car Action - RC Cars & Trucks | This 1/3 scale 125cc V10 Buggy is CRAZY [VIDEO]](https://www.rccaraction.com/wp-content/uploads/2018/05/V10-HP.jpg)


 Stay up to date with the latest information, sign up for our FREE newsletter today.
