

So, you’re taking the kit plunge and building a car yourself. Good move! You’ll know it inside and out when you’re finished, and you can be proud that you did all the wrenching. Plus, it’s just plain fun to build your own stuff! These tips will help your first build go smoothly.
Choose an uncluttered, well-lit workplace
Instead of using the kitchen table or another spot you’ll have to clear out of every night, choose a spot that you can reserve for car-building over a few days. You don’t need a lot of room to build; a folding table or desk is fine. To protect your work area and help prevent small parts and tools from rolling around, spread a towel over your work surface.
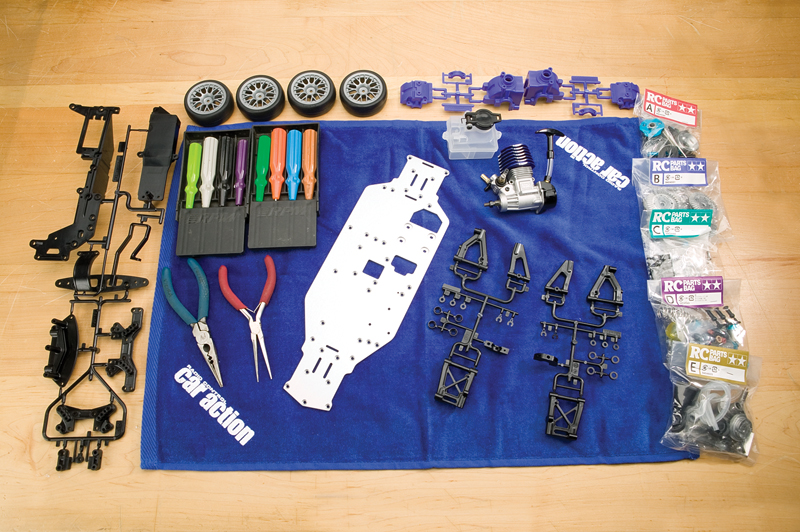
An old towel makes a perfect building mat.
Don’t open all the bags at once!
Most kits organize the parts into bags that are labeled to correspond with steps in the manual, and that makes it much easier to select the correct hardware and components as you build. Even if you’re dying to get a closer look at the bearings, gears, shocks and other cool bits, don’t empty them at random!
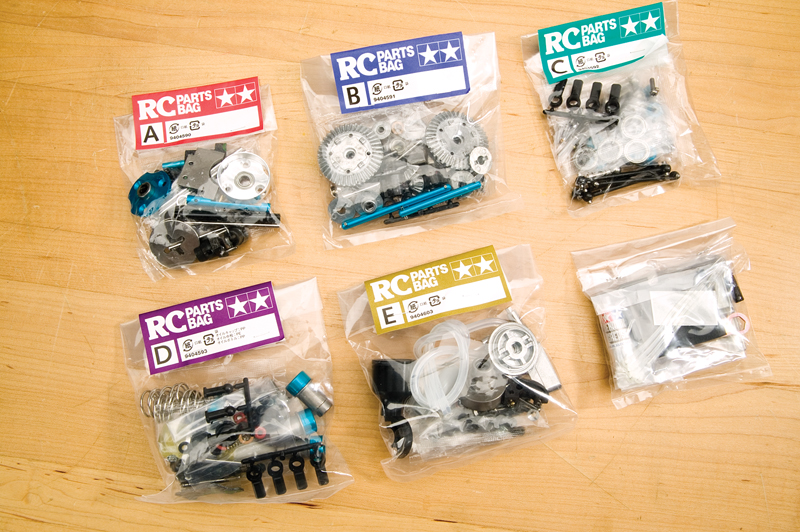
Keep the parts bagged until you reach the step that calls for them.
FIRST, Read the manual!
You don’t have to memorize it, but give it a good once-over so you know what to expect. If you see a step that you want to make sure you pay closer attention too, make a note in the manual.
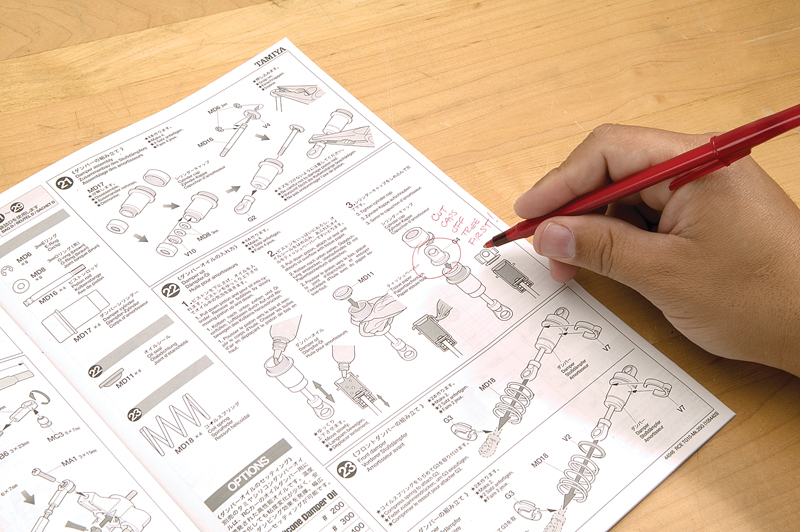
Don’t want to miss that critical instruction? Write yourself a note.
Organize small parts in trays
As you open the parts bags, it helps to pour the hardware into trays to keep them together. There are many household items you can use to organize parts, but the ideal choice is a desk drawer organizer tray.
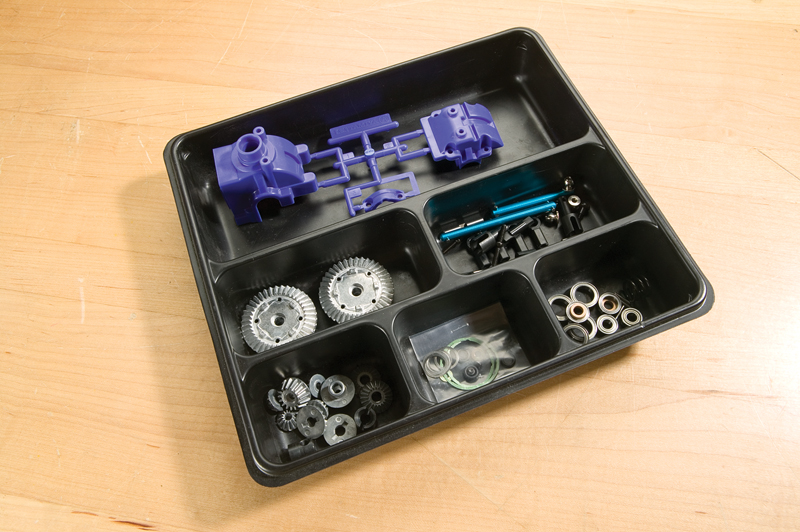
A desk-drawer tray is great for sorting hardware.
“Assembly-line” identical parts
When building duplicate parts such as differentials or shocks, it helps to clip all the parts from their trees and get them organized before you start the assembly. You’ll get the job done more quickly and easily, and you won’t find yourself trying to hold parts together while you simultaneously snip another part off a tree or otherwise find yourself in need of three hands.
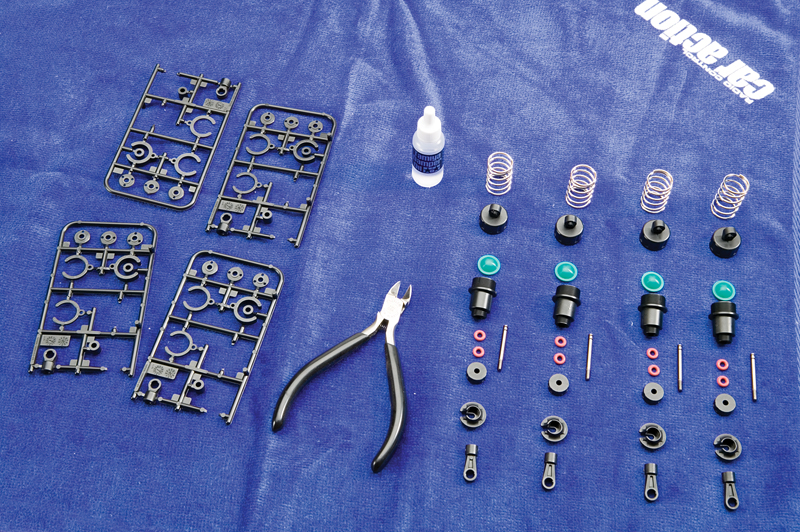
These shocks are ready to assemble, with every O-ring and spacer accounted for.
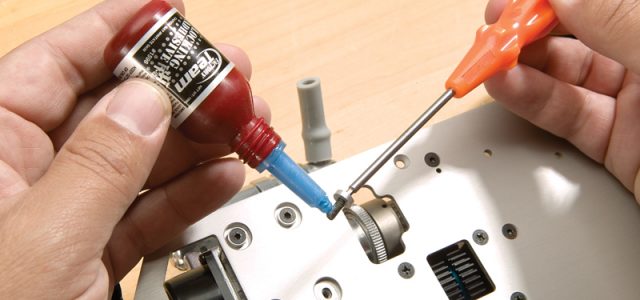
Thread-lock screws that go into metal
Always apply thread-lock to engine-mount screws and any other screws that thread into metal. If you don’t, vibration will loosen them—especially if you have a nitro car. If you get thread-lock at a hardware store, make sure you get “medium” strength. Blue Loctite is what you want. Don’t get red; it’s too strong.
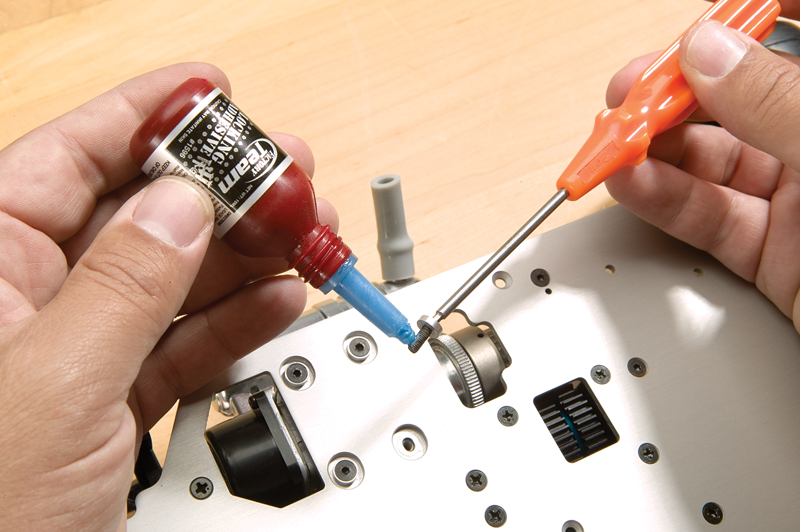
A thin coating of thread-lock is all you need. More isn’t better.
Easy on the grease!
A little grease goes a long way. A dab on the gears and a thin film on the shafts is all you need. Any more will only make a mess and attract dirt.
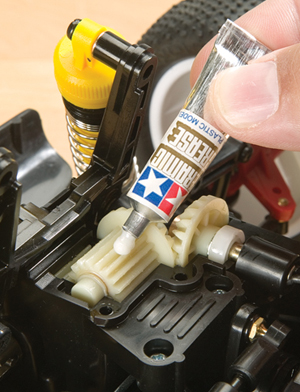
A dab’ll do ya. Go easy on the grease.
Center the servos’ output shafts before you install them
Turn on your transmitter, plug a receiver battery into the receiver and plug the servos in. Operate the wheel and trigger to confirm the servos are working; then set the trim knobs to the center position. When the car is assembled, you will have the proper servo throws with minimal adjusting of the servo’s center points required.
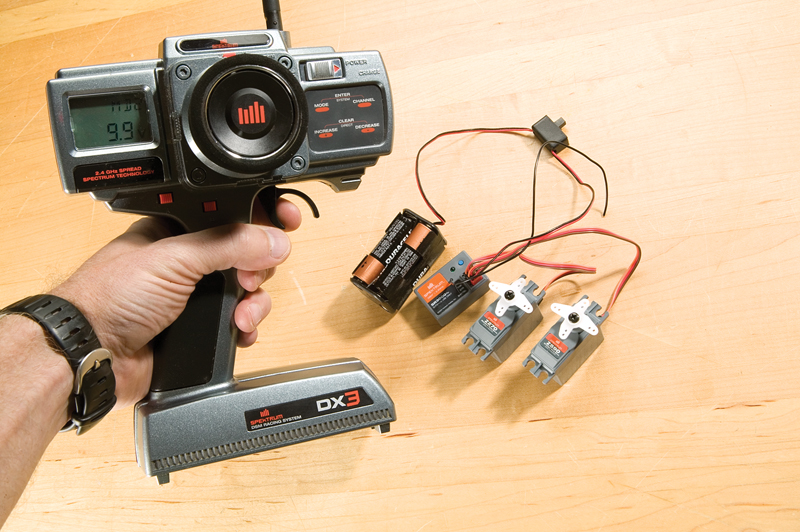
Power up your radio gear and set the trim knobs to center before you install the servos.
Measuring hardware
Most kits have full-size hardware legends that make it easy to confirm the correct size of the screw you’re installing. But if you do have to measure, remember that flat-head screws are measured from the top of the head to the bottom of the threads; all other types are measured from the bottom of the head.
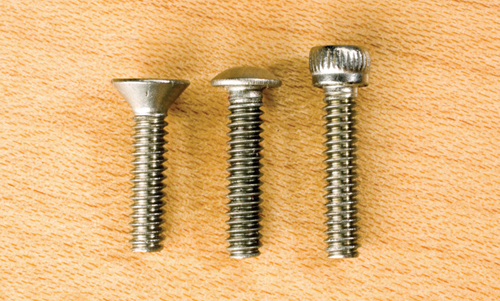
Measure flat-head screws from the top; measure button- and cap-head screws from below the head.
Power tools & RC don’t mix
It’s tempting to save time with a power driver, but it’s easy to strip out screw holes with a power tool. Even if you use a power driver with a clutch, the heat from the rapidly turning the screw can soften the plastic and cause light stripping. Stick with hand power!
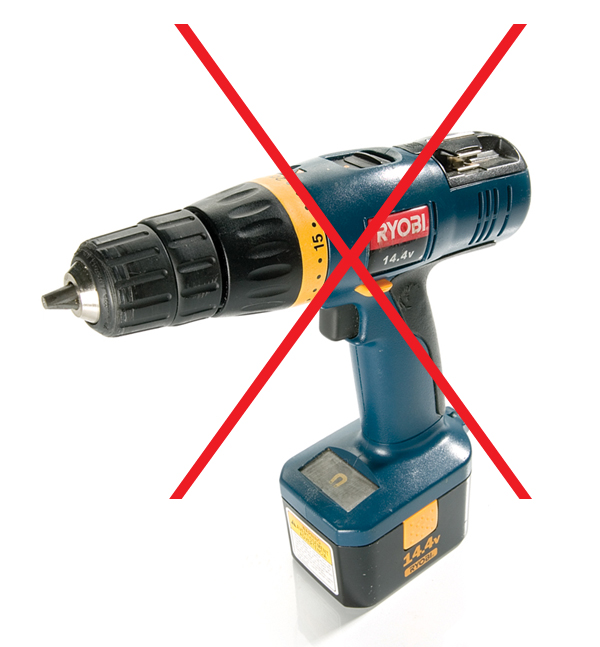
Save the power driver for your deck-building project; hand tools are all you need for RC.
Take your time!
Speed is essential on the track—not on the bench. Go at your own pace, and take the time you need to build the car properly. You’ll have more fun, and the car will work its best when the job is done. Now start spinning those wrenches!


![RC Car Action - RC Cars & Trucks | This 1/3 scale 125cc V10 Buggy is CRAZY [VIDEO]](https://www.rccaraction.com/wp-content/uploads/2018/05/V10-HP.jpg)


 Stay up to date with the latest information, sign up for our FREE newsletter today.
