

Whether you’ve whipped up an elaborate multicolor paint scheme or went with a simple one-color job, decals will dress up any shell and add that finishing touch. Applying decals isn’t hard work, but it’s often a little more complicated than just slapping stickers on the shell. Complex curves on the body, large stickers and even small decals can be tricky. Follow these tips, and you’ll have professional-looking results every time.
Large stickers
Big decals can be hard to handle. The biggest problems are air bubbles and wrinkles, but two simple tricks will virtually eliminate these pesky problems. First, heat the sticker up with a hair dryer. This will soften the plastic or vinyl material and make it much more flexible and easy to work with. This also works well for stickers that are printed on thick, old-school material. Next—and this is the single best sticker trick—use glass cleaner to slide the decal in place. You can saturate the body and the sticky backing of the decal without interfering with the decal’s ability to adhere to the body. Slide the decal in place on the wet surface and carefully squeeze the excess glass cleaner out with a credit card or other makeshift squeegee. You’ll be amazed by how much better stickers come out when you use the glass-cleaner trick.
Small stickers
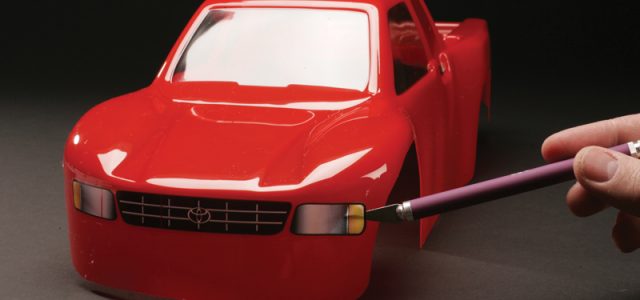
Small stickers can be difficult to accurately place. Instead of struggling with a small decal on your fingertip, use the tip of a hobby knife. By doing this, you’ll be able to precisely place small decals every time. These little decals will also adhere and look better without your fingerprints on the back.
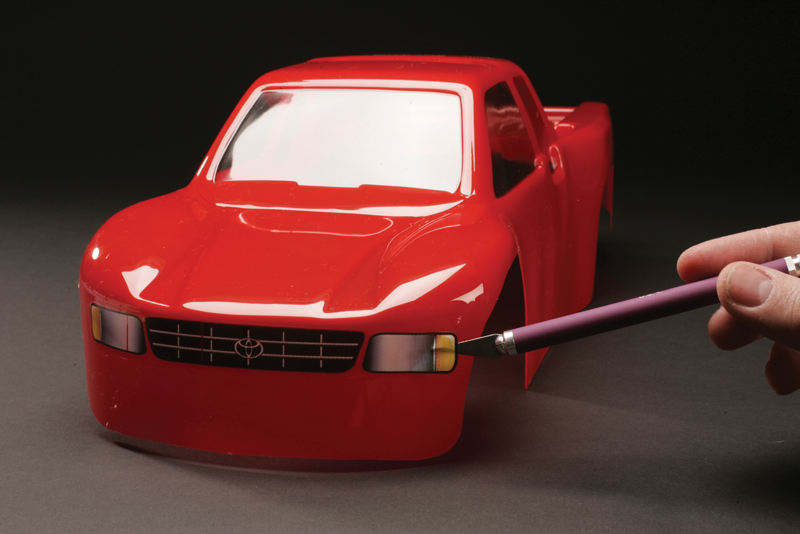
The tip of a hobby knife will help place small stickers.
Clean edges
Many kits come with precut (die-cut) stickers. This is a huge timesaver, but often, there is too much clear material left around the actual logo or graphic. This typically isn’t a big deal, but that can be unsightly if the sticker material is on the thick side. To fix this problem, use a hobby knife with a fresh blade to remove some of the extra material after you’ve placed it on the body. You can also do this beforehand, right on the sticker sheet, if you know the material is on the thick side.
Complex curves
Nothing is as frustrating as trying to get decals to conform smoothly to the contours of a body. Here, the hair dryer trick works extremely well. Again, a heated sticker is much more flexible. Another trick is to make relief cuts. Sometimes, no matter what you try, a thick sticker just won’t conform to a curve without wrinkling. Cutting a relief cut in the sticker will help.
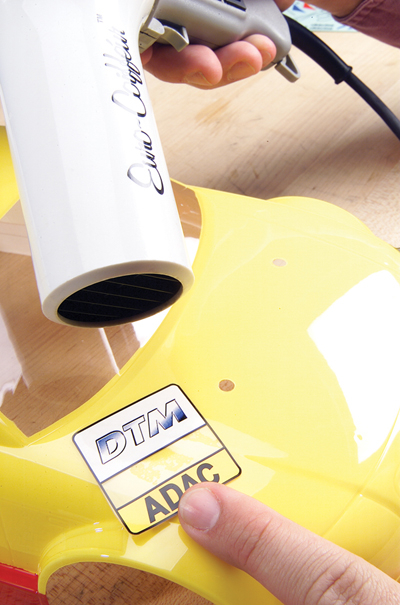
Use a hair dryer to help make a sticker more flexible.
Helpful hints
- Don’t forget to remove the overspray film before you apply the decals. Don’t laugh; it has been done.
- Clean your hands well before applying decals. This will temporarily remove some of the oil from your fingertips, which often leaves unsightly marks on the sticky back.
- You can use your hobby knife to remove wrinkles and bubbles. A small hole in a bubble or slit in a wrinkle will often allow you to smooth out the decal.


![RC Car Action - RC Cars & Trucks | This 1/3 scale 125cc V10 Buggy is CRAZY [VIDEO]](https://www.rccaraction.com/wp-content/uploads/2018/05/V10-HP.jpg)


 Stay up to date with the latest information, sign up for our FREE newsletter today.
