


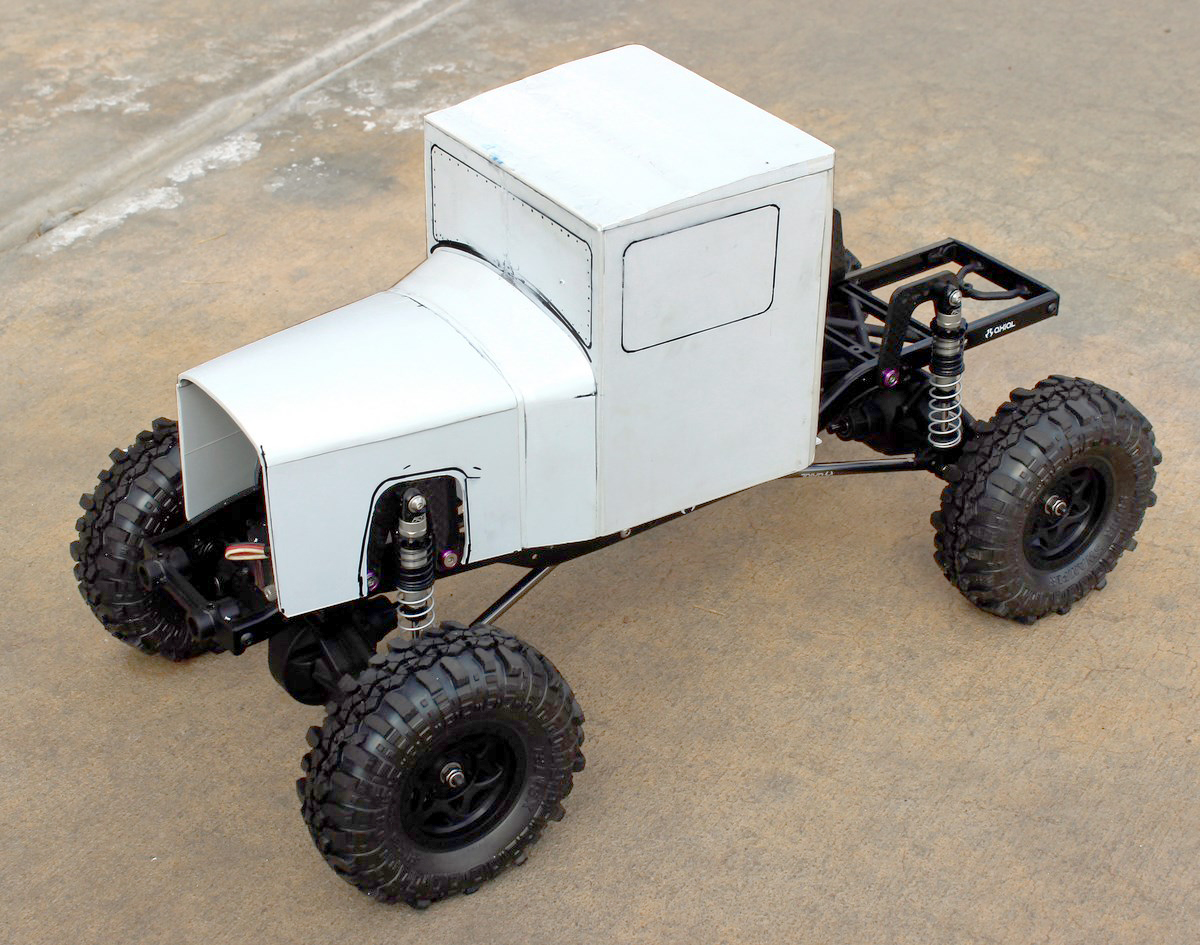
I’ve been spending as much time as possible on my 32 Ford rock crawler project and I have been making good progress. This is the first time that I am making a complete body from scratch and I have really enjoyed the process of making it happen. I made a small buck out of wood that had been cut to the correct shape of the cab and glued my pieces of styrene plastic around that. Styrene tubing was sectioned and used on the rear corners to give the cab a rounded look without having to build up a lot of plastic in the area so it could be sanded without sanding through or making weak spots. This also made the inside of the cab more realistic which will help when I add the interior. To make the angled roof I glued up three .080 sheets of styrene and once the laminate was dry I put the part in my milling machined and cut the angle. The most challenging parts so far have been the cowl and hood. They both have a curve to them and the width changes from one end to the other. It took me a little while to figure out how to make those pieces. At first I was going to sculpt them out of balsa wood then coat the parts in epoxy and fiberglass to add strength but I wanted this body to be made completely out of plastic.
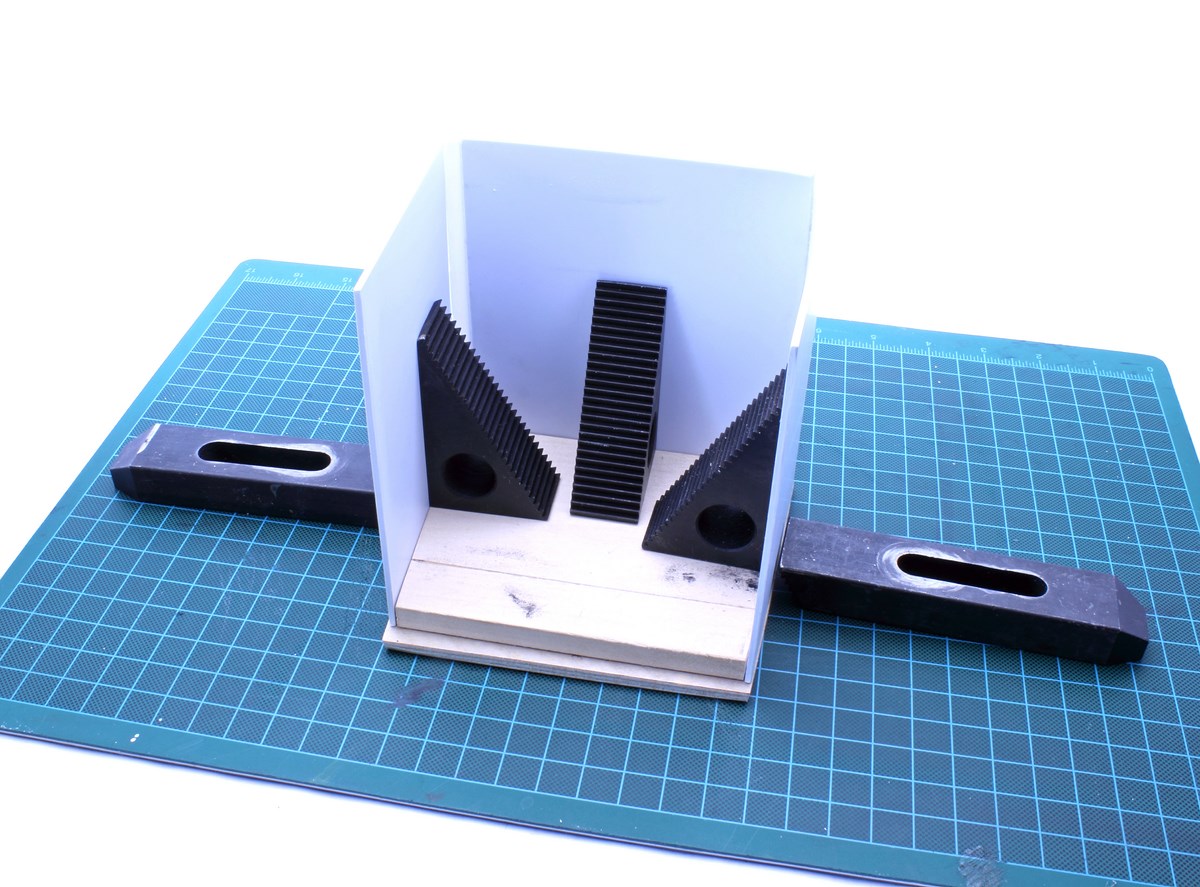
A wood buck, some milling machine clamps and glue formed the main section of the cab.
I started with the cowl and made the side panels and glued them into place at the angle that I thought was appropriate. Once the glue was dry on the plastic I filled the area with pieces balsa wood that I glued, cut and sanded to the shape that I wanted for the cowl. With the wood buck removed I took thin .020 and glued it to the buck with CA to help it hold its shape; then I glued two more layers of styrene over that using styrene specific glue. With the glue dry I was able to cut out the balsa wood and cut the cowl to the size that I needed for the body and glued it in place. I followed the same procedure to make the hood. Before making the grill I had to place the body on the chassis so I could make cutouts in the shock tower and chassis areas so that the body can sit properly. Once the grill is finished, fenders are on and the windows are cut out I can start the detail work. I have also been able to add a few new parts to the chassis. Pro-Line PowerStroke Scaler shocks are now suspending the chassis and I mounted them without oil for now so I can finish mocking up the truck and figure out what ride height and oil it needs. Also on the chassis are my new custom made shock towers that I design and my buddy Ed Cable made using his CNC milling machine and Acer Racing 3mm carbon fiber sheet. They are a direct replacement part and have a few extra mounting holes for shock tuning if necessary.

After gluing a few .080 sheets of styrene together I put it into my milling machine and used it to cut the angle on the roof.
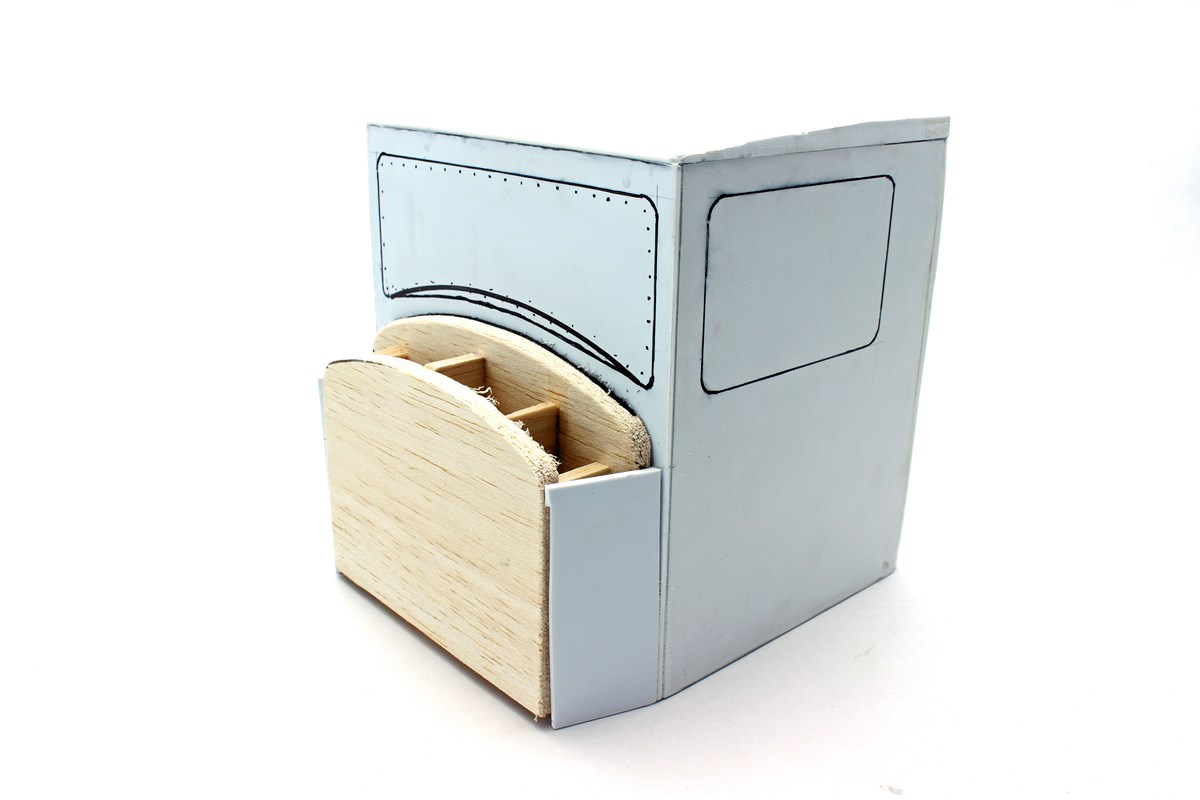
A balsa wood buck was used to form the cowl. I made it slightly undersized so when I added the layers of plastic the cowl would line up with the sides.
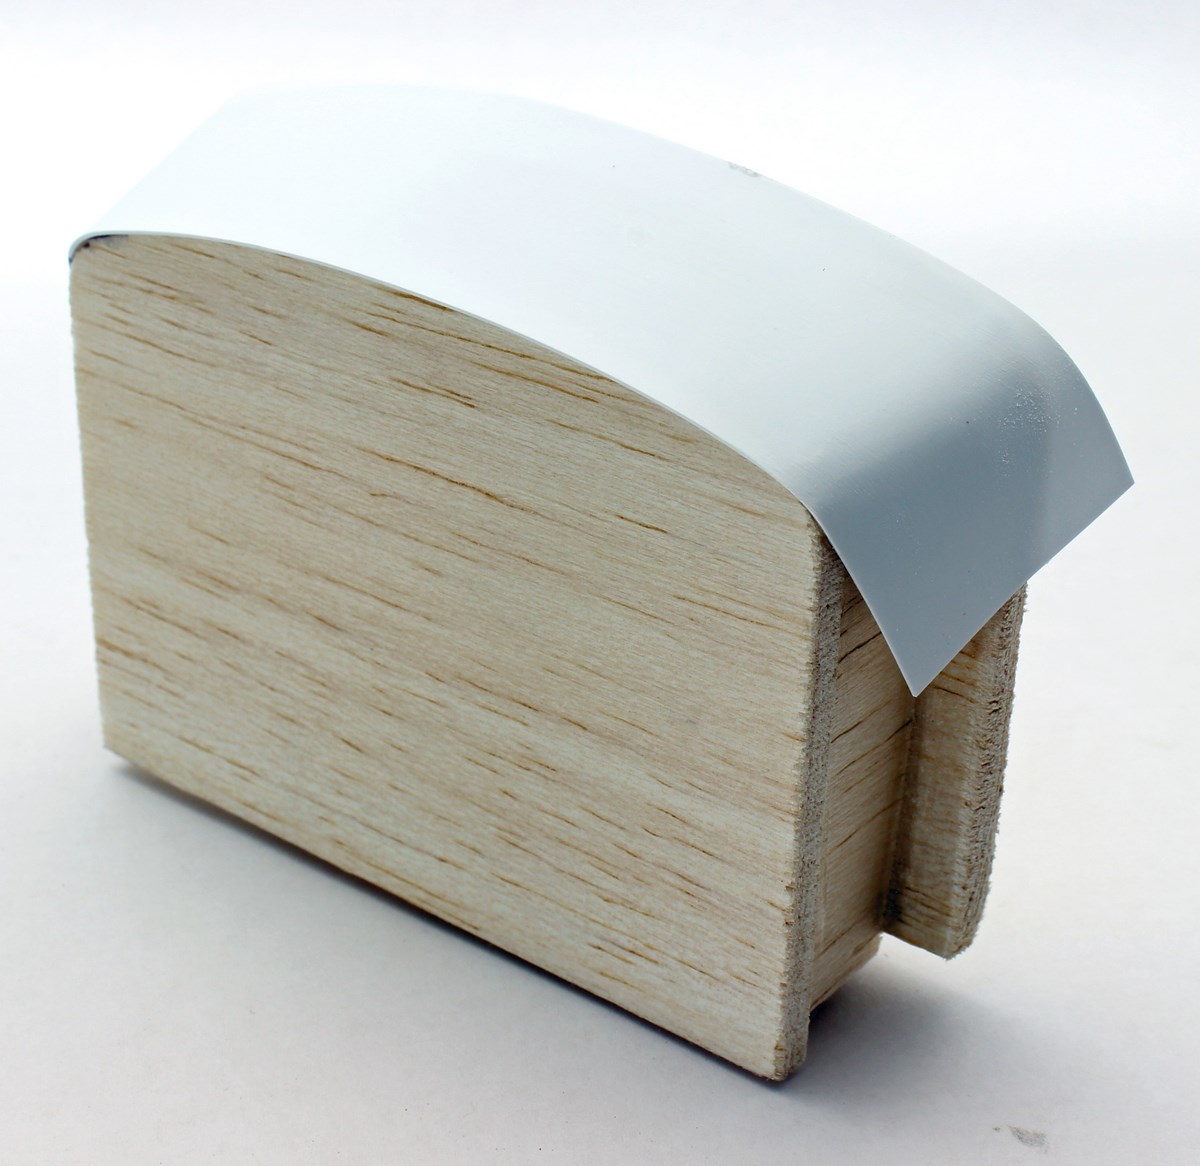
I used CA to glue the first piece of .020 sytrene to the wood buck. Layers of plastic were added after that.
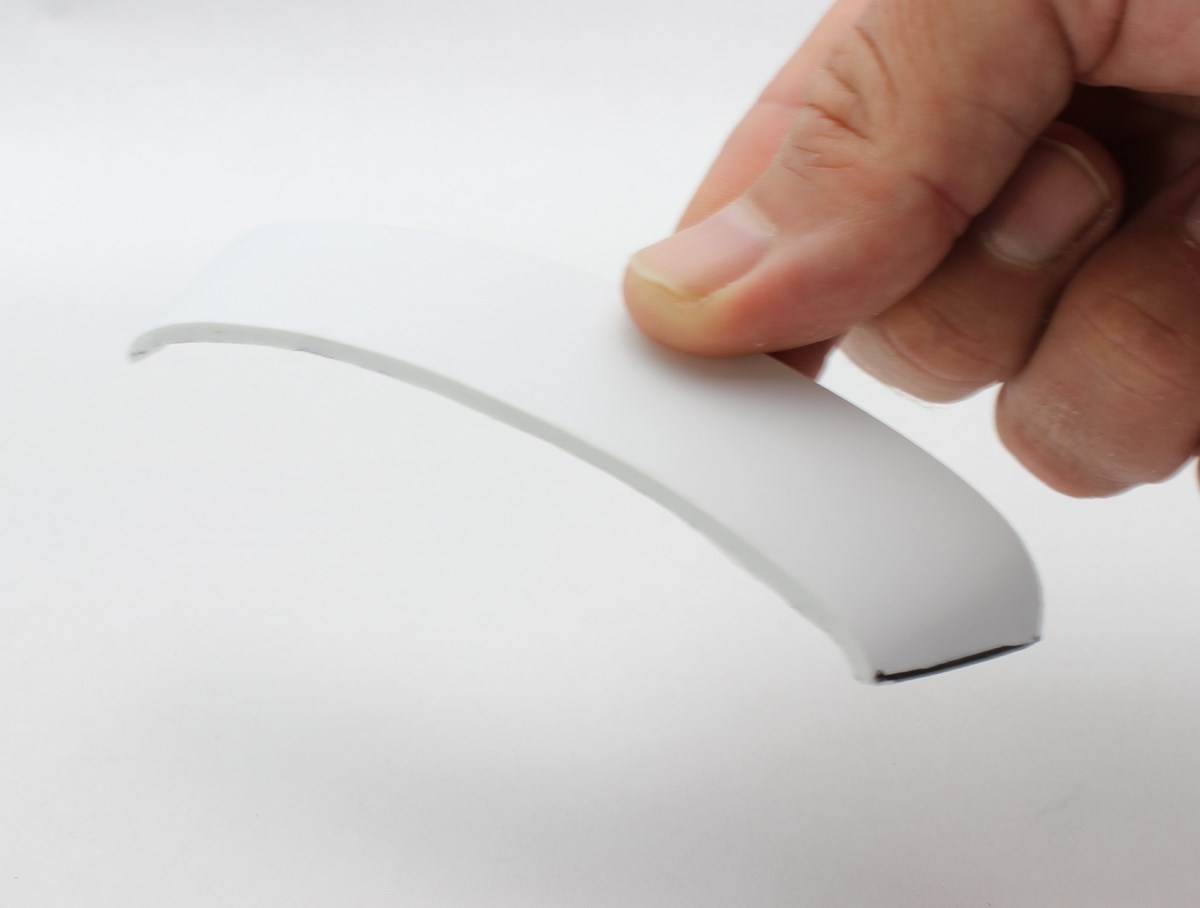
Here is the finished cowl section. It lined up perfectly with no need for sanding.

The same technique was used to form the hood. This was a little more complex due to the sharp curve on the sides.
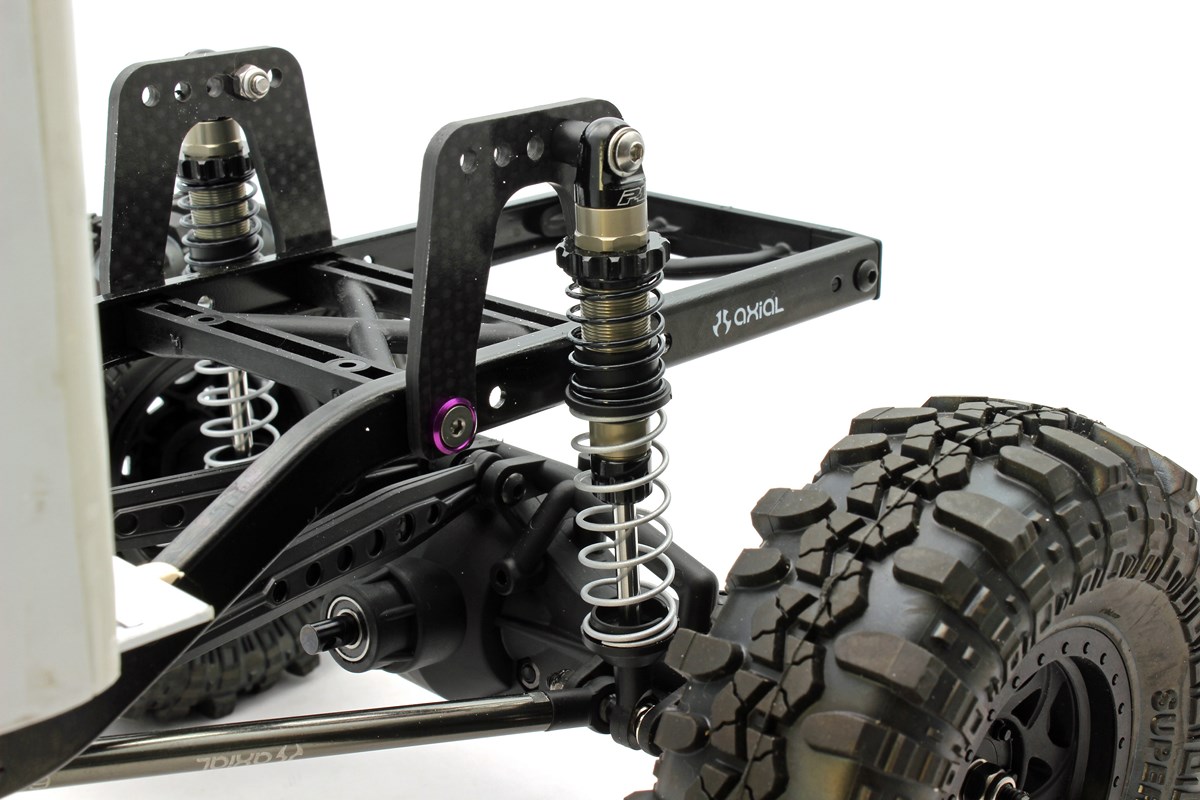
I even added some hardware this week. Pro-Line PowerSroke Scaler shocks support the chassis and they are attached to my custom carbon fiber shock towers.
My project is coming along well. I will be setting this aside for a few weeks so I can complete some new projects and of course I will share them here. Stay tuned!


![RC Car Action - RC Cars & Trucks | This 1/3 scale 125cc V10 Buggy is CRAZY [VIDEO]](https://www.rccaraction.com/wp-content/uploads/2018/05/V10-HP.jpg)


 Stay up to date with the latest information, sign up for our FREE newsletter today.
