


Sweet…your custom painted body just arrived. Not so sweet…you forgot to mark the body post locations before you sent the shell out to your airbrush maestro. Don’t worry, it’ll still look kinda cool mounted crooked. Or, you could get PROTOform’s Crosshair Body Mounting Kit and get it lined up straight. Cue the magnets!
Protoform’s instructions follow the pics, and the basic principle is simple: magnets go on the body posts, then you line up your body. Snap magnets over the outside of the body where they align automatically with the posts, then stick the tip of a permanent marker through the magnet to mark the correct hole location. Easy.
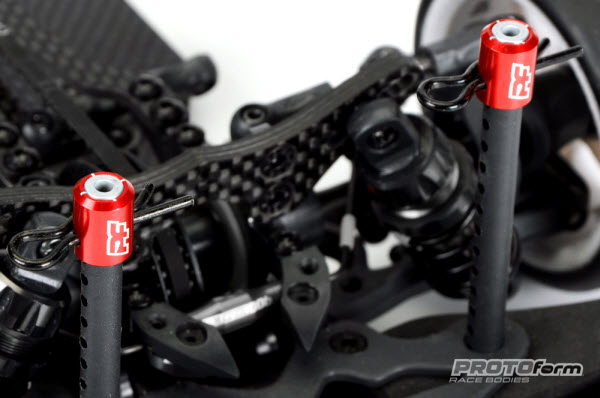
Magnets on posts. The sleeves are slotted for clips so they’ll stay put while you’re scooching the body around.
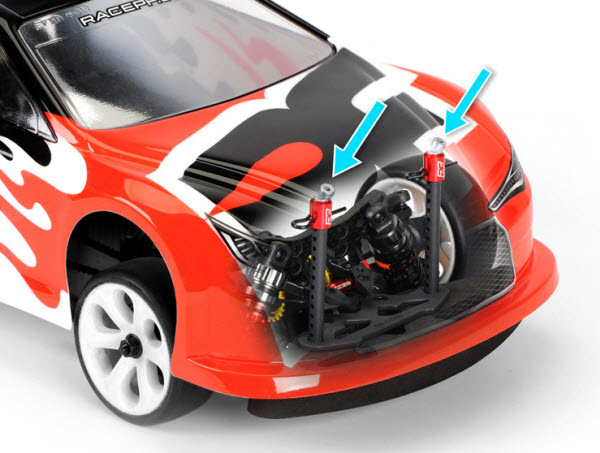
Next, the donut-shaped magnets go on top of the body. The curved nose of this body is no problem.
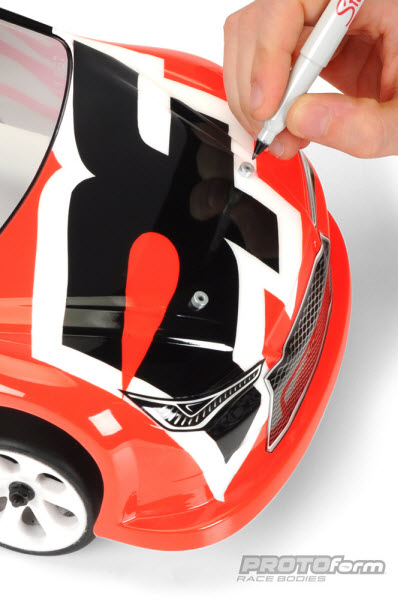
Poke your Sharpie in there, and you’ve got a perfectly placed body post location.
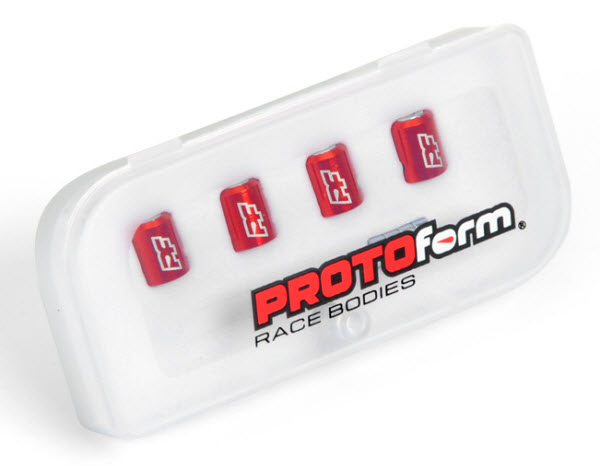
Neat package included, since you were going to lose all the pieces otherwise.
Here’s PROTOform’s instructions:
1. Place a Crosshair Body Post Cap on each of your chassis’ 4 body posts, securing them in place with a body clip. (Not included)
2. Place your painted body on top of the posts, centering it from left to right and fore/aft position
3. Hold a Marking Magnet on the outside of the body close to where the body posts are. The magnet will attach itself to the precise position.
4. Mark the body post position through the hole on the Marking Magnet with a fine-tip marker.
5. Drill your body post holes on the marked locations with a body reamer or power drill


![RC Car Action - RC Cars & Trucks | This 1/3 scale 125cc V10 Buggy is CRAZY [VIDEO]](https://www.rccaraction.com/wp-content/uploads/2018/05/V10-HP.jpg)


 Stay up to date with the latest information, sign up for our FREE newsletter today.
