

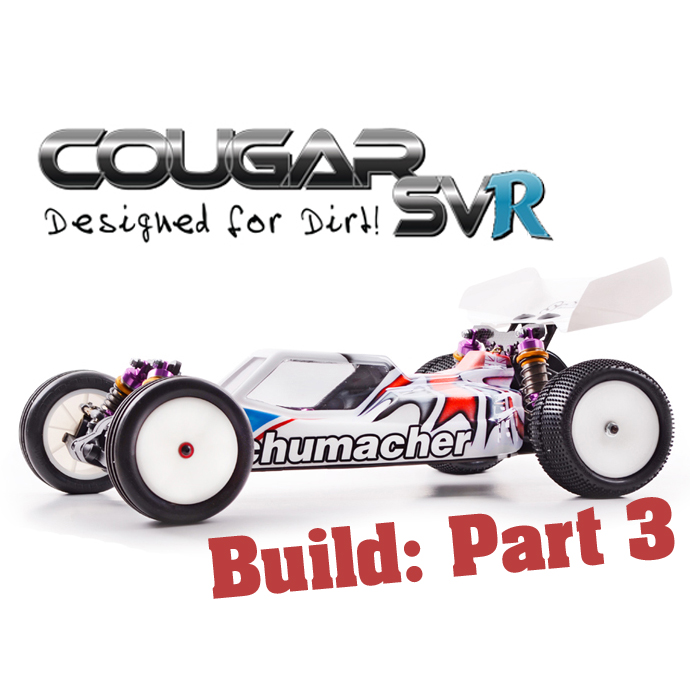
This is the third and final part of the Schumacher Cougar SVR. In the last part, we covered the final assembly of the transmission and front and rear suspension pieces. The buggy was coming together quicker than I’d expected and I couldn’t wait to get it out on the track. Designed as an along-side version to the SV2, this version is optimized and reconfigured to perform on tracks with loose conditions like many of the outdoor tracks we have around most of the country. My local track, The Bethel Racearena in Bethel, CT, is a dusty clay track that has a very dynamic track surface. While it’s clay and is very hard packed, the sandy content in it dusts up on top making it a challenge to put power down. The track is also shaded on one side more than the other so it holds more moisture for longer. This varying surface proves a challenge for even the best drivers and the constantly changing rhythm of the course should provide a good meter of the SVR’s abilities. Here it is, Part 3 of the Schumacher Cougar SVR.
 The first parts to go on the car for this build are the slab like shock towers. This is by far the thickest graphite I’ve ever seen used in an electric buggy, measuring in at 4mm thick, and are clearly going to be very strong. Although they’re very thick, the overall size of the towers is smaller which helps reduce weight, especially important as these are the two highest points on the car.
 The shock towers are installed on the bulkhead up front and transmission housing out back. Front mounting steel posts are used for upper shock mounts rather than screws and are held in place with a lock nut on the backside of the tower. This makes for a very quick and easy way to remove the post without needing to take the entire tower off.
 Here’s a better look at the rear tower. From here you can see how it appears to be suspended. Nothing up my sleeve, just a simple mount off the front of the tranny holds it in place solidly. Definitely a very unique design. You’ll also note the wing mounts are attached to this same assembly. Having all of these parts connected means they all move out of the way when you’re accessing the diff.
 From this front view, you can get a better look at the graphite plates that make up the rear bulkhead. The lower plate with the two windows allows you to view both the toe and anti-squat settings for the rear suspension. A simple set of notches indicate these settings which as a standard in the kit come set to 3 degrees of toe and 2 degrees of anti-squat. Schumacher sells optional plates for different settings although given that I’ll be running this car on some pretty slick surfaces, I don’t think I’ll ever want to decrease either setting. The ball stud on the angled plate connects the rear end to the battery brace using a linkage.
 Shocks are the other thing I just don’t like building. If it were up to me every car ever made would come with all the linkages and shocks prebuilt from the factory. With that said, Schumacher once again comes through with some very easy to build shocks. These 13mm, teflon coated big bore shocks have a simple seal design that load from the bottom and is held in place by a threaded cover while a bladder takes care of any pack you may end up with if you rush on building your shocks. Simply fill the shock up nearly to the top, lay the bladder on and thread the cap on a turn or two before pushing the shaft in. The excess oil will work its way out of the bleeder hold in the side of the cap and your all set, four perfect shocks in no time.
 Man those really are some big shocks! I’ve been racing since a time when oil shocks in general were an option part so to see how big 1/10 shocks have gotten really catches me off guard. These bad boys feel like they’ll do just fine soaking up the bumps.
 I always set the spring collars to just barely compress the spring when the shock is unloaded. This gives all four shocks and equal setting to start; from there I set the ride height front and rear using a ride height gauge to make sure the car sits level with the rear axles just below level to the ground.
 After the shocks, the battery brace goes on with a set of 4 screws and cap washers to hold it in place. A linkage helps support the load of the rear end and put some of the weight transfer down to the center of the chassis for more neutral balance. For the test I’ll be using a MaxAmps 5250mah 7.4V LiPo pack along with my trusty Airtronics MT-4 radio system and steering servo.
 The second to last step in building the car is to install the motor guard. It attaches four screws and protects the motor in a crash. For power in the SVR I’ll be installing a Viper VTX10 Black Edition speed control and 17.5T motor set up for stock racing.

And the buggy is all done! Well almost, still need to show you that body Larry from Kustom RC Graphix painted up for us. As you can see the layout has a decent amount of space for mounting the receiver and speedo but not a LOT. I actually had to put a little spacer plate under the esc because it was a little wider than the metal area. No big deal, a little scrap of lexan taped to the chassis gave it enough height to sit on and reach over the side pod.

Yes sir! That is one slick looking paint scheme. Larry whipped up a sweet Union Jack scheme with some throw back paint splatters on the wing. To finish off the car and prep it for testing I mounted up a set of Pro-Line Tazer rear and 4 rib front tires with stock inserts. The car looks awesome and we can’t wait to show you how it turned out. Check out the January issue of RC Car Action magazine and keep an eye out for our video review on RCCarAction.com as well!


![RC Car Action - RC Cars & Trucks | This 1/3 scale 125cc V10 Buggy is CRAZY [VIDEO]](https://www.rccaraction.com/wp-content/uploads/2018/05/V10-HP.jpg)


 Stay up to date with the latest information, sign up for our FREE newsletter today.
